
Enterprise-Grade Windows Autopilot Deployment and Validation
This technical documentation covers my process for deploying Windows Autopilot in detail. I have divided the project into six phases, covering everything from infrastructure design to Autopilot profile configuration, device registration, and final validation.
- Phase 1: Prepare Infrastructure for Windows Autopilot
- Phase 2: Create & Assign Autopilot Profiles
- Phase 3: Configure Enrollment Status Page (ESP)
- Phase 4: Configure Apps, Policies and Update Rings
- Phase 5: Register Device with Autopilot
- Phase 6: Test and Validate Autopilot Enrollment
Phase 1: Prepare Infrastructure for Windows Autopilot
License Procurement and Tenant Setup
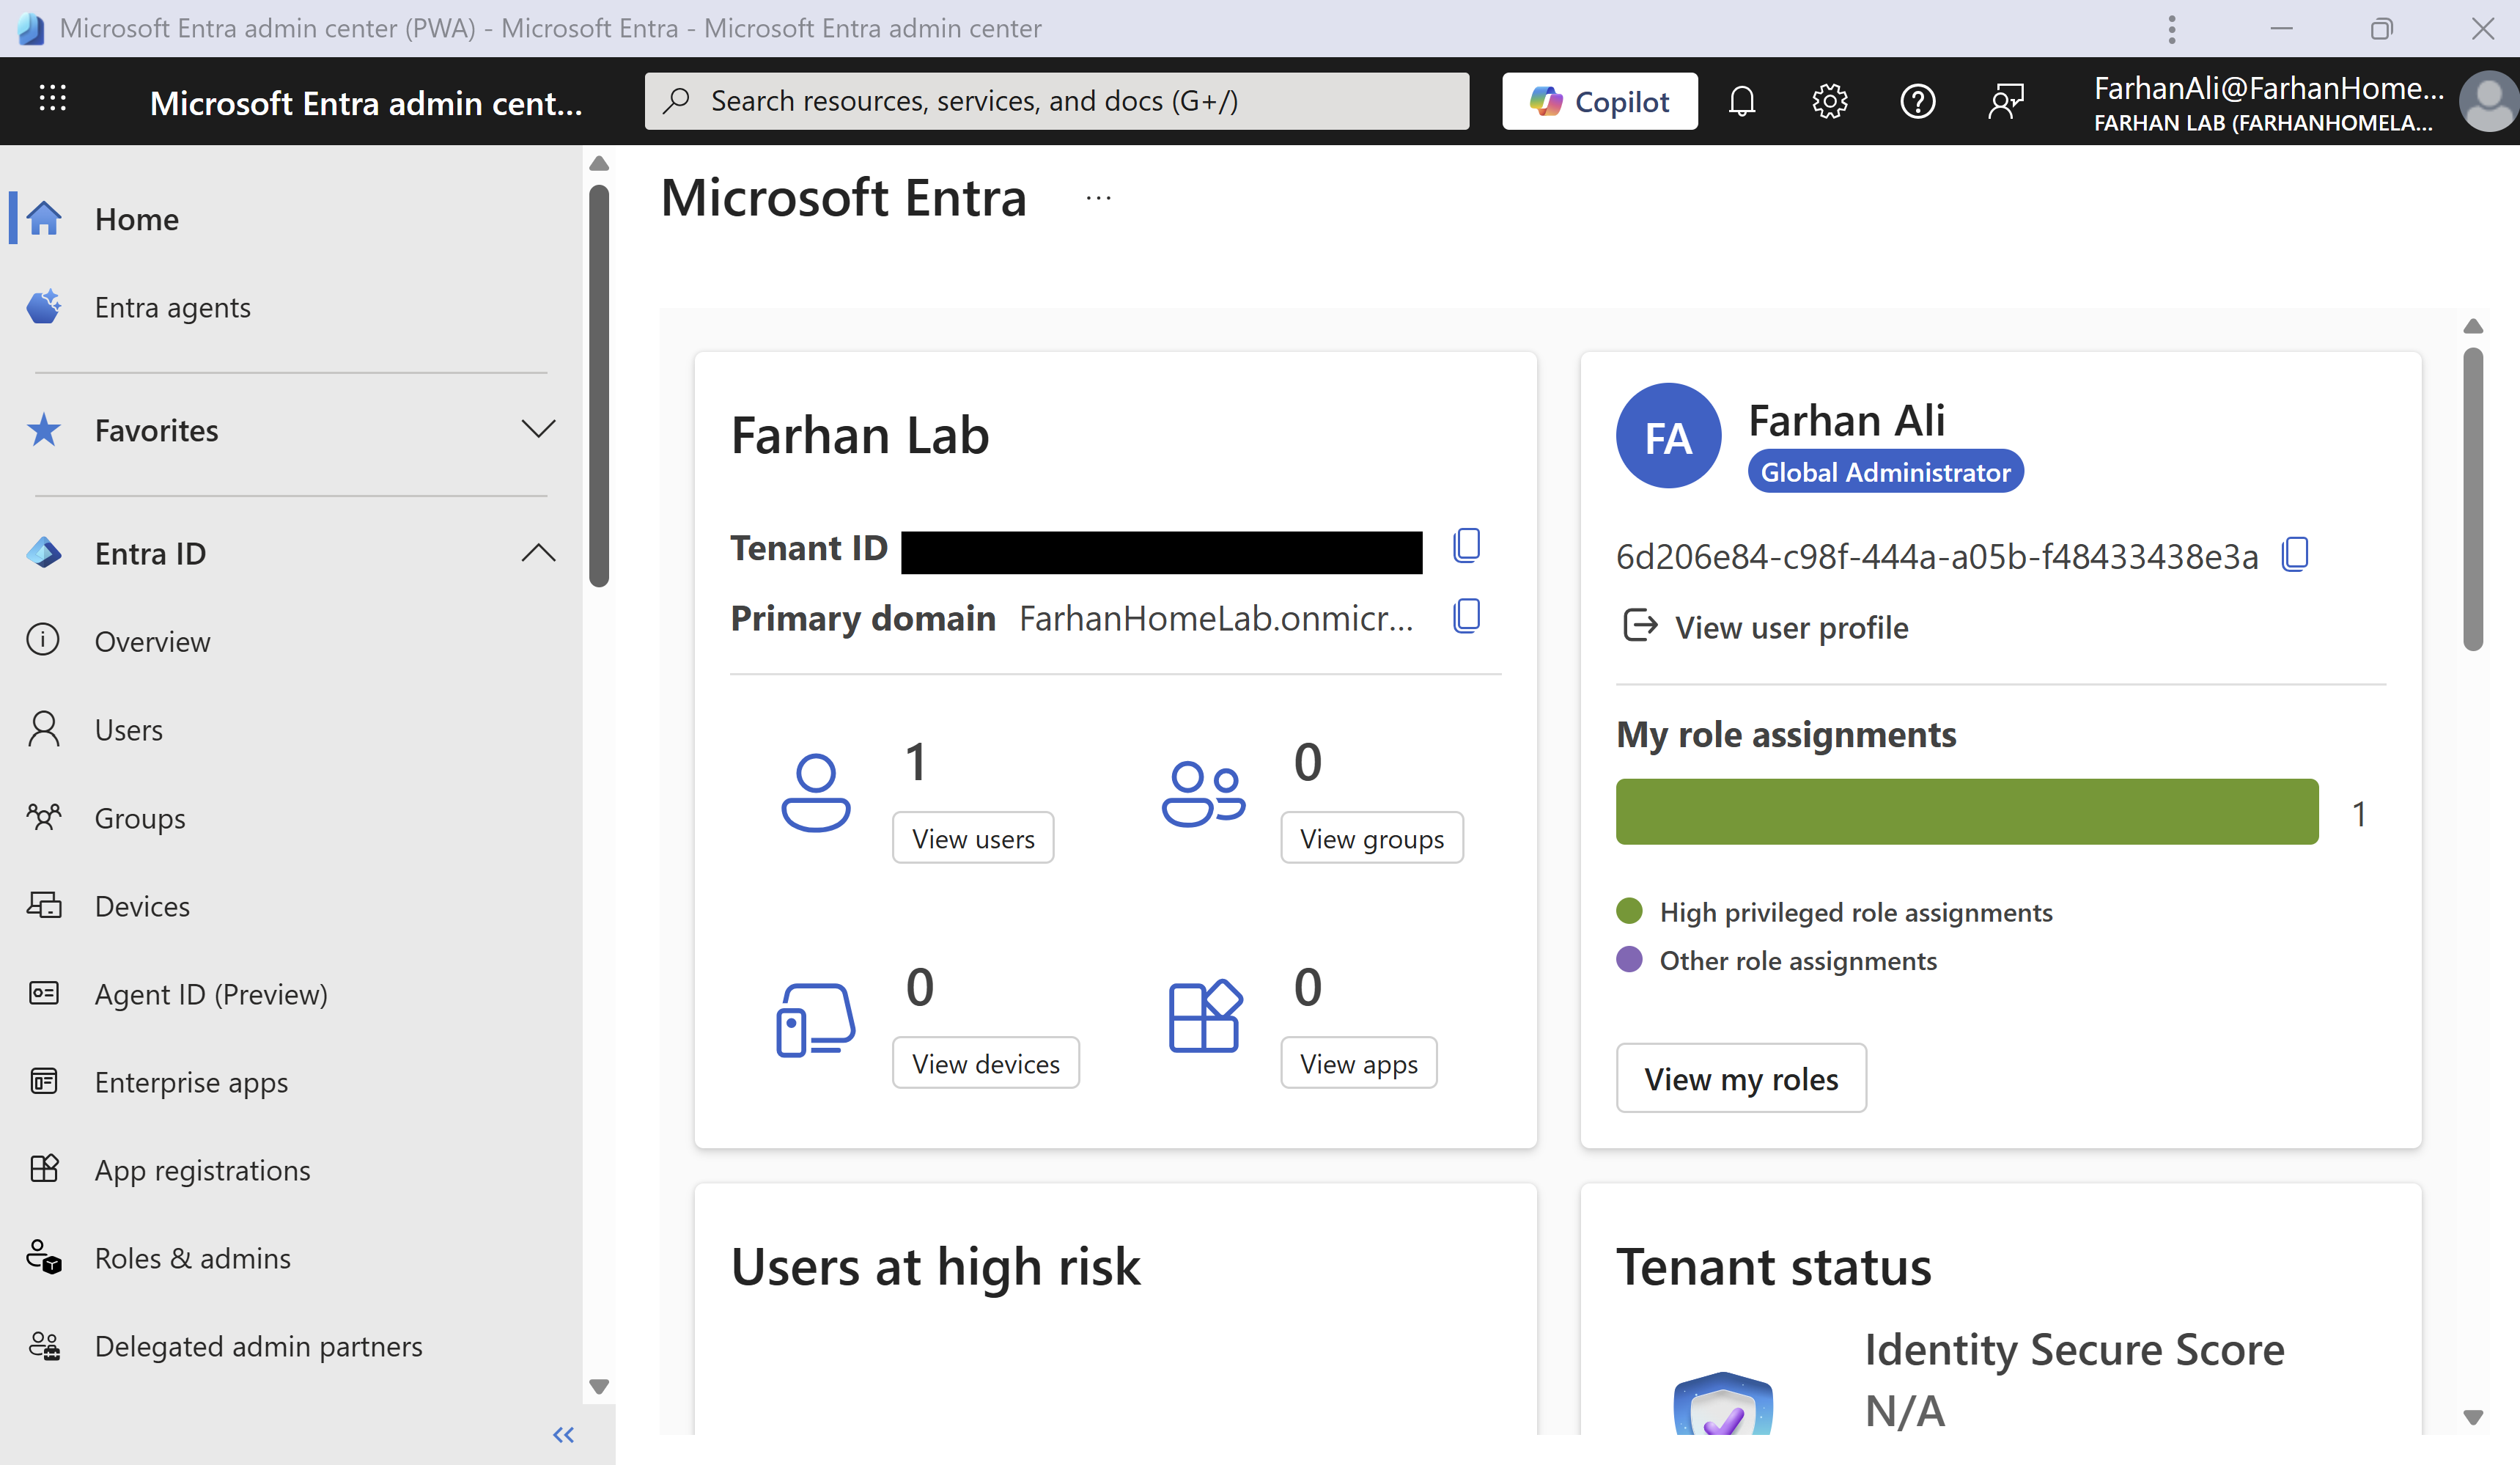
I am using a combination of Microsoft Entra ID P1 and Microsoft Intune Plan 1 licenses to get the required Microsoft Entra ID and MDM functionality for this lab.
Microsoft Entra ID P1
To procure Microsoft Entra ID P1 license, I signed up for Microsoft cloud services for the first time which automatically created a Microsoft Entra ID tenant.
During the initial subscription signup, I was prompted to:
- Create a work/school account
- Define an organization name
- Select a default onmicrosoft.com domain
As part of this process, the following tenant details were created:
- Domain: farhanhomelab.onmicrosoft.com
- Username (UPN): farhanali@farhanhomelab.onmicrosoft.com
Microsoft Intune Plan 1
I procured Microsoft Intune Plan 1 using the same work account.

License Assignment
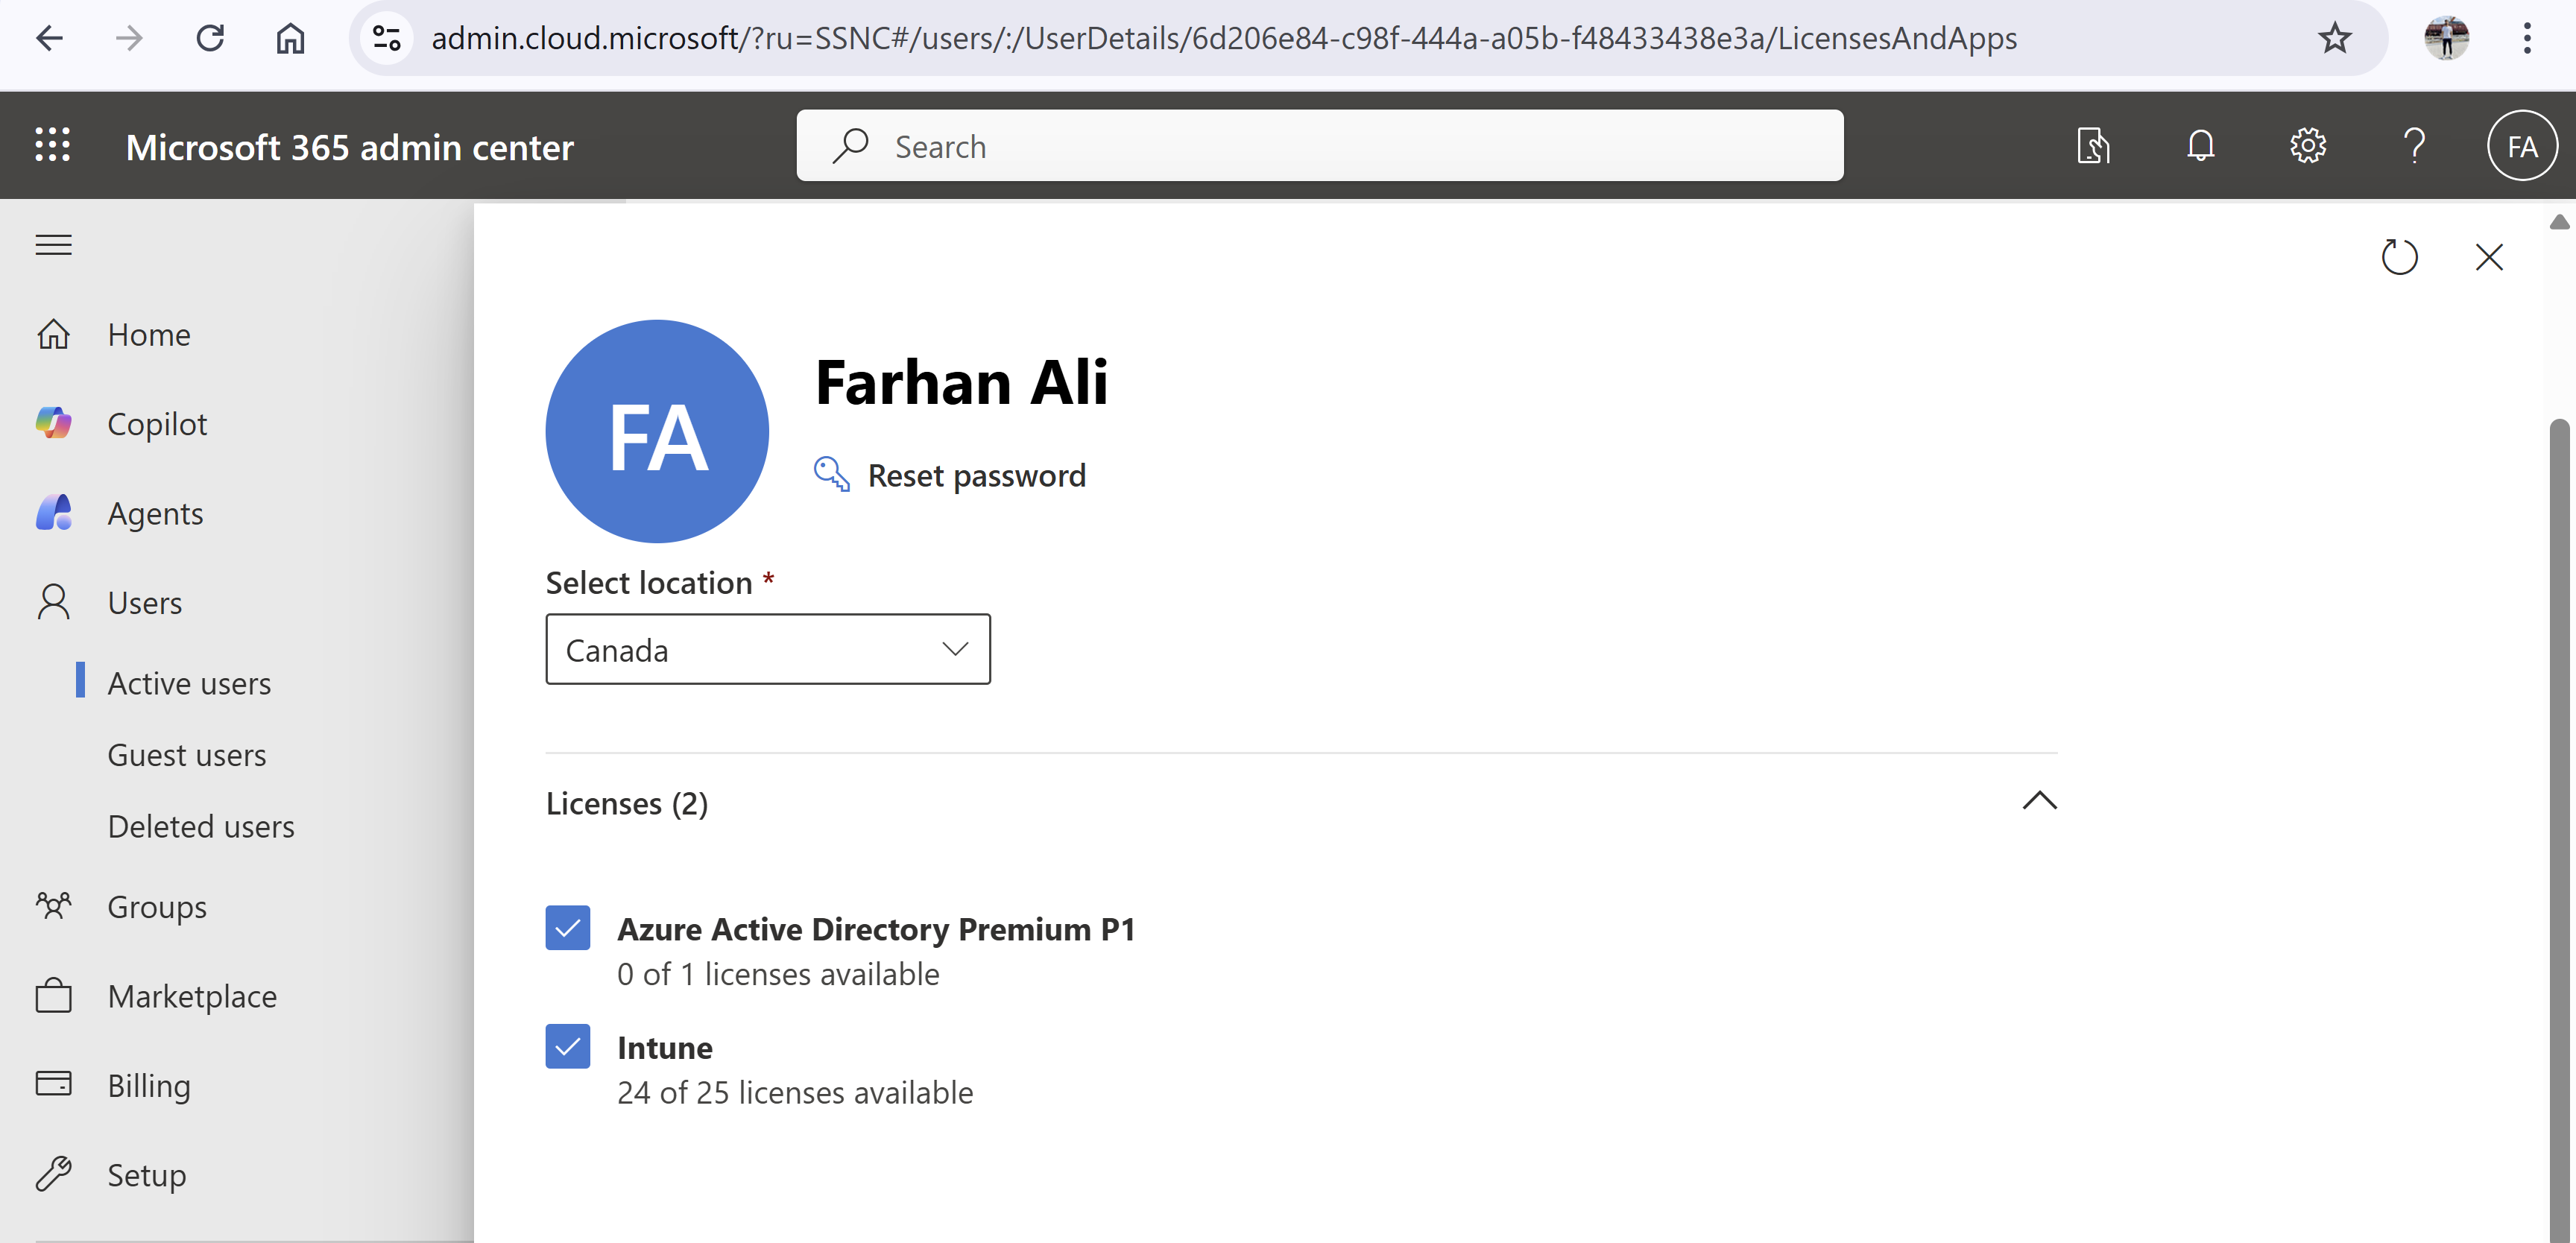
I ensured that my user account has the required licenses assigned to it.
Microsoft 365 Admin center -> Active Users -> User Account -> Licenses and Apps
Configure MDM User Scope
MDM user defines which users can automatically enroll their devices into Intune. Generally, you would want to limit MDM scope to corporate users to avoid auto enrollment for personal devices or contractors. I created a security group called Corporate Users containing all corporate users for this purpose.
Navigate to Microsoft Entra admin center -> Mobility -> MDM user scope
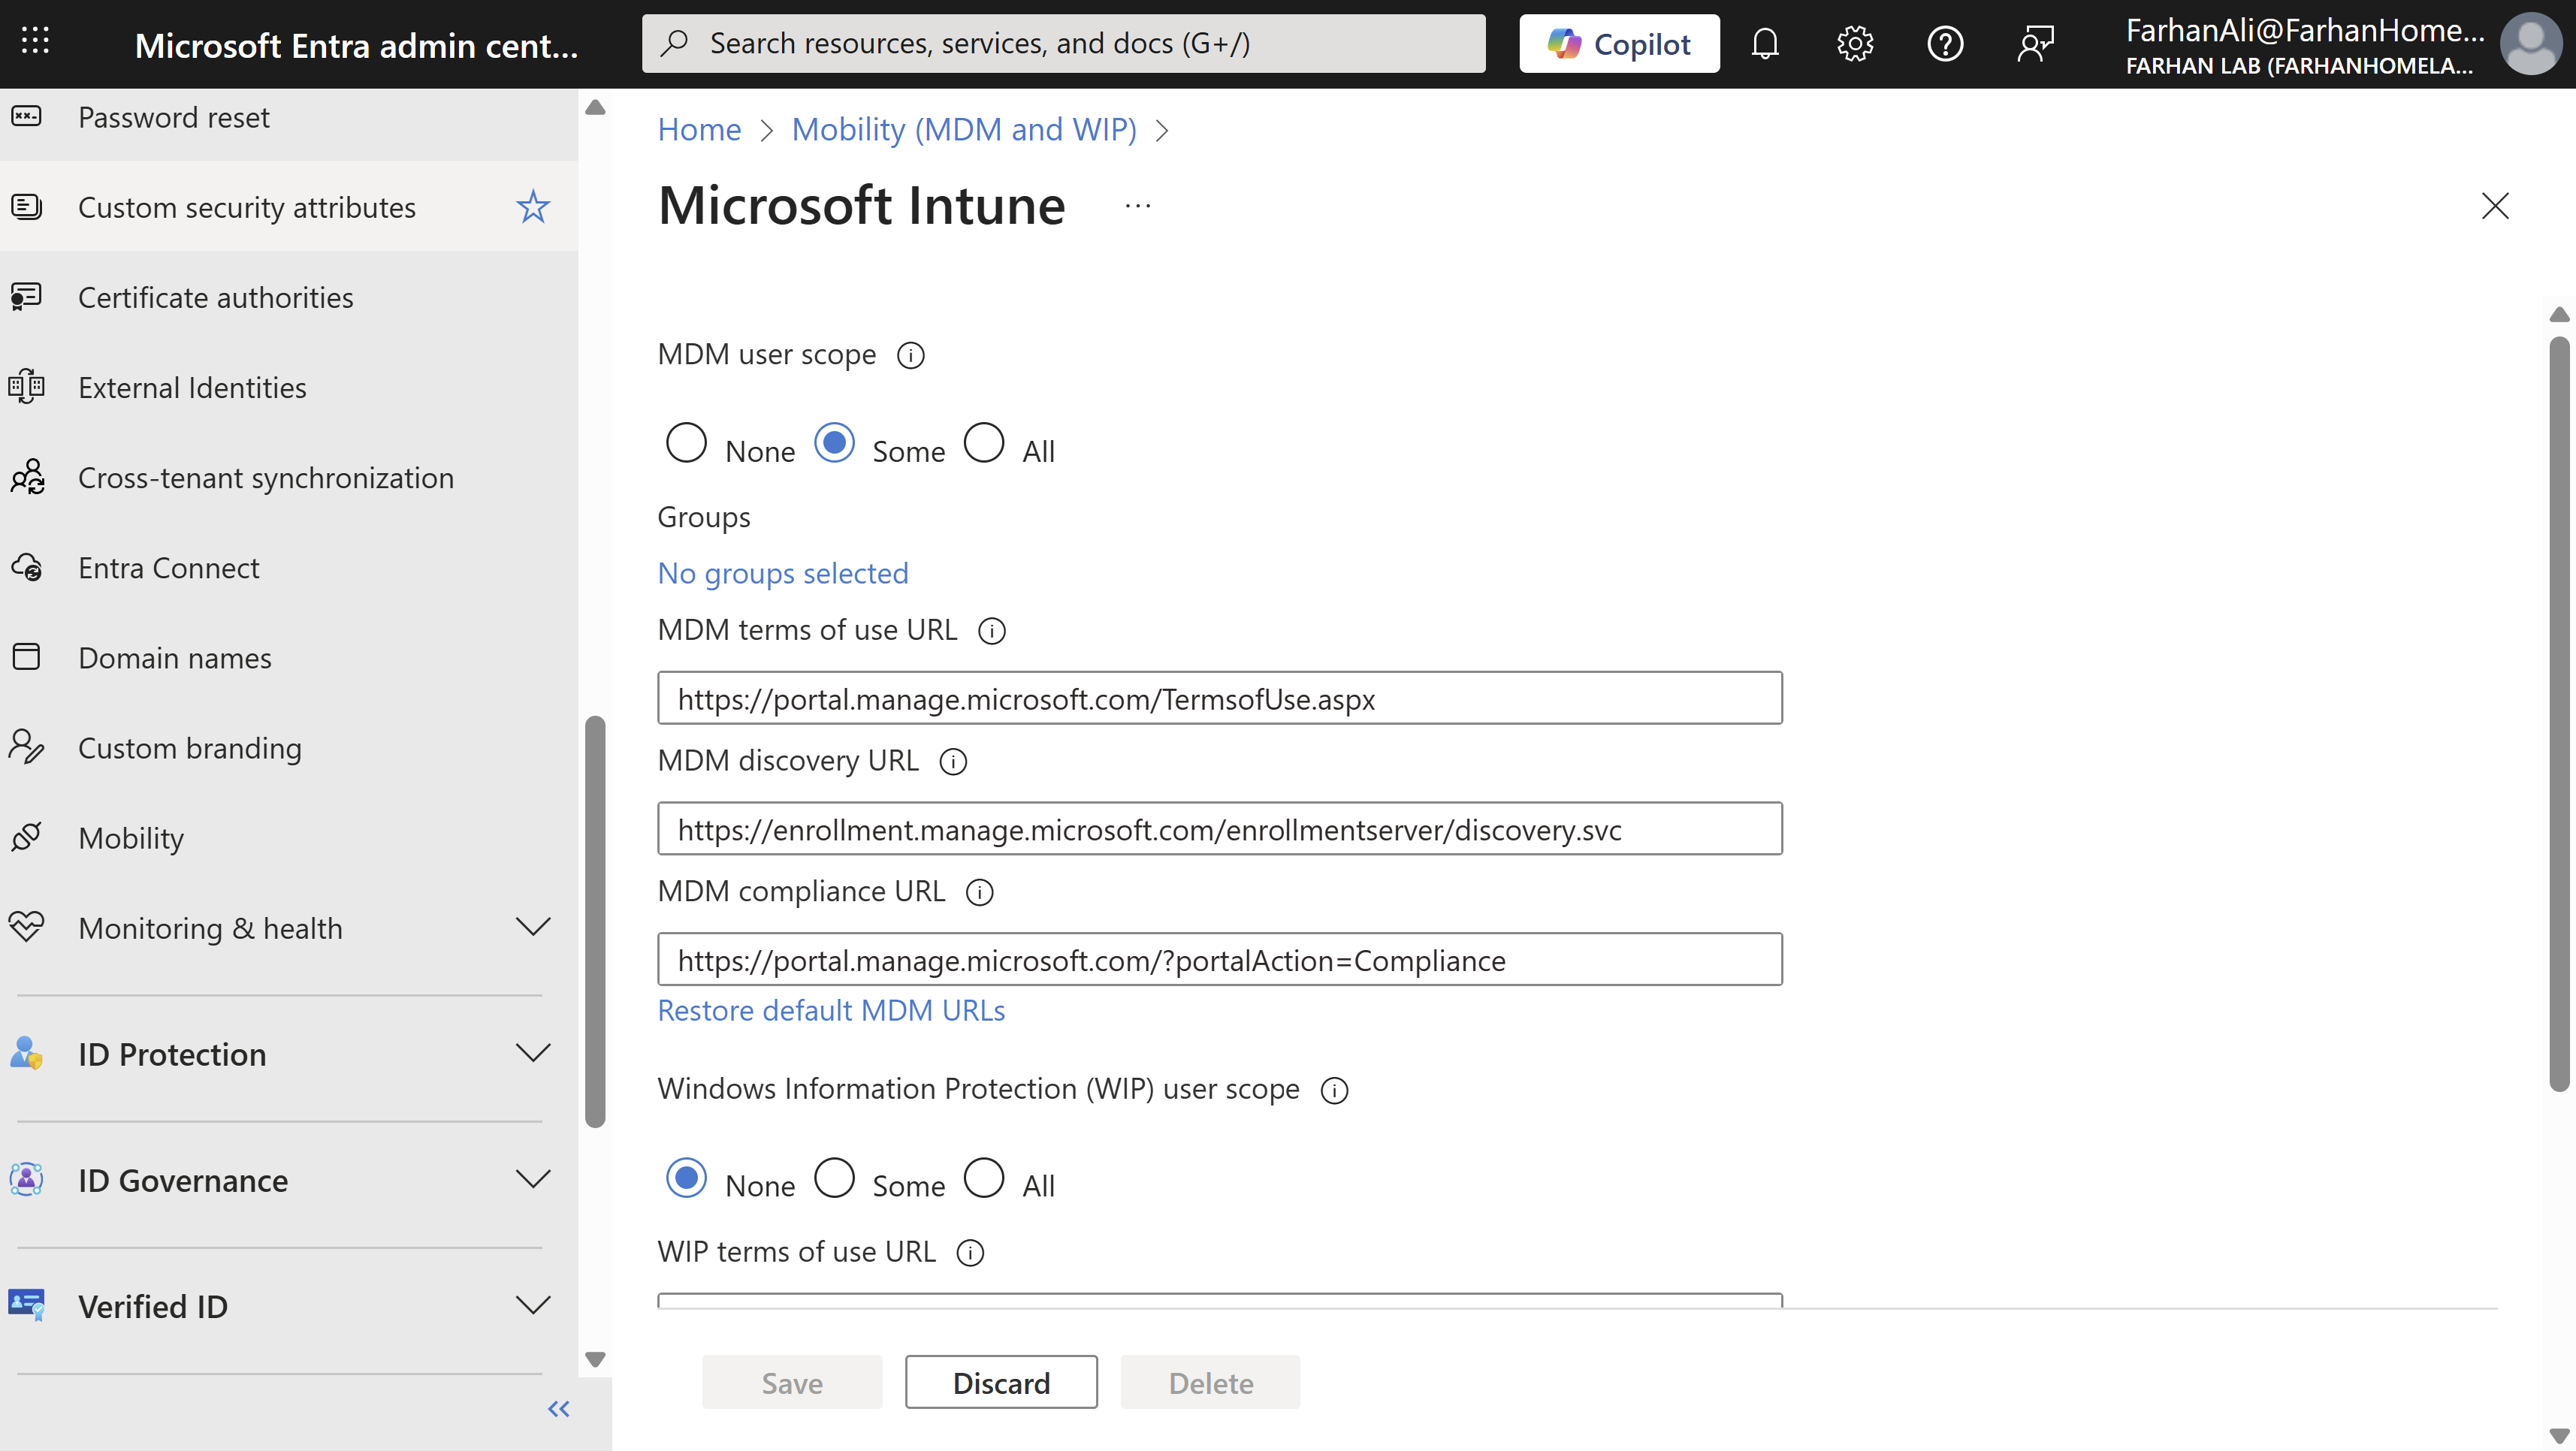
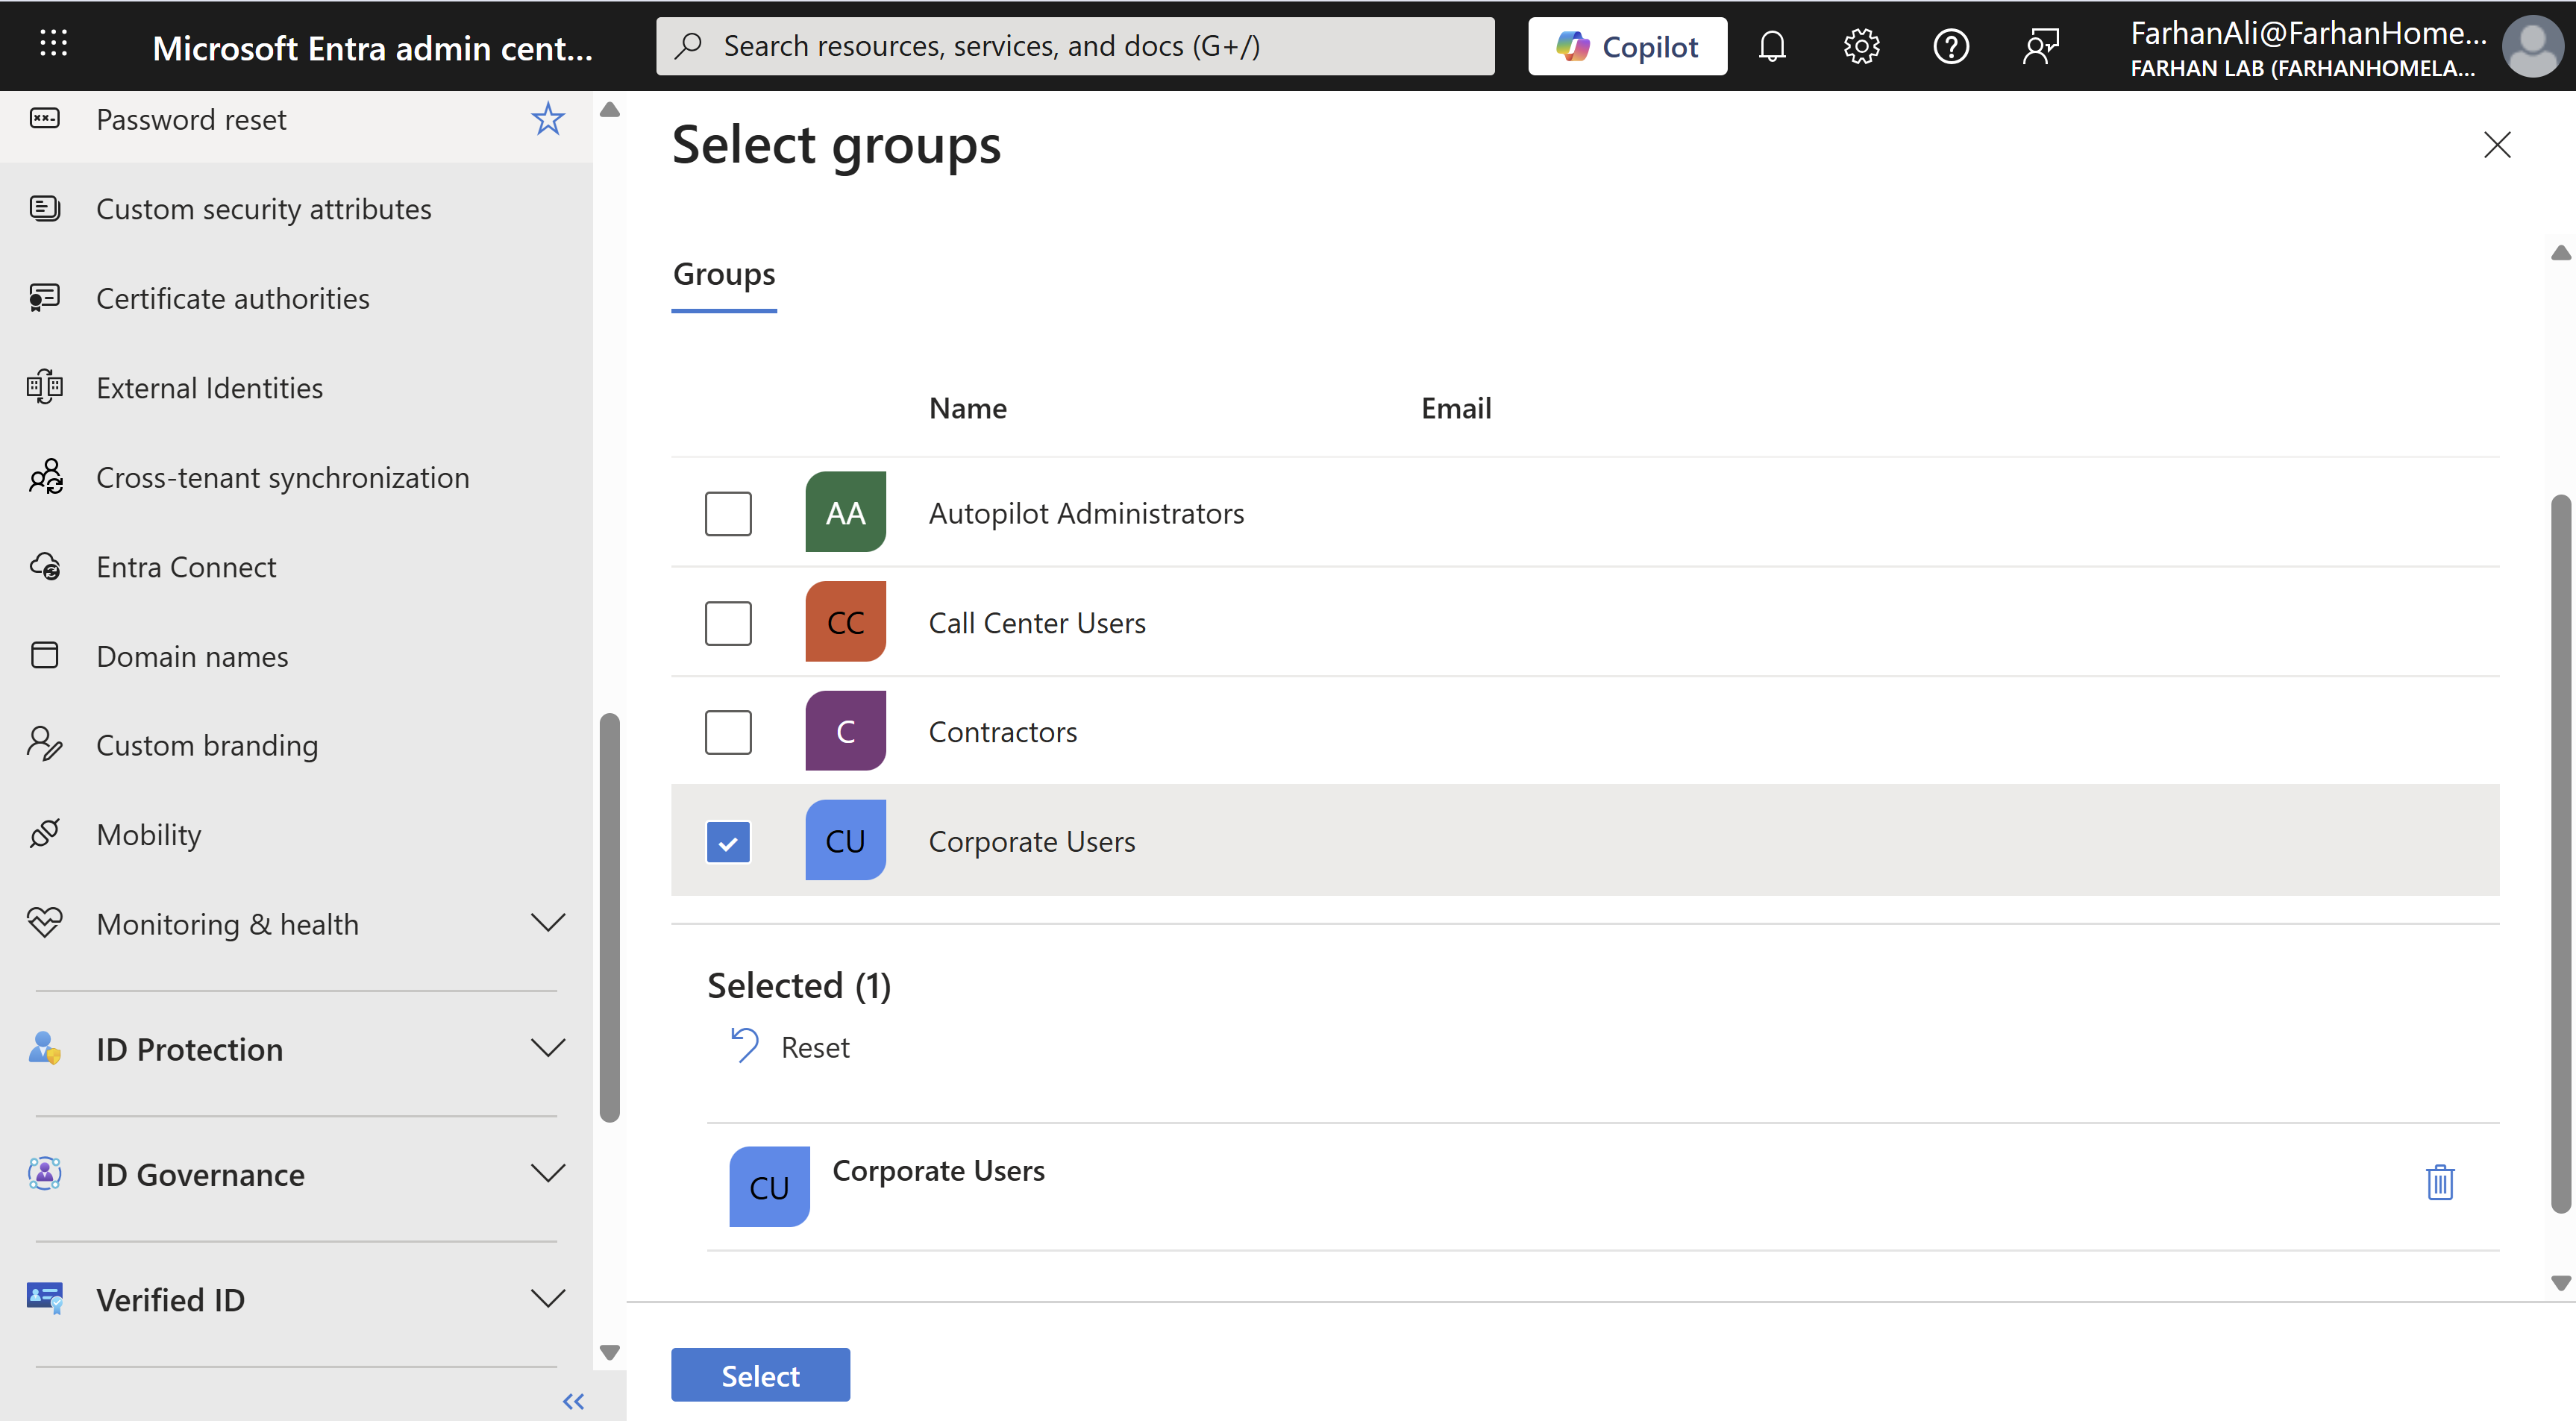
Select “Some” and add the Corporate Users group to the MDM scope.
Configure Local Administrator Settings
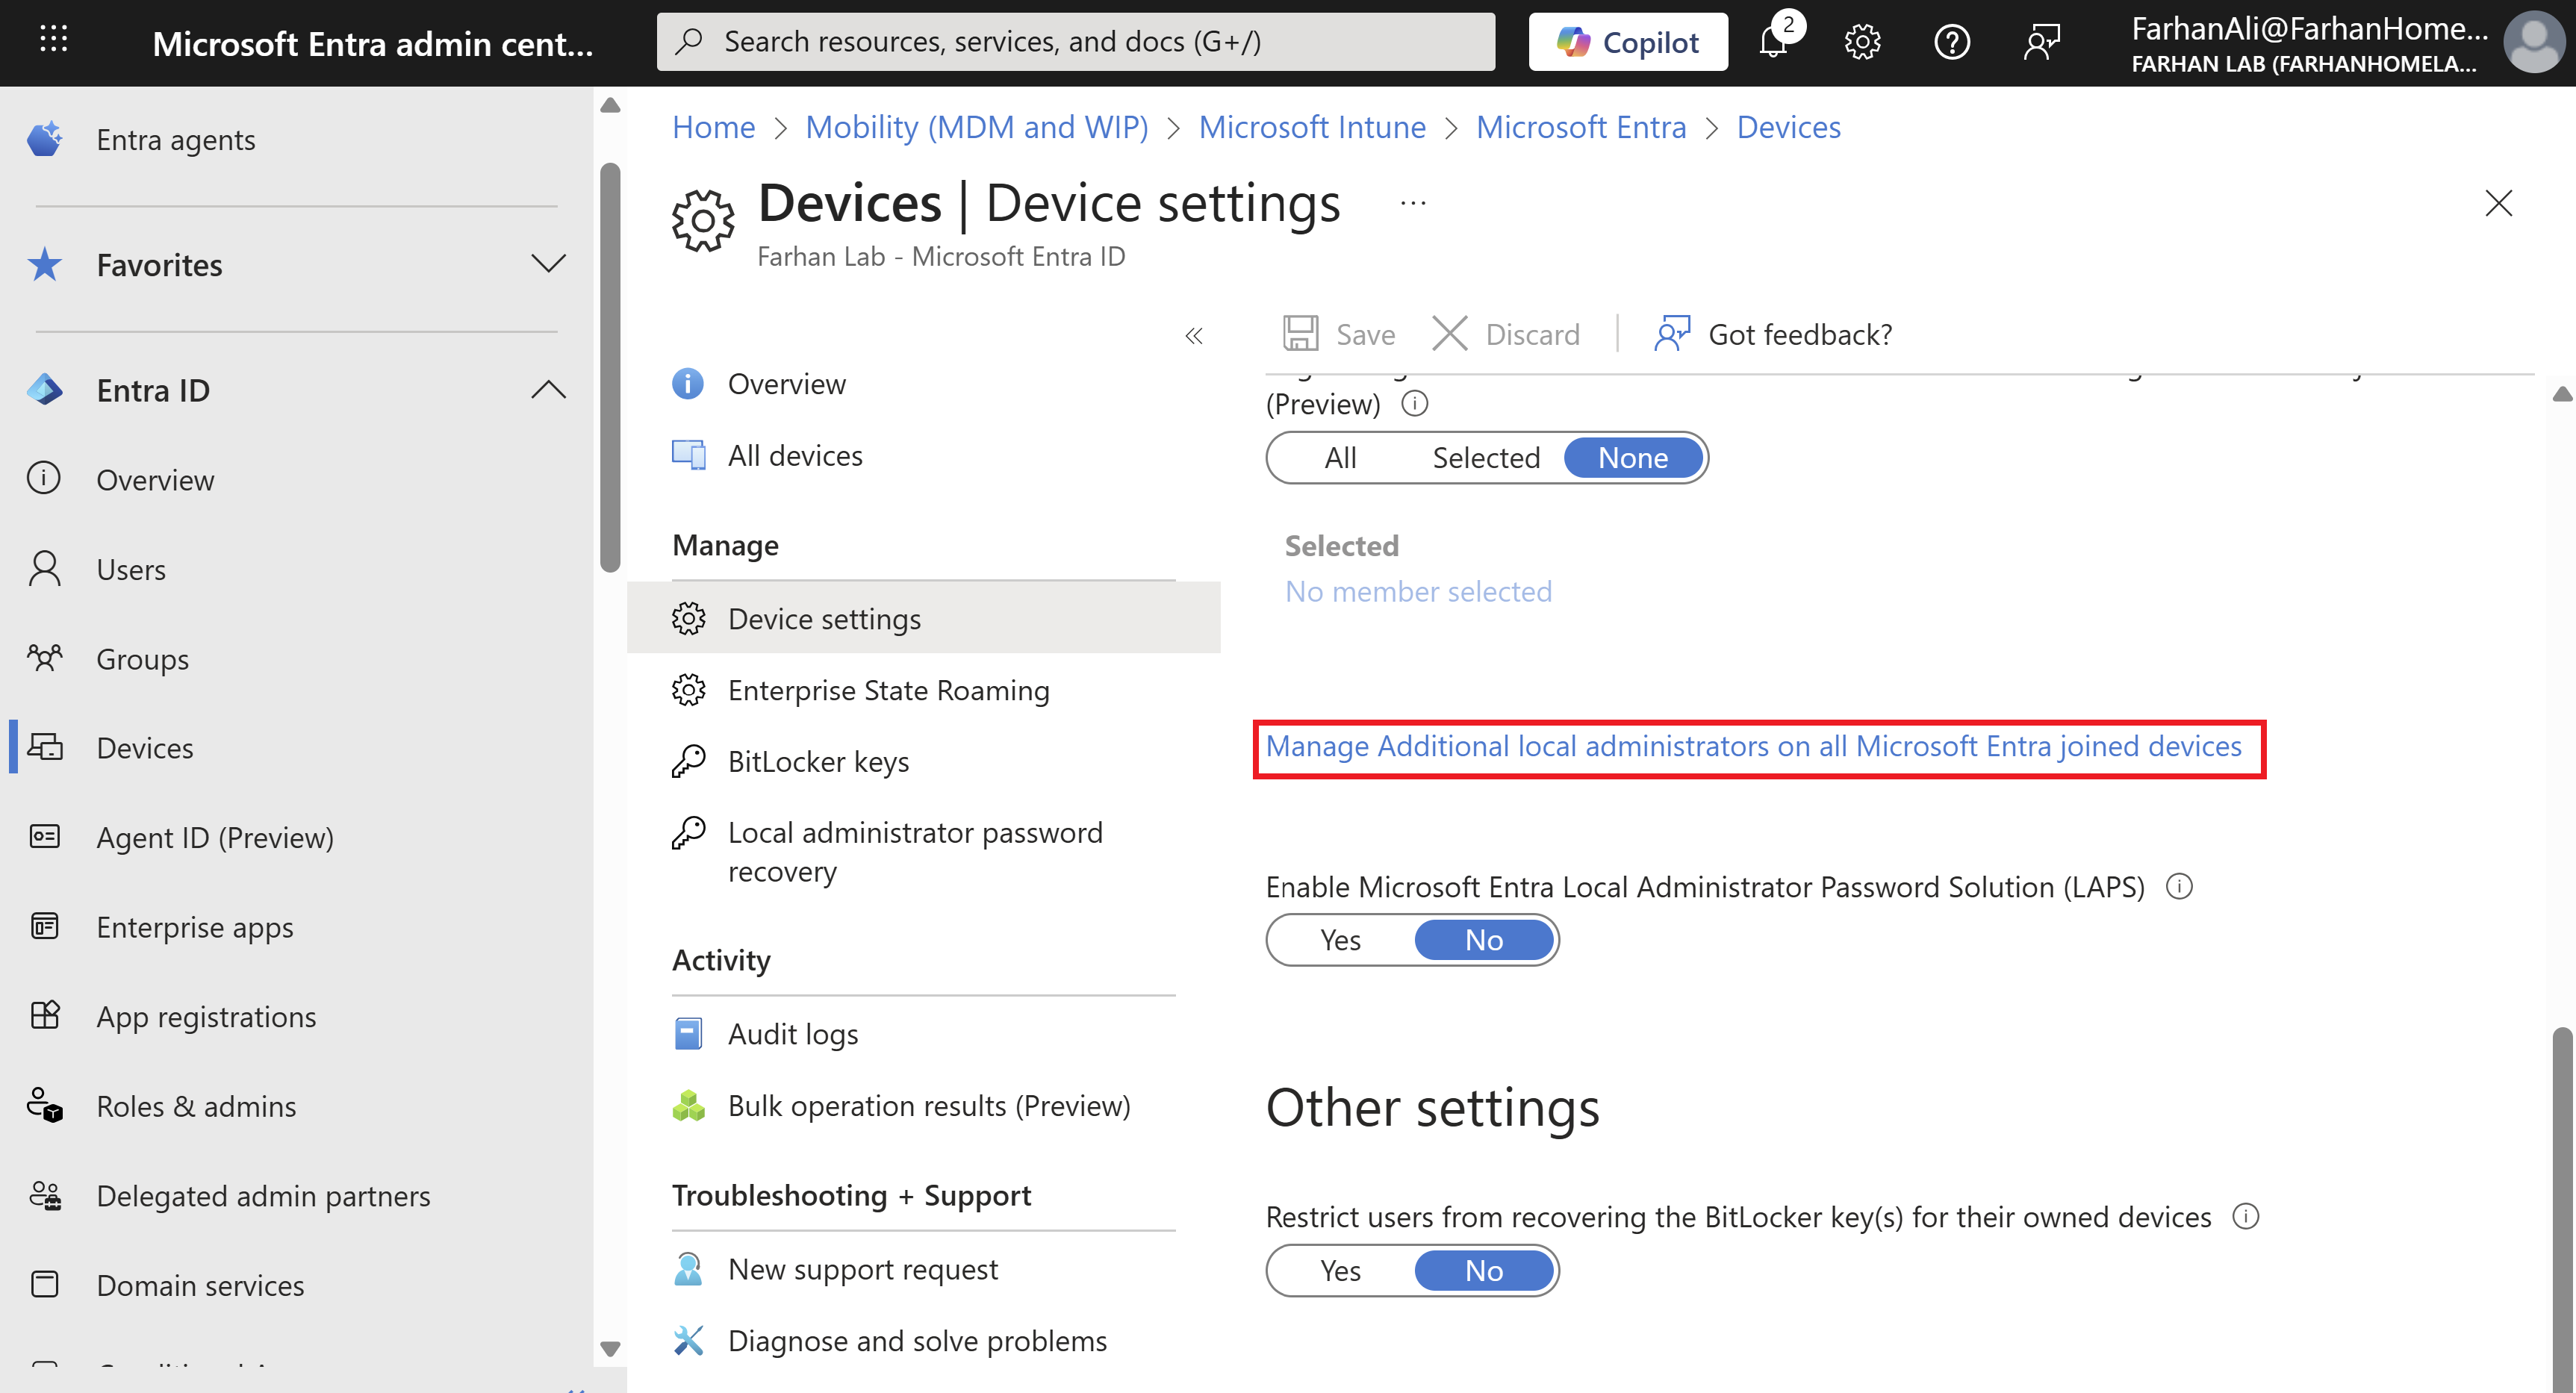
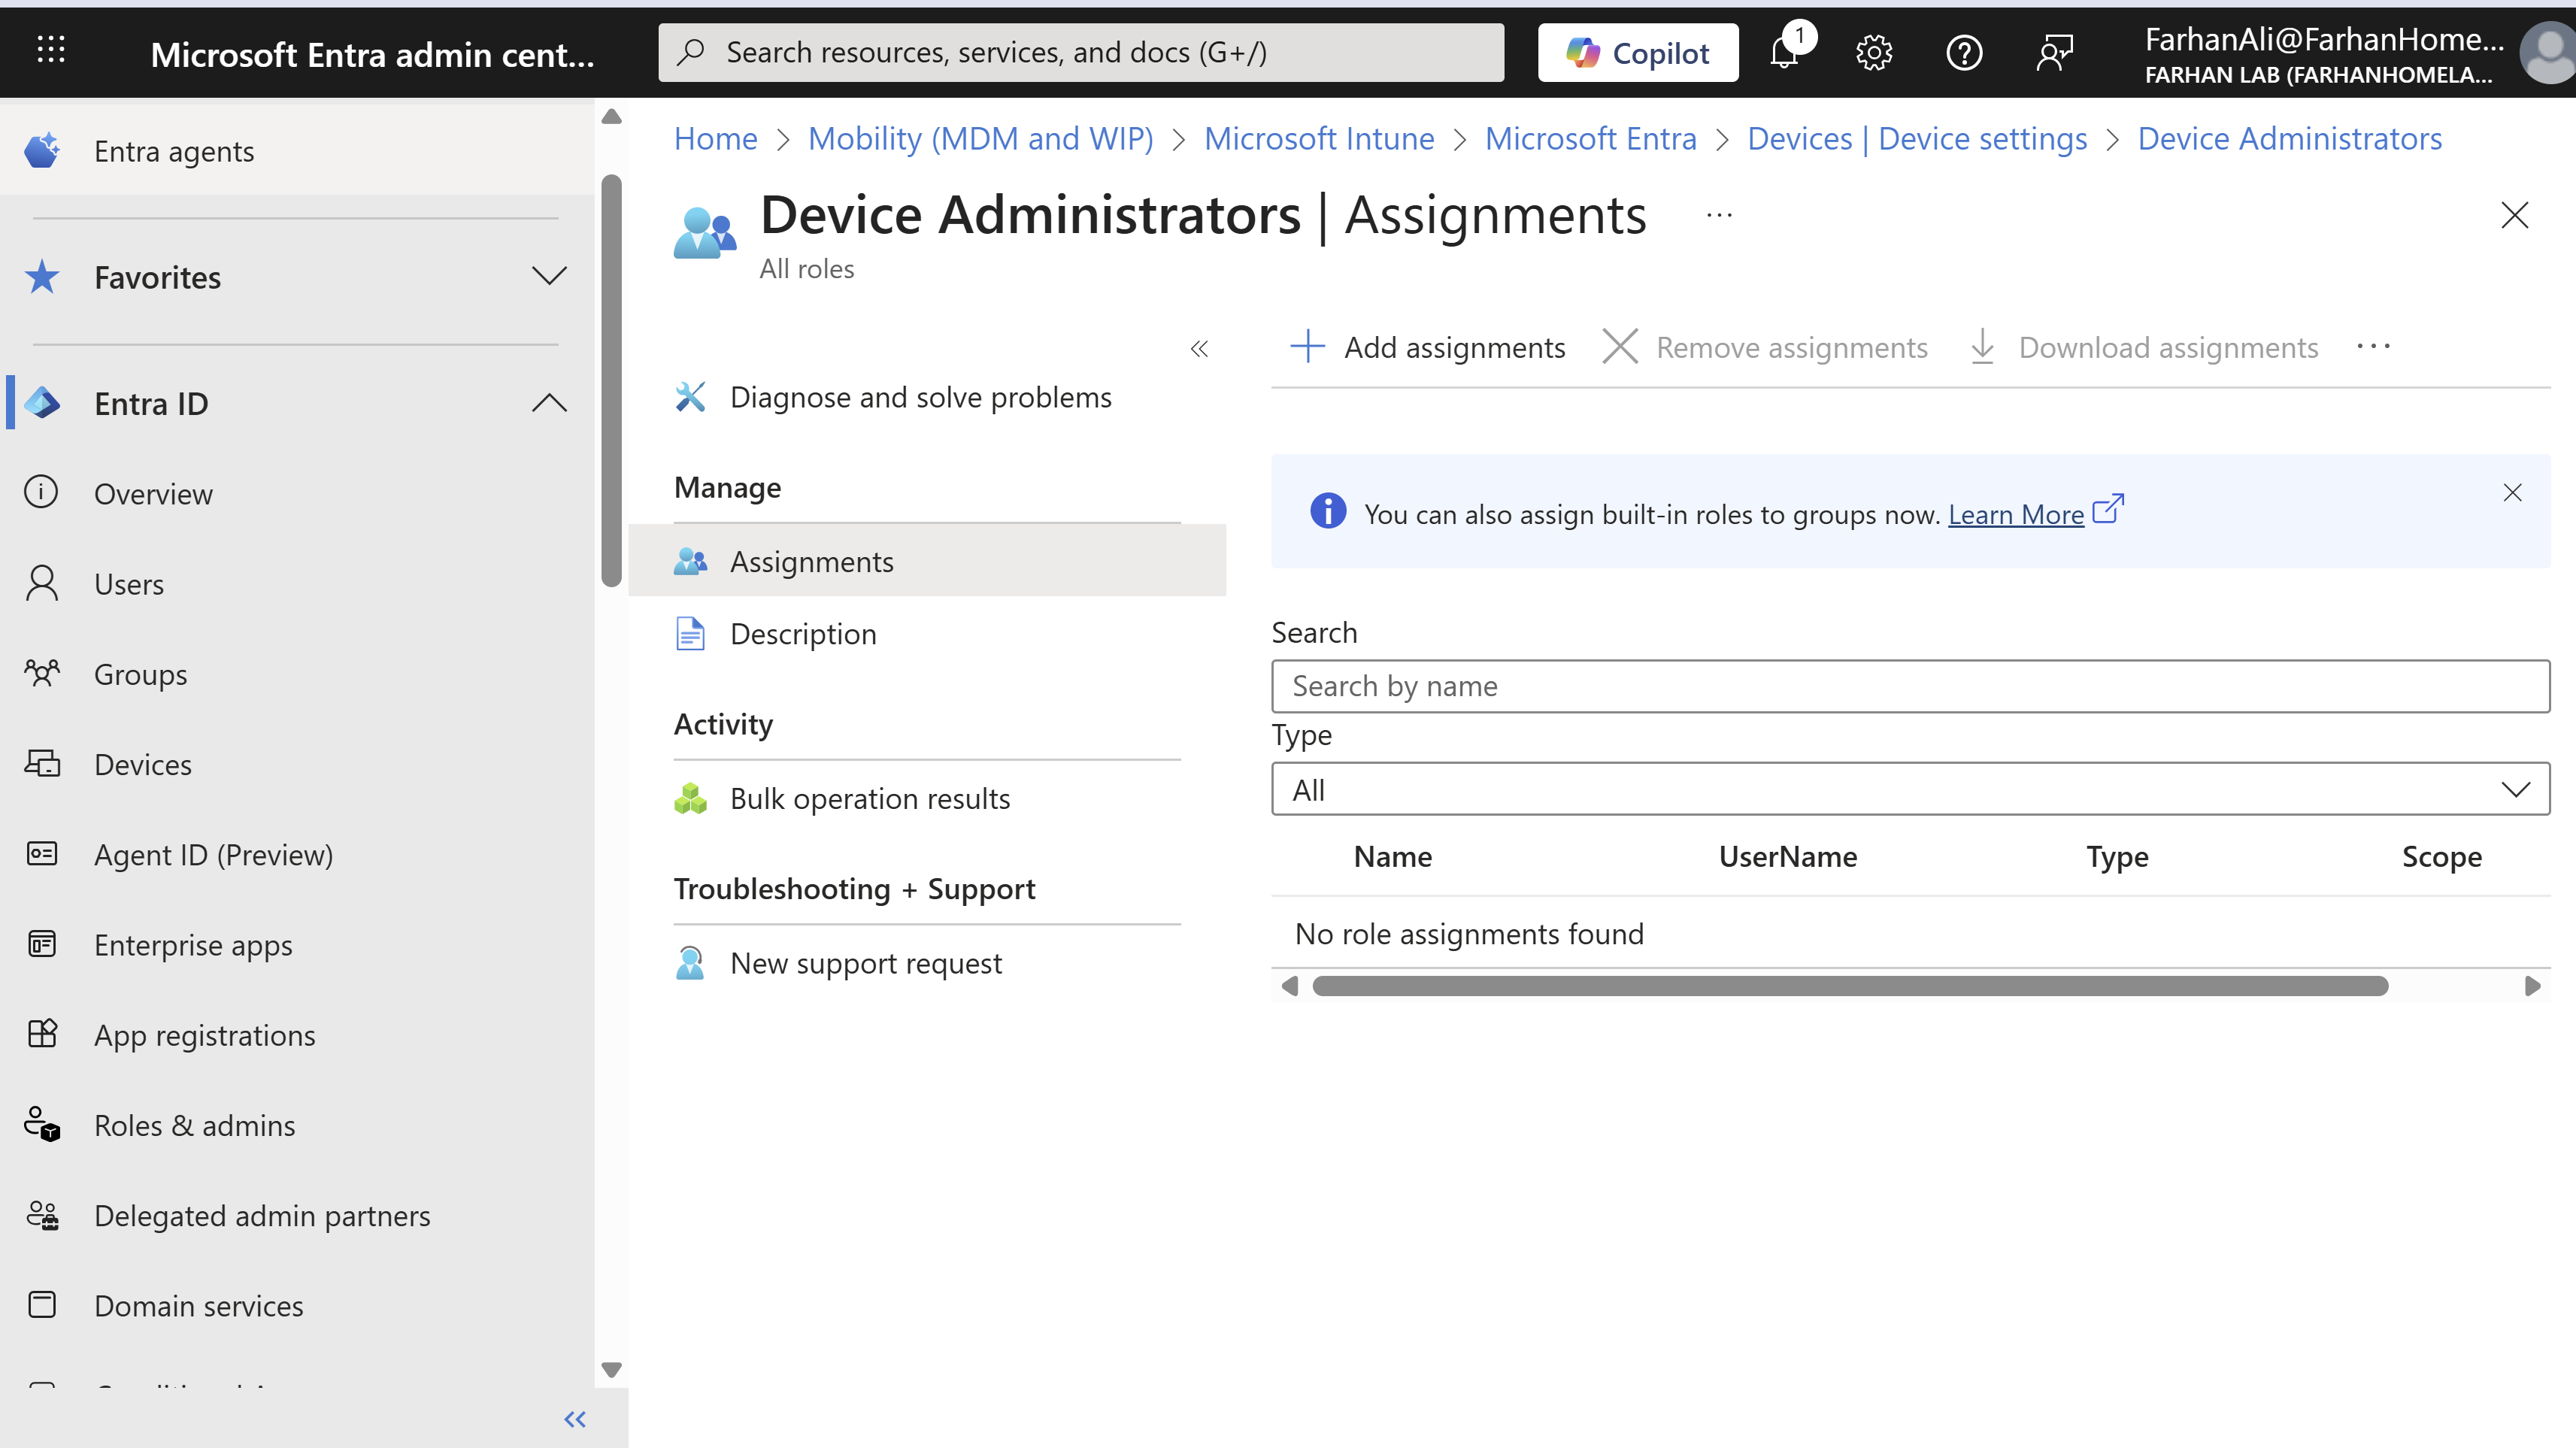
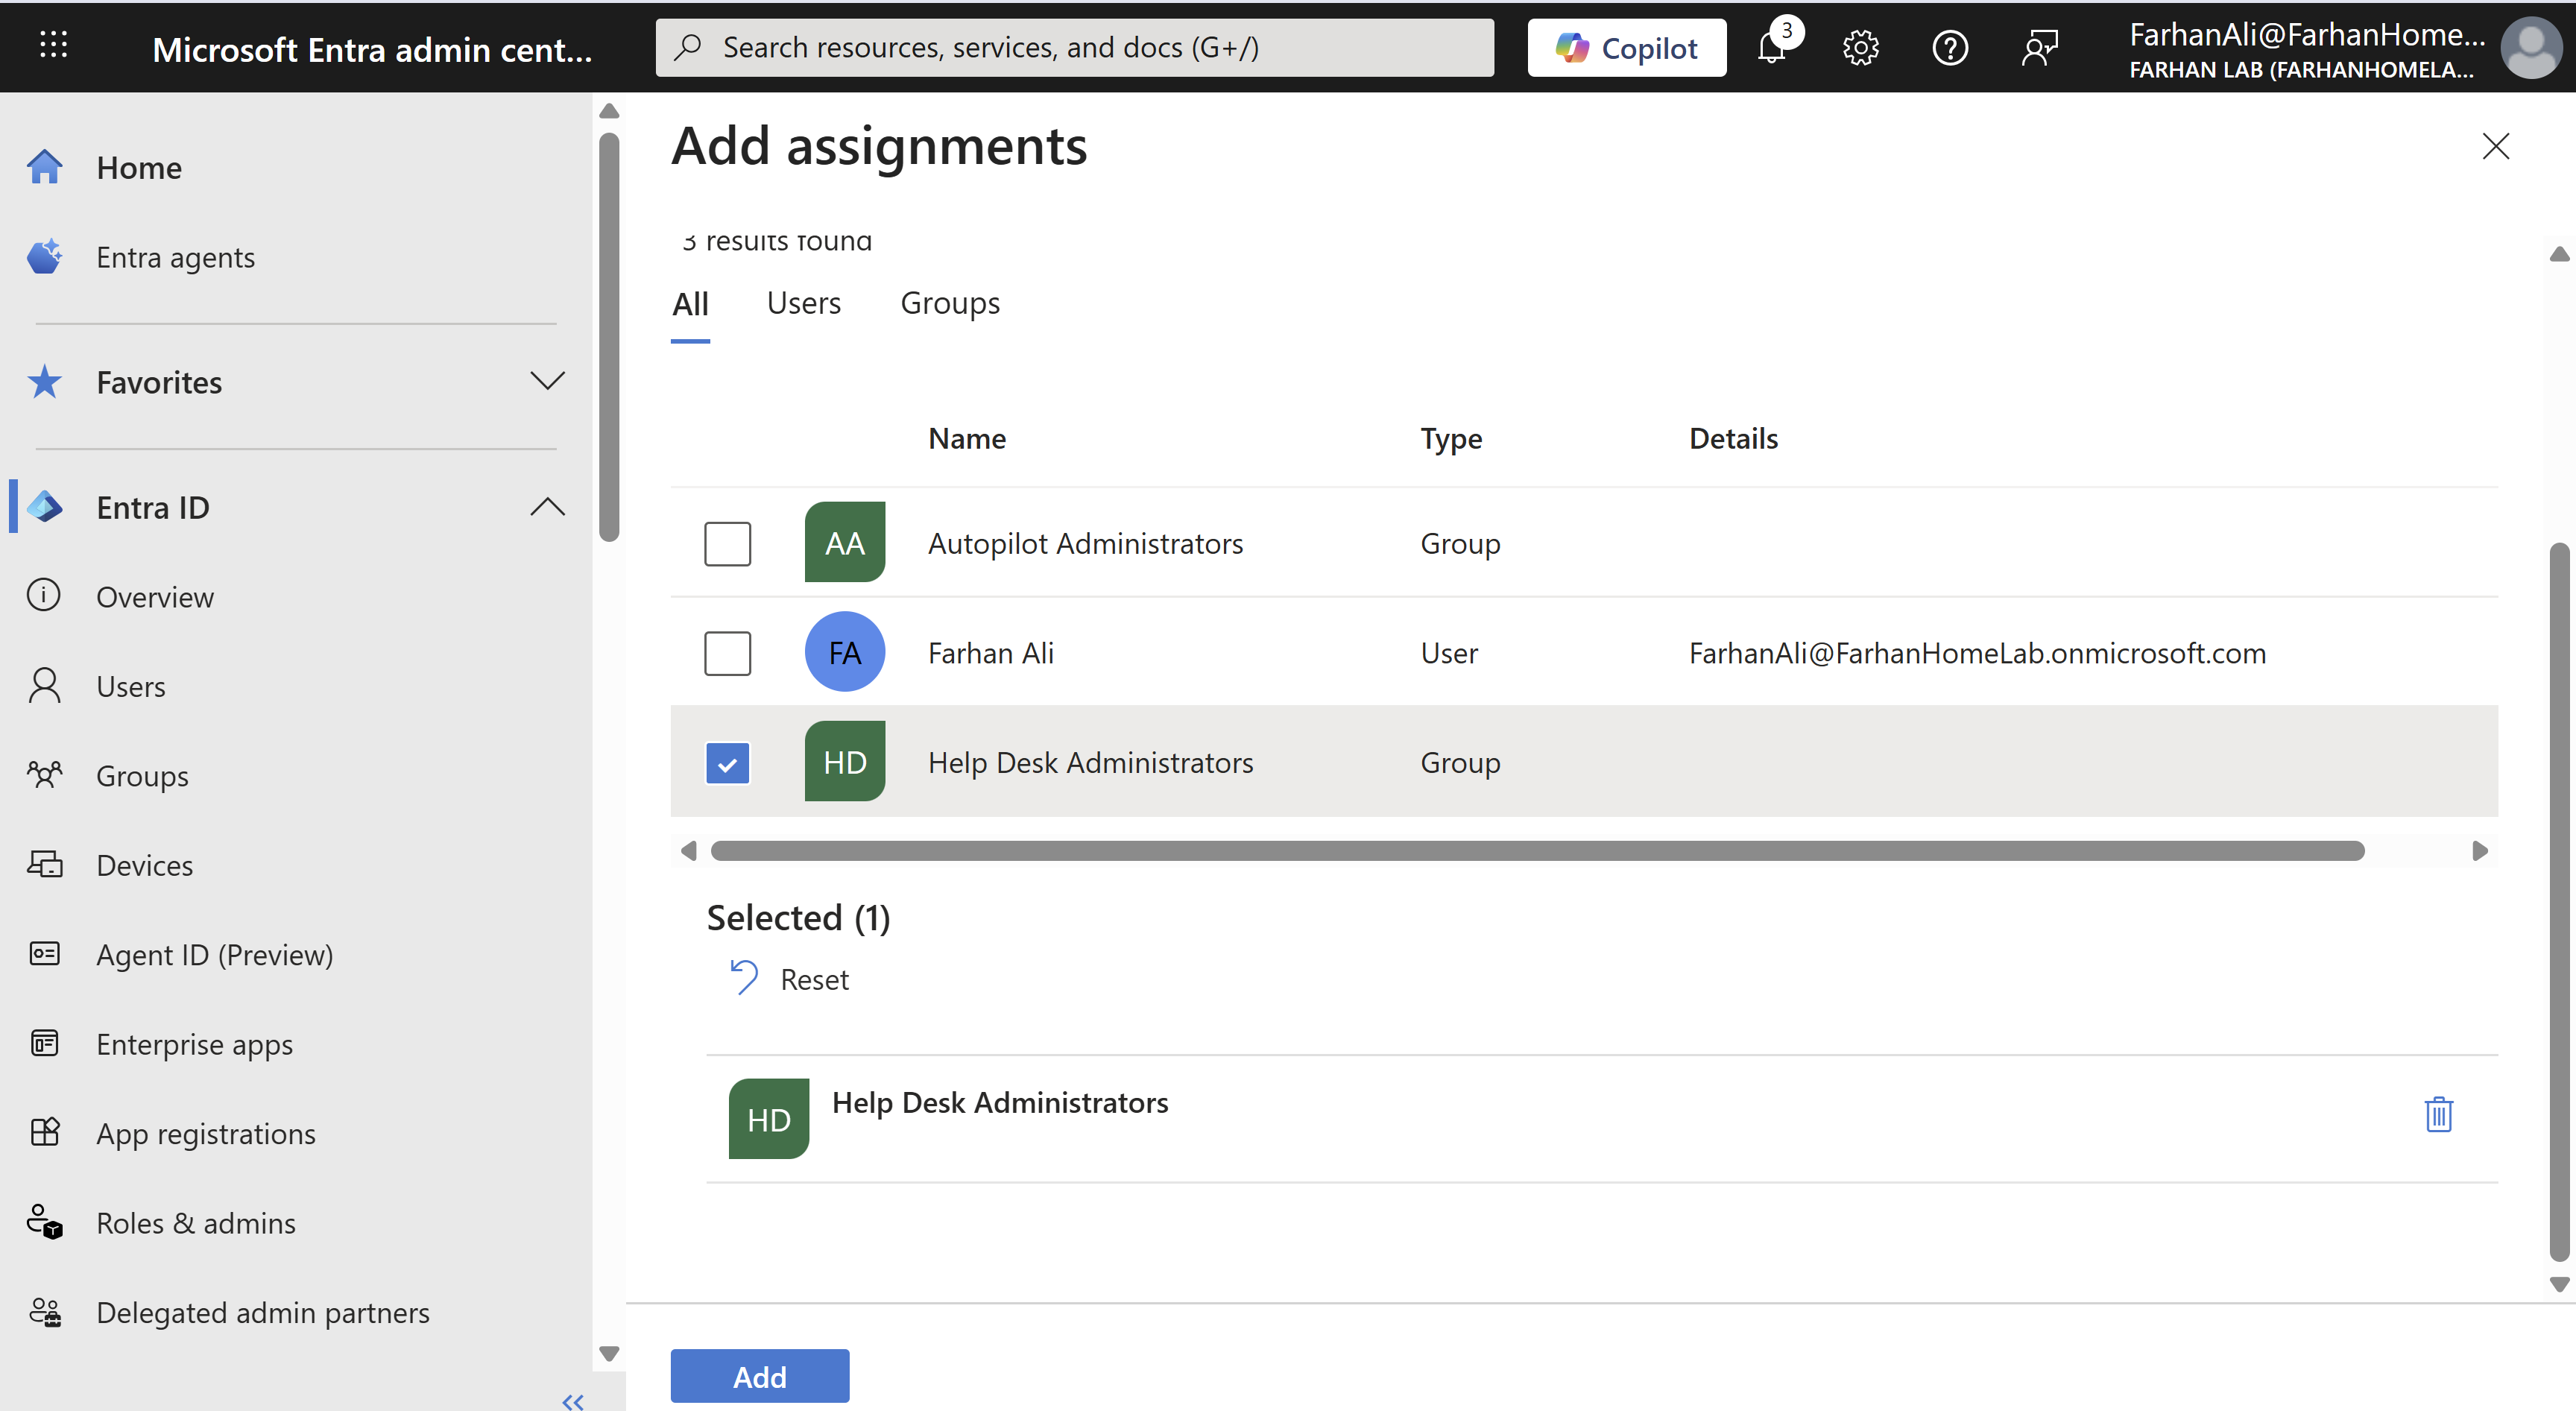
It’s important to restrict who becomes a local admin during device join. The best practice is to specify users who absolutely need these permissions, usually members of the Help Desk team. I created a security group called Help Desk Administrators for this purpose.
Navigate to Microsoft Entra admin center → Entra ID → Devices → Device Settings -> “Manage Additional local administrators on all Microsoft Entra joined devices”
Create Groups for Autopilot
When configuring autopilot targeting, groups enable administrators to apply specific configurations, policies, and applications to different sets of devices or users based on organizational need. I handle this by creating two security groups, a user group to manage autopilot administration permissions and a dynamic device group that specifies target devices for autopilot.
- Autopilot Administrators
- All Windows 11 Devices
Create a Security Group for Autopilot Administrators
In an organization, this would generally be endpoint technicians who handle device preparation for autopilot.
Navigate to Microsoft 365 admin center -> Groups -> Active groups -> Security groups -> Add a security group
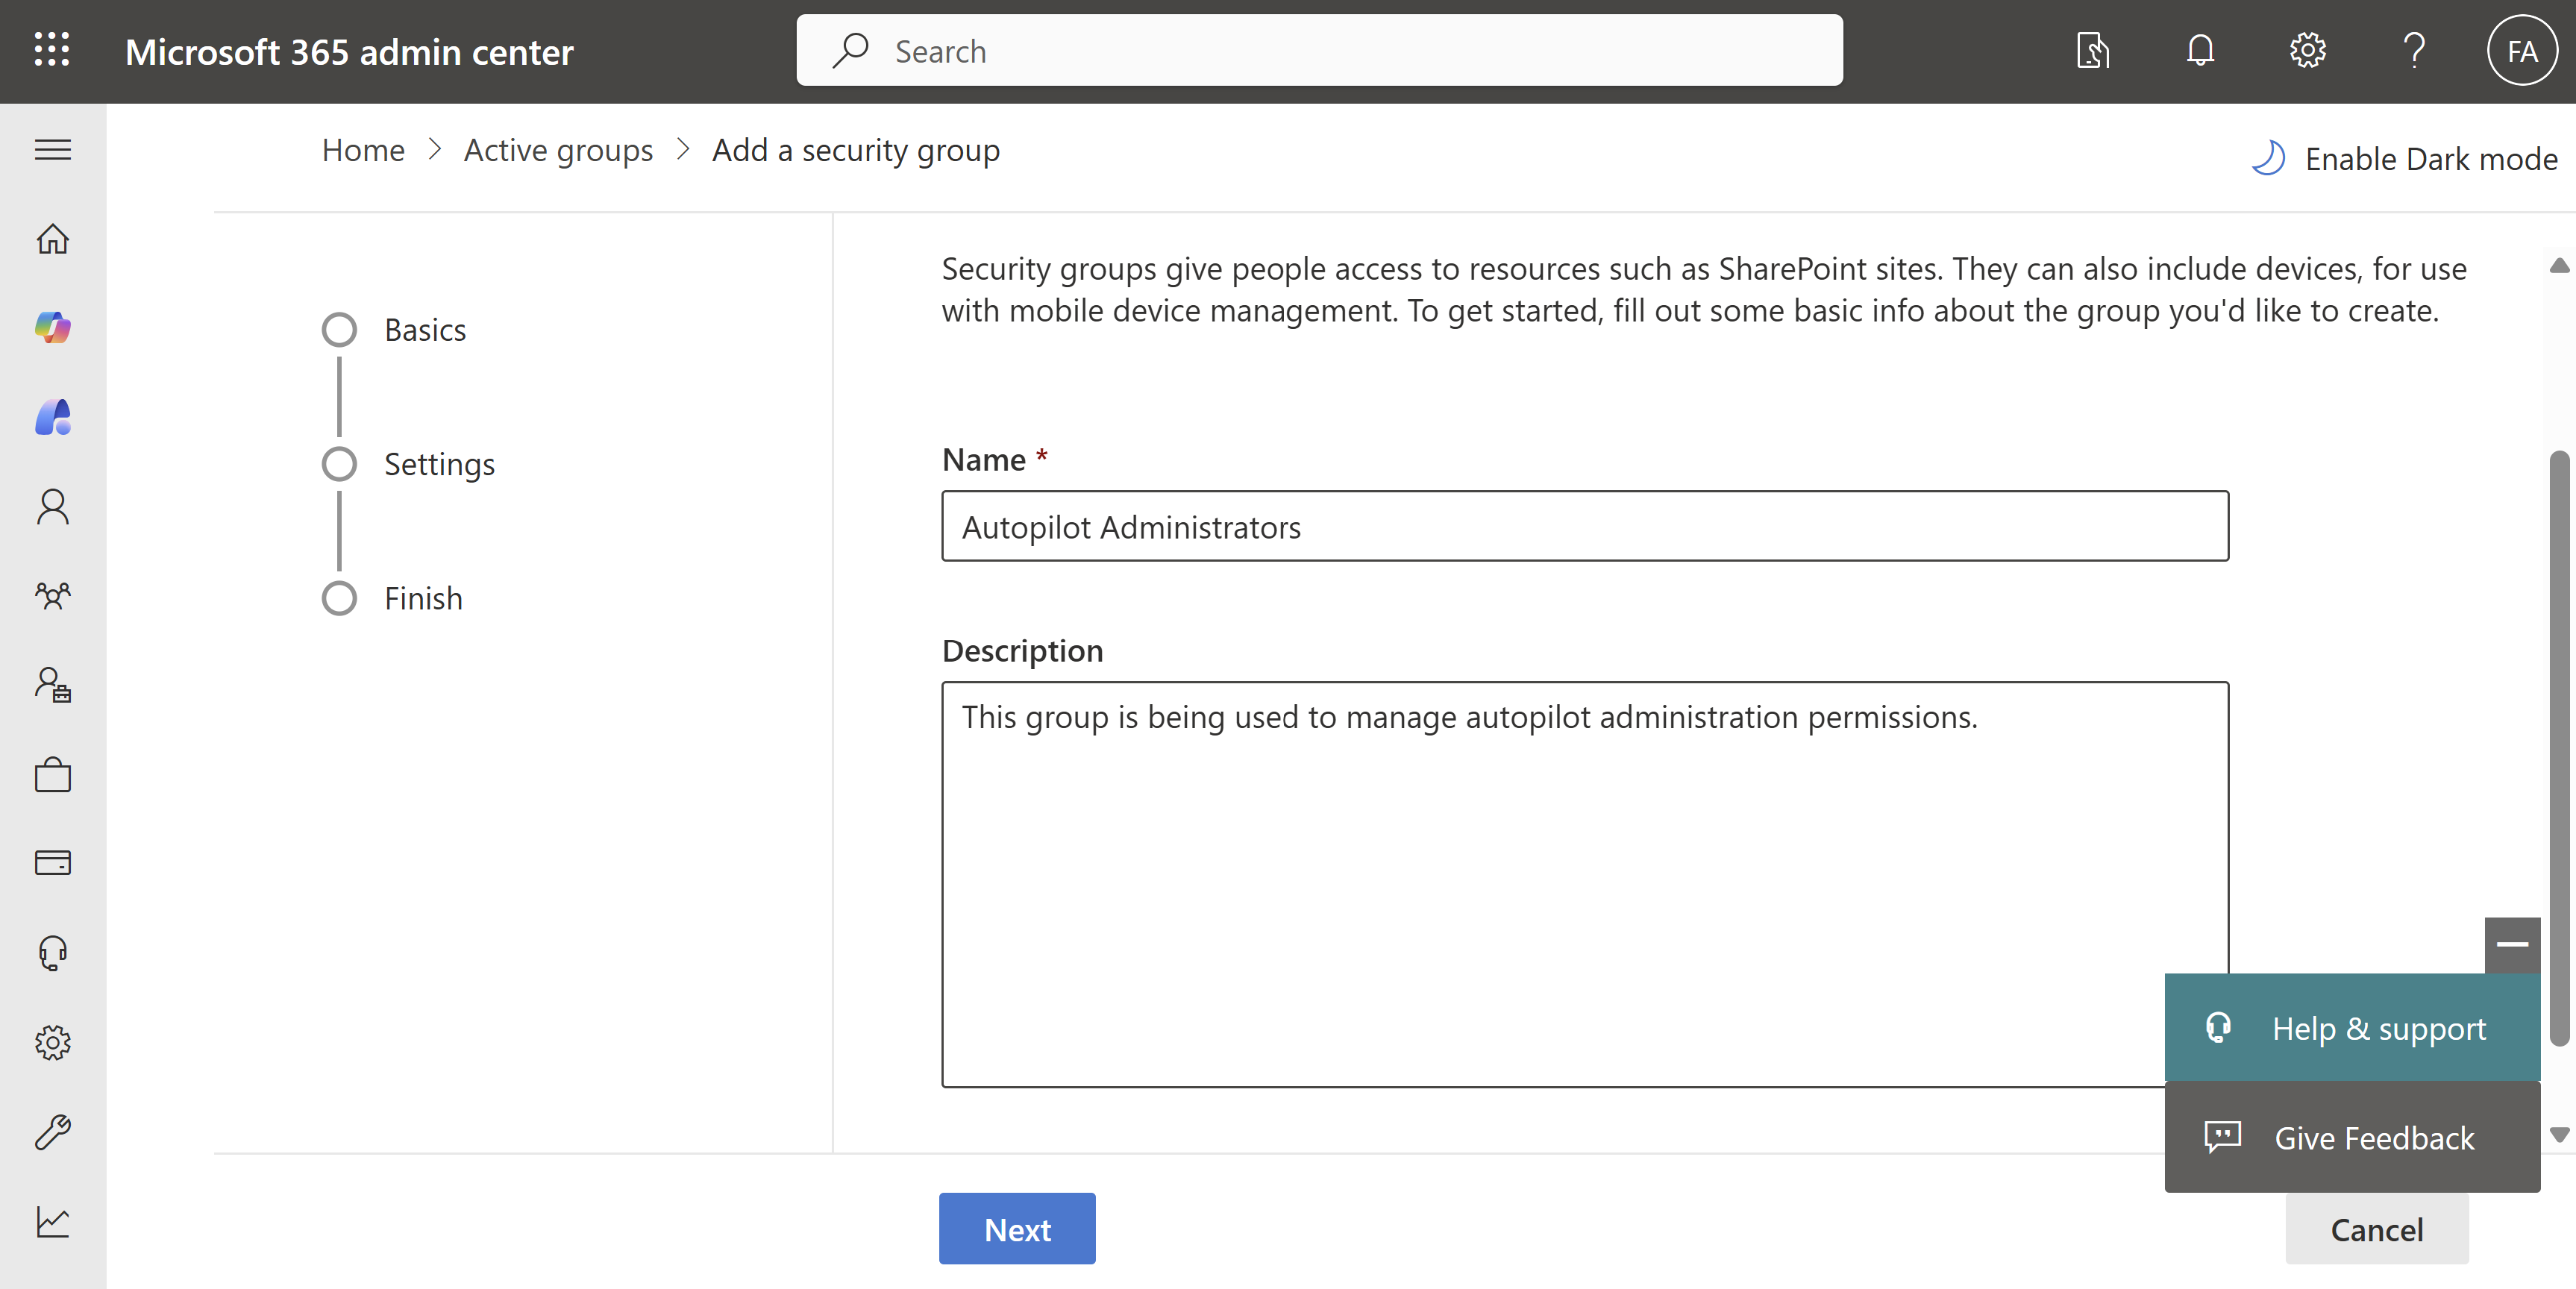
Check the box “Azure AD roles can be assigned to this group”
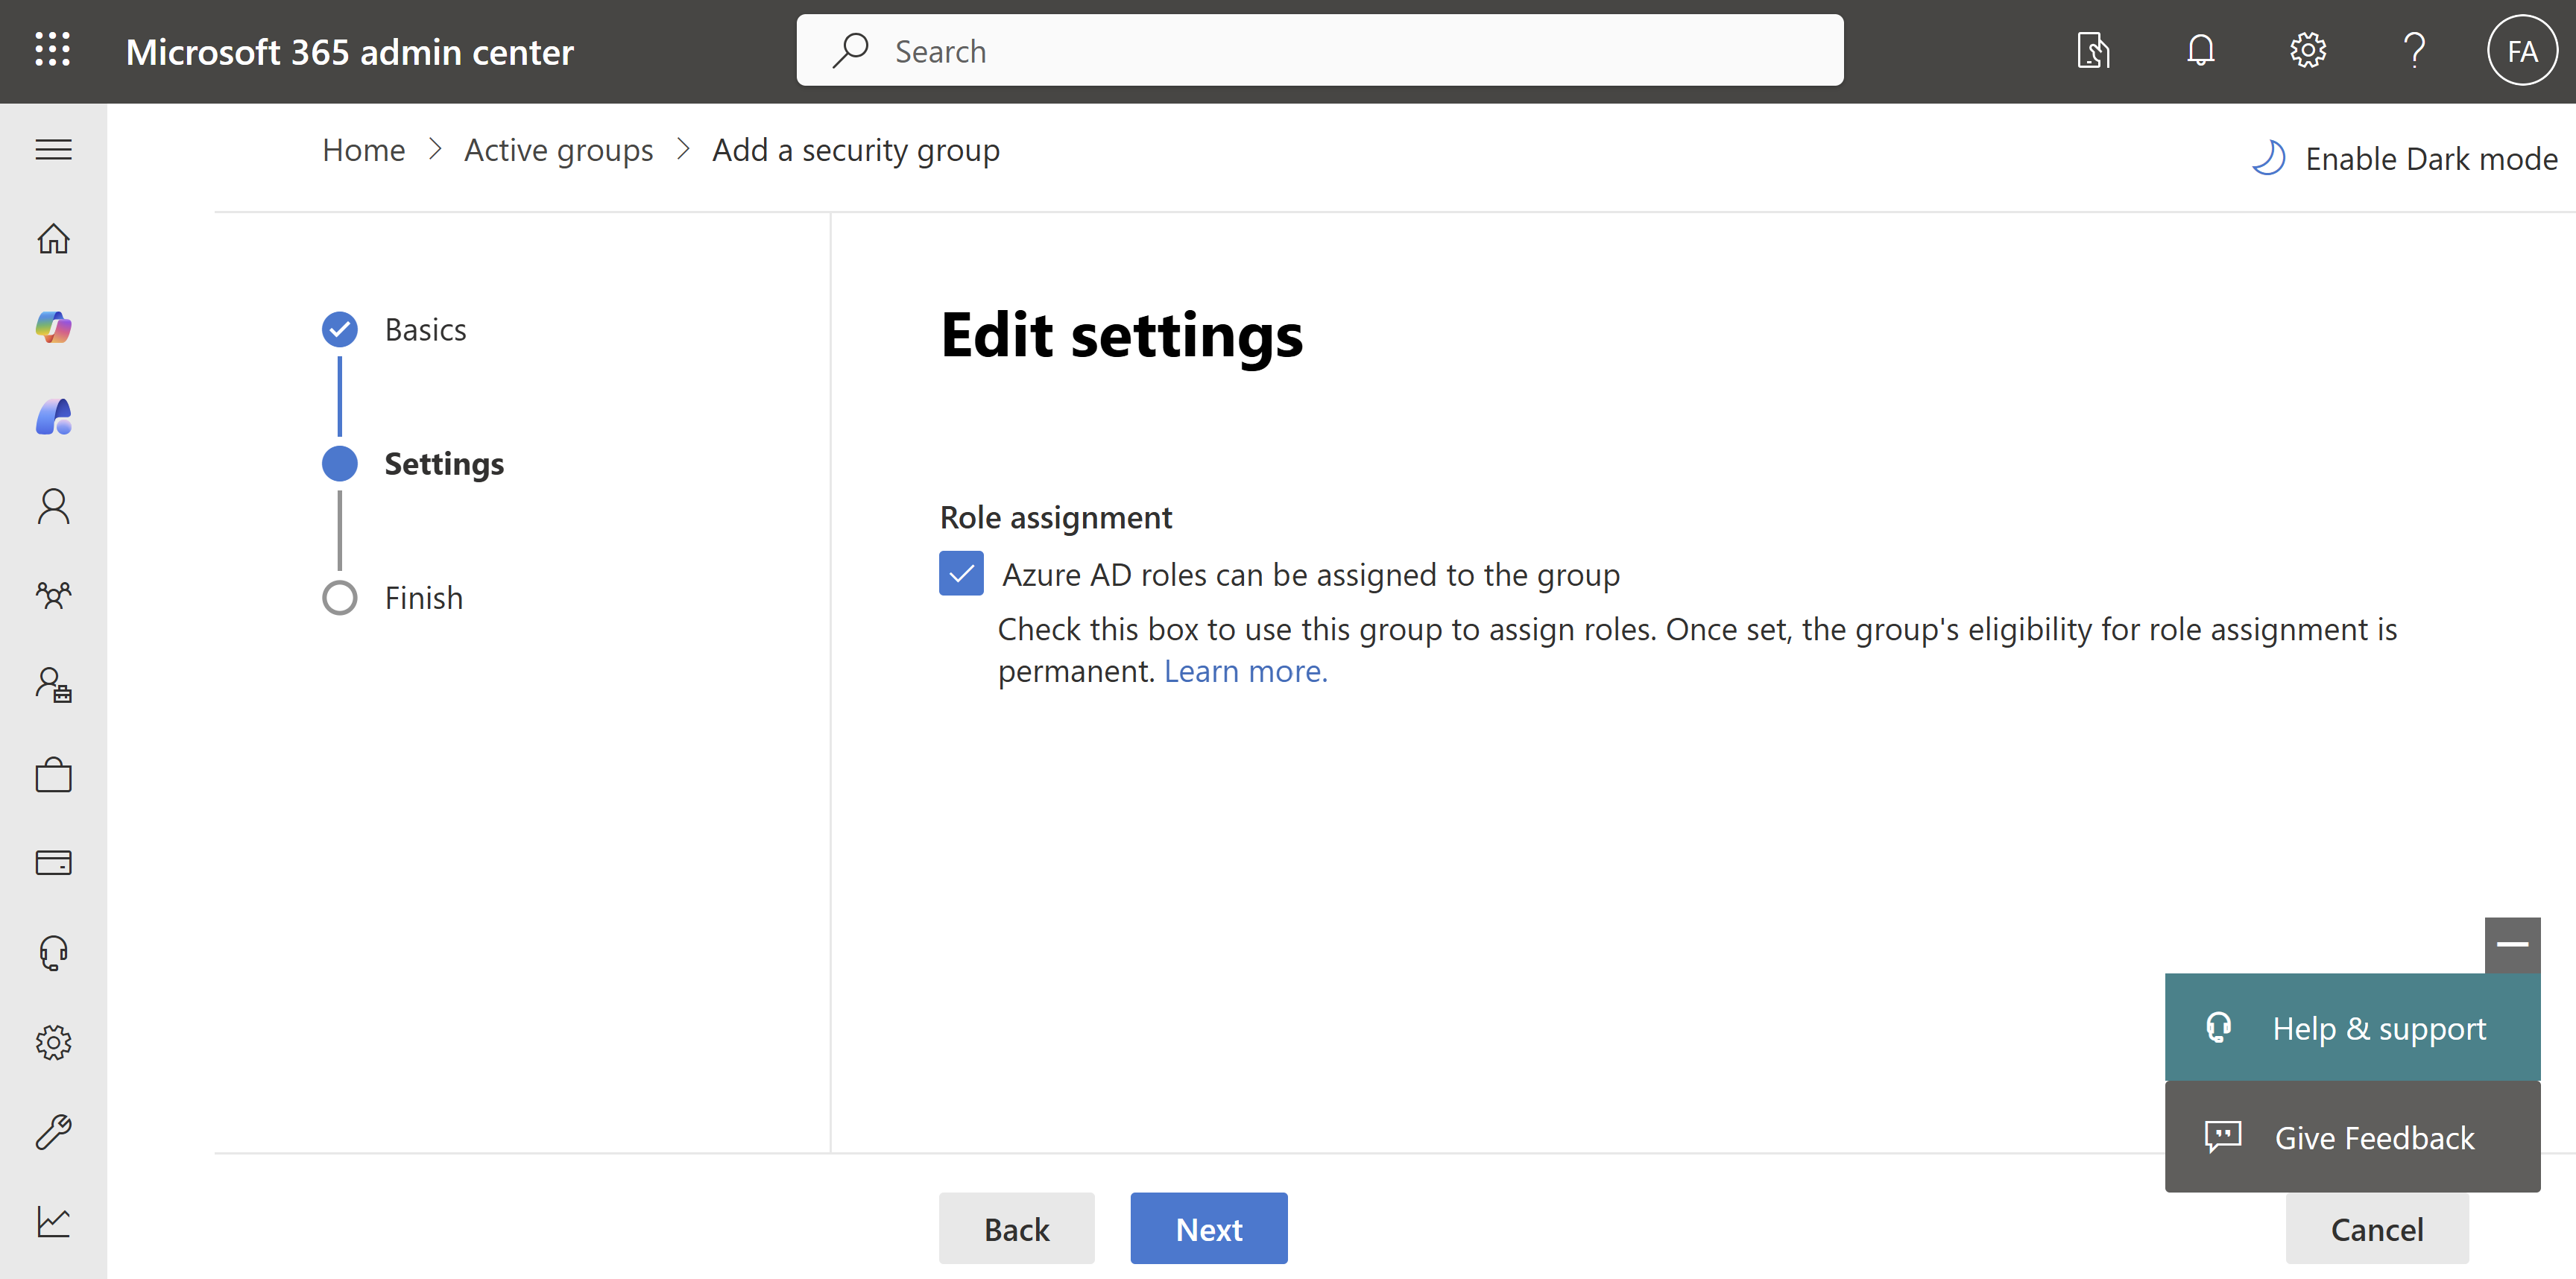
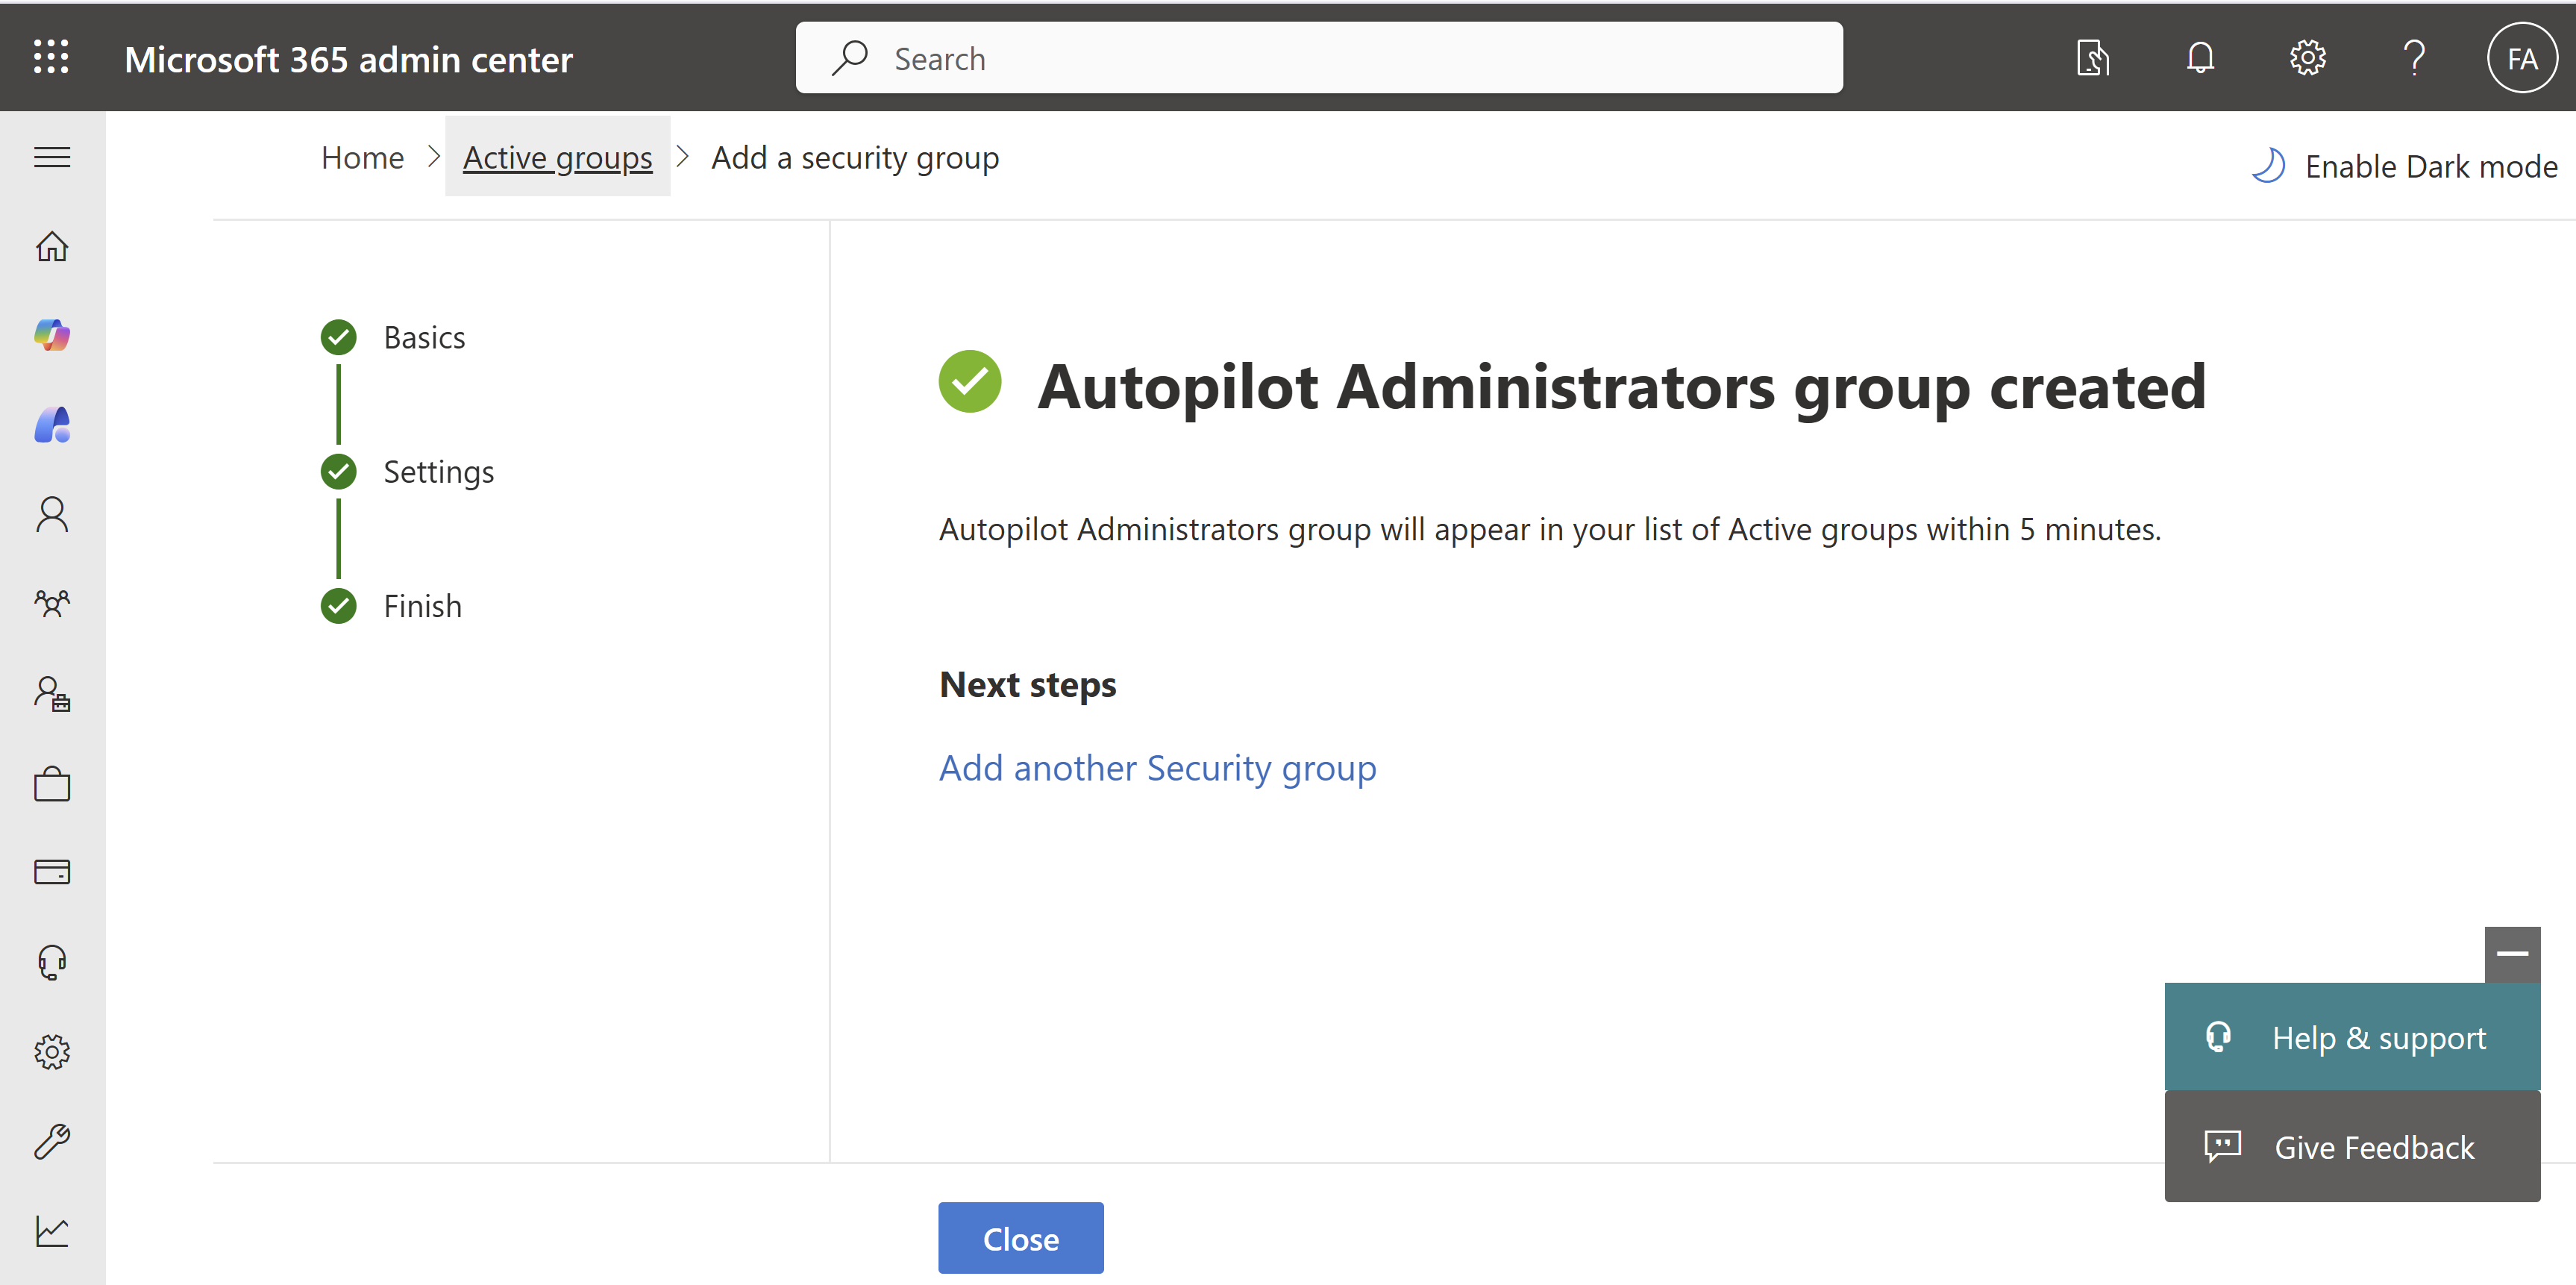
Add users who will be administering autopilot device preparation to the group. I added myself to the group for this lab.
Create a Dynamic Device Group
I created a dynamic device group that will later be used to define the scope for Intune assignments. The group is configured to automatically include all Windows Autopilot devices using the following dynamic membership rule:
(device.devicePhysicalIDs \-any (\_ \-contains "\[ZTDId\]"))
This rule adds any device that contains a ZTDId (Zero Touch Deployment ID) to the group. The ZTDId is automatically assigned by Microsoft when a device is registered with Windows Autopilot, making this a reliable way to identify all Autopilot-managed devices.
Navigate to Microsoft Intune admin center -> Groups -> All groups -> New group
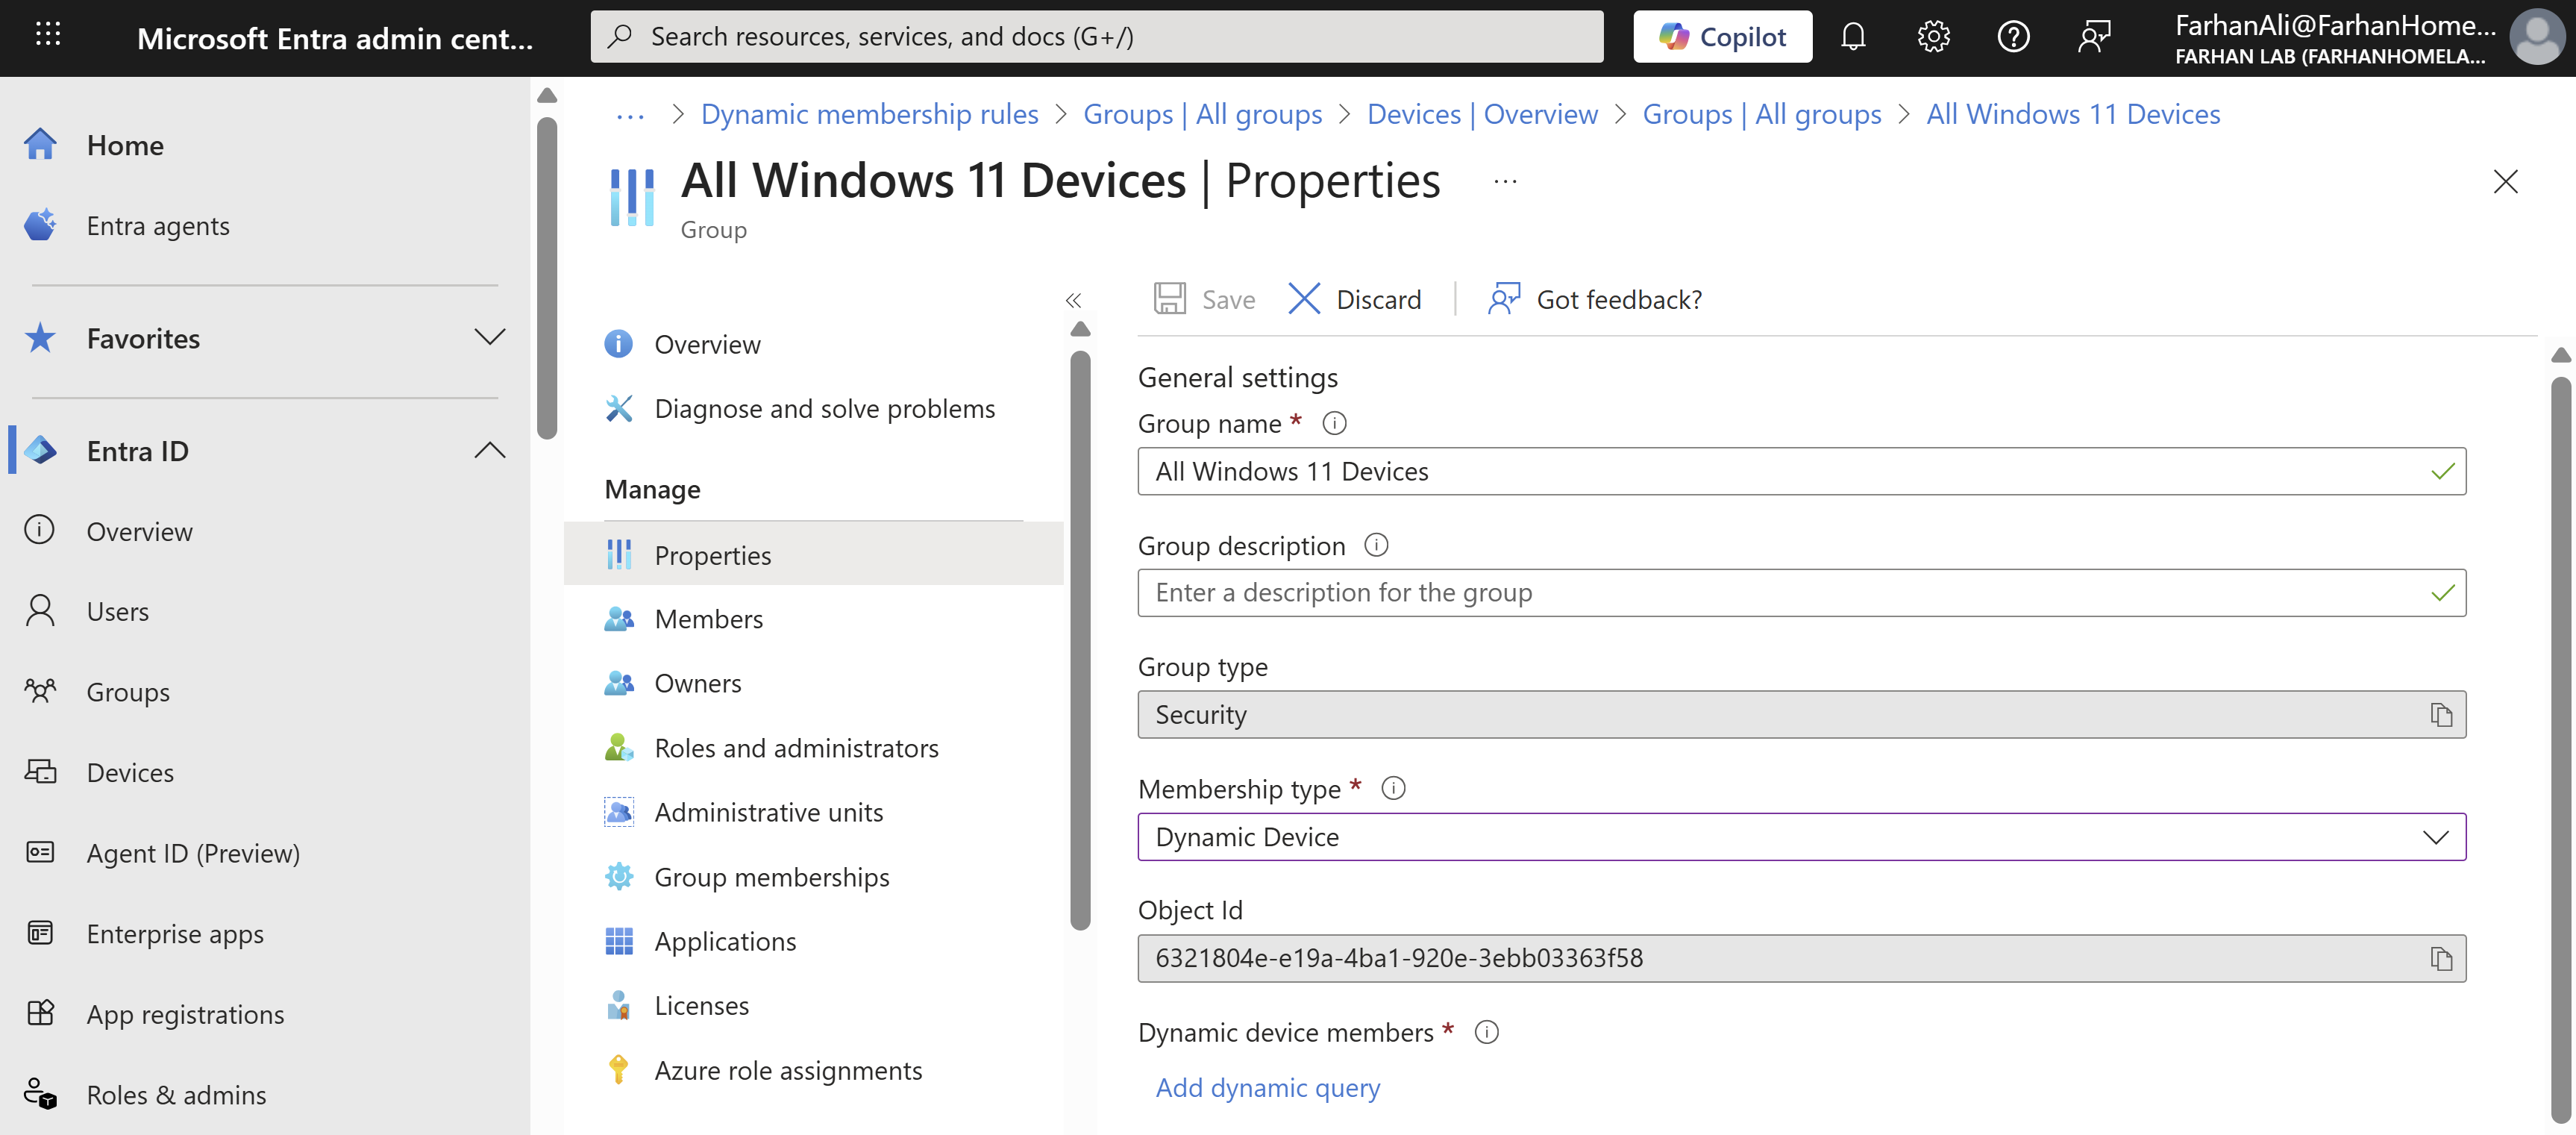
Configured the dynamic rule

Validated the dynamic membership rule to confirm that it’s working as expected
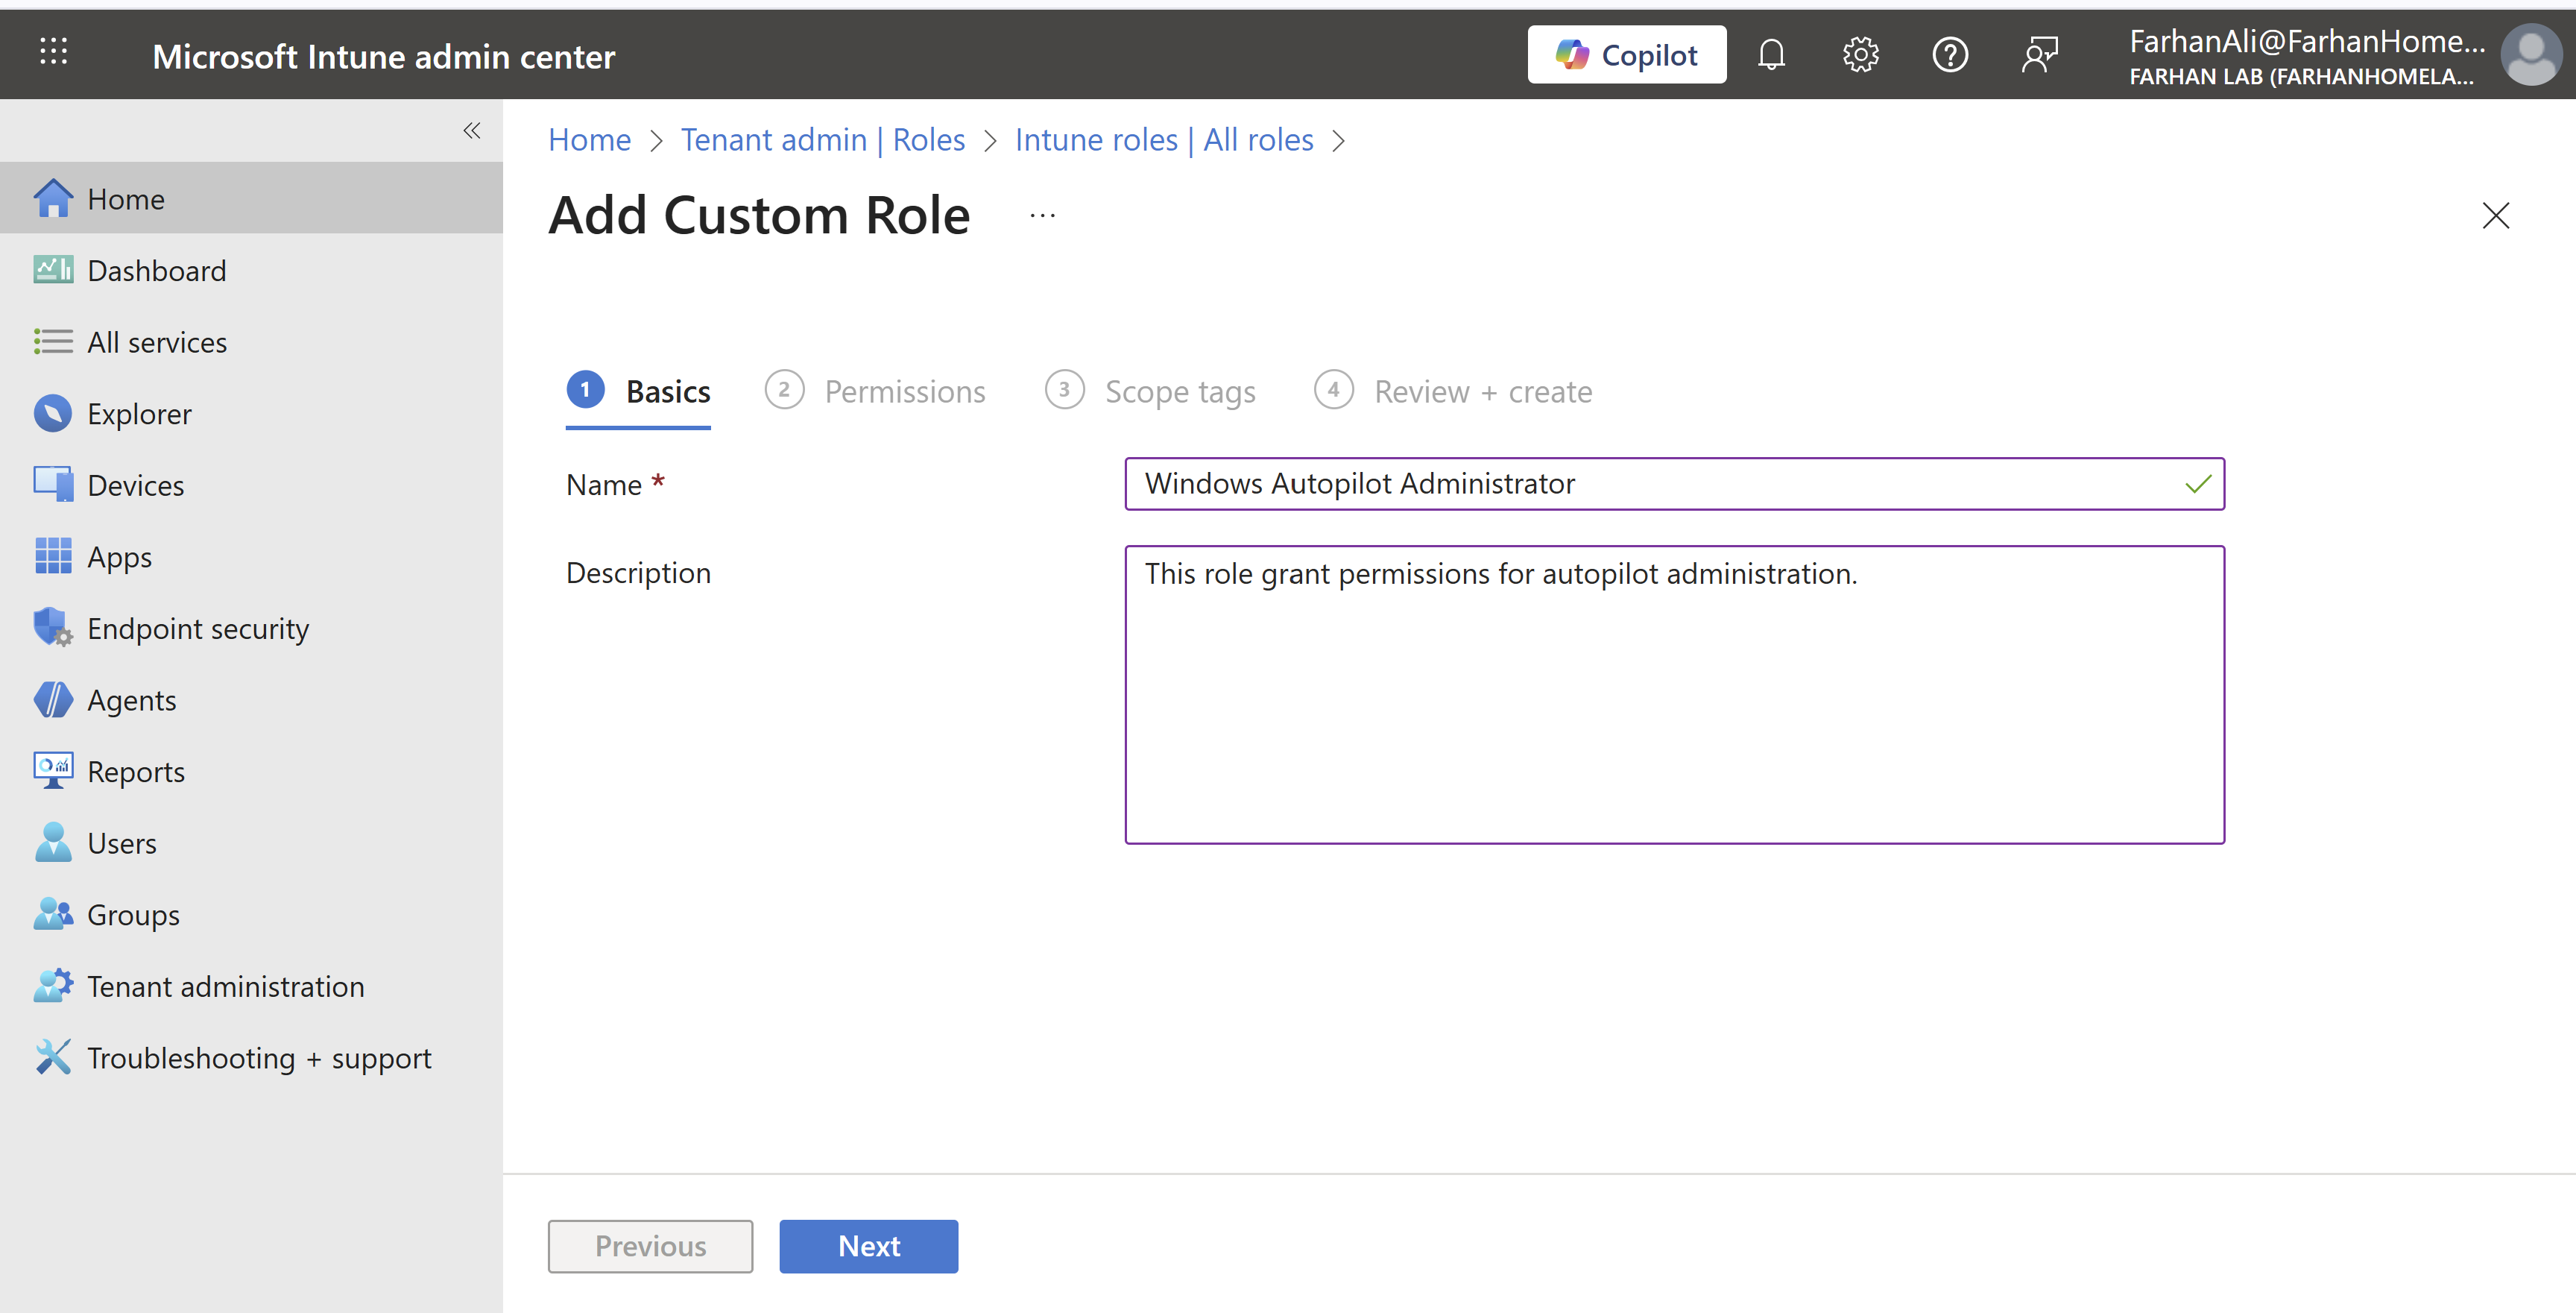
Create Custom Role for Autopilot Administration
The person who signs up for Microsoft online services automatically becomes a Global admin which has unlimited access to all management features and most data in all admin centers. Now this is harmless in a lab environment but in an enterprise environment you should create a custom role following the least privilege method for windows autopilot administrator which is what I will do.
Navigate to Microsoft intune admin center -> Tenant administration -> Create -> Intune role
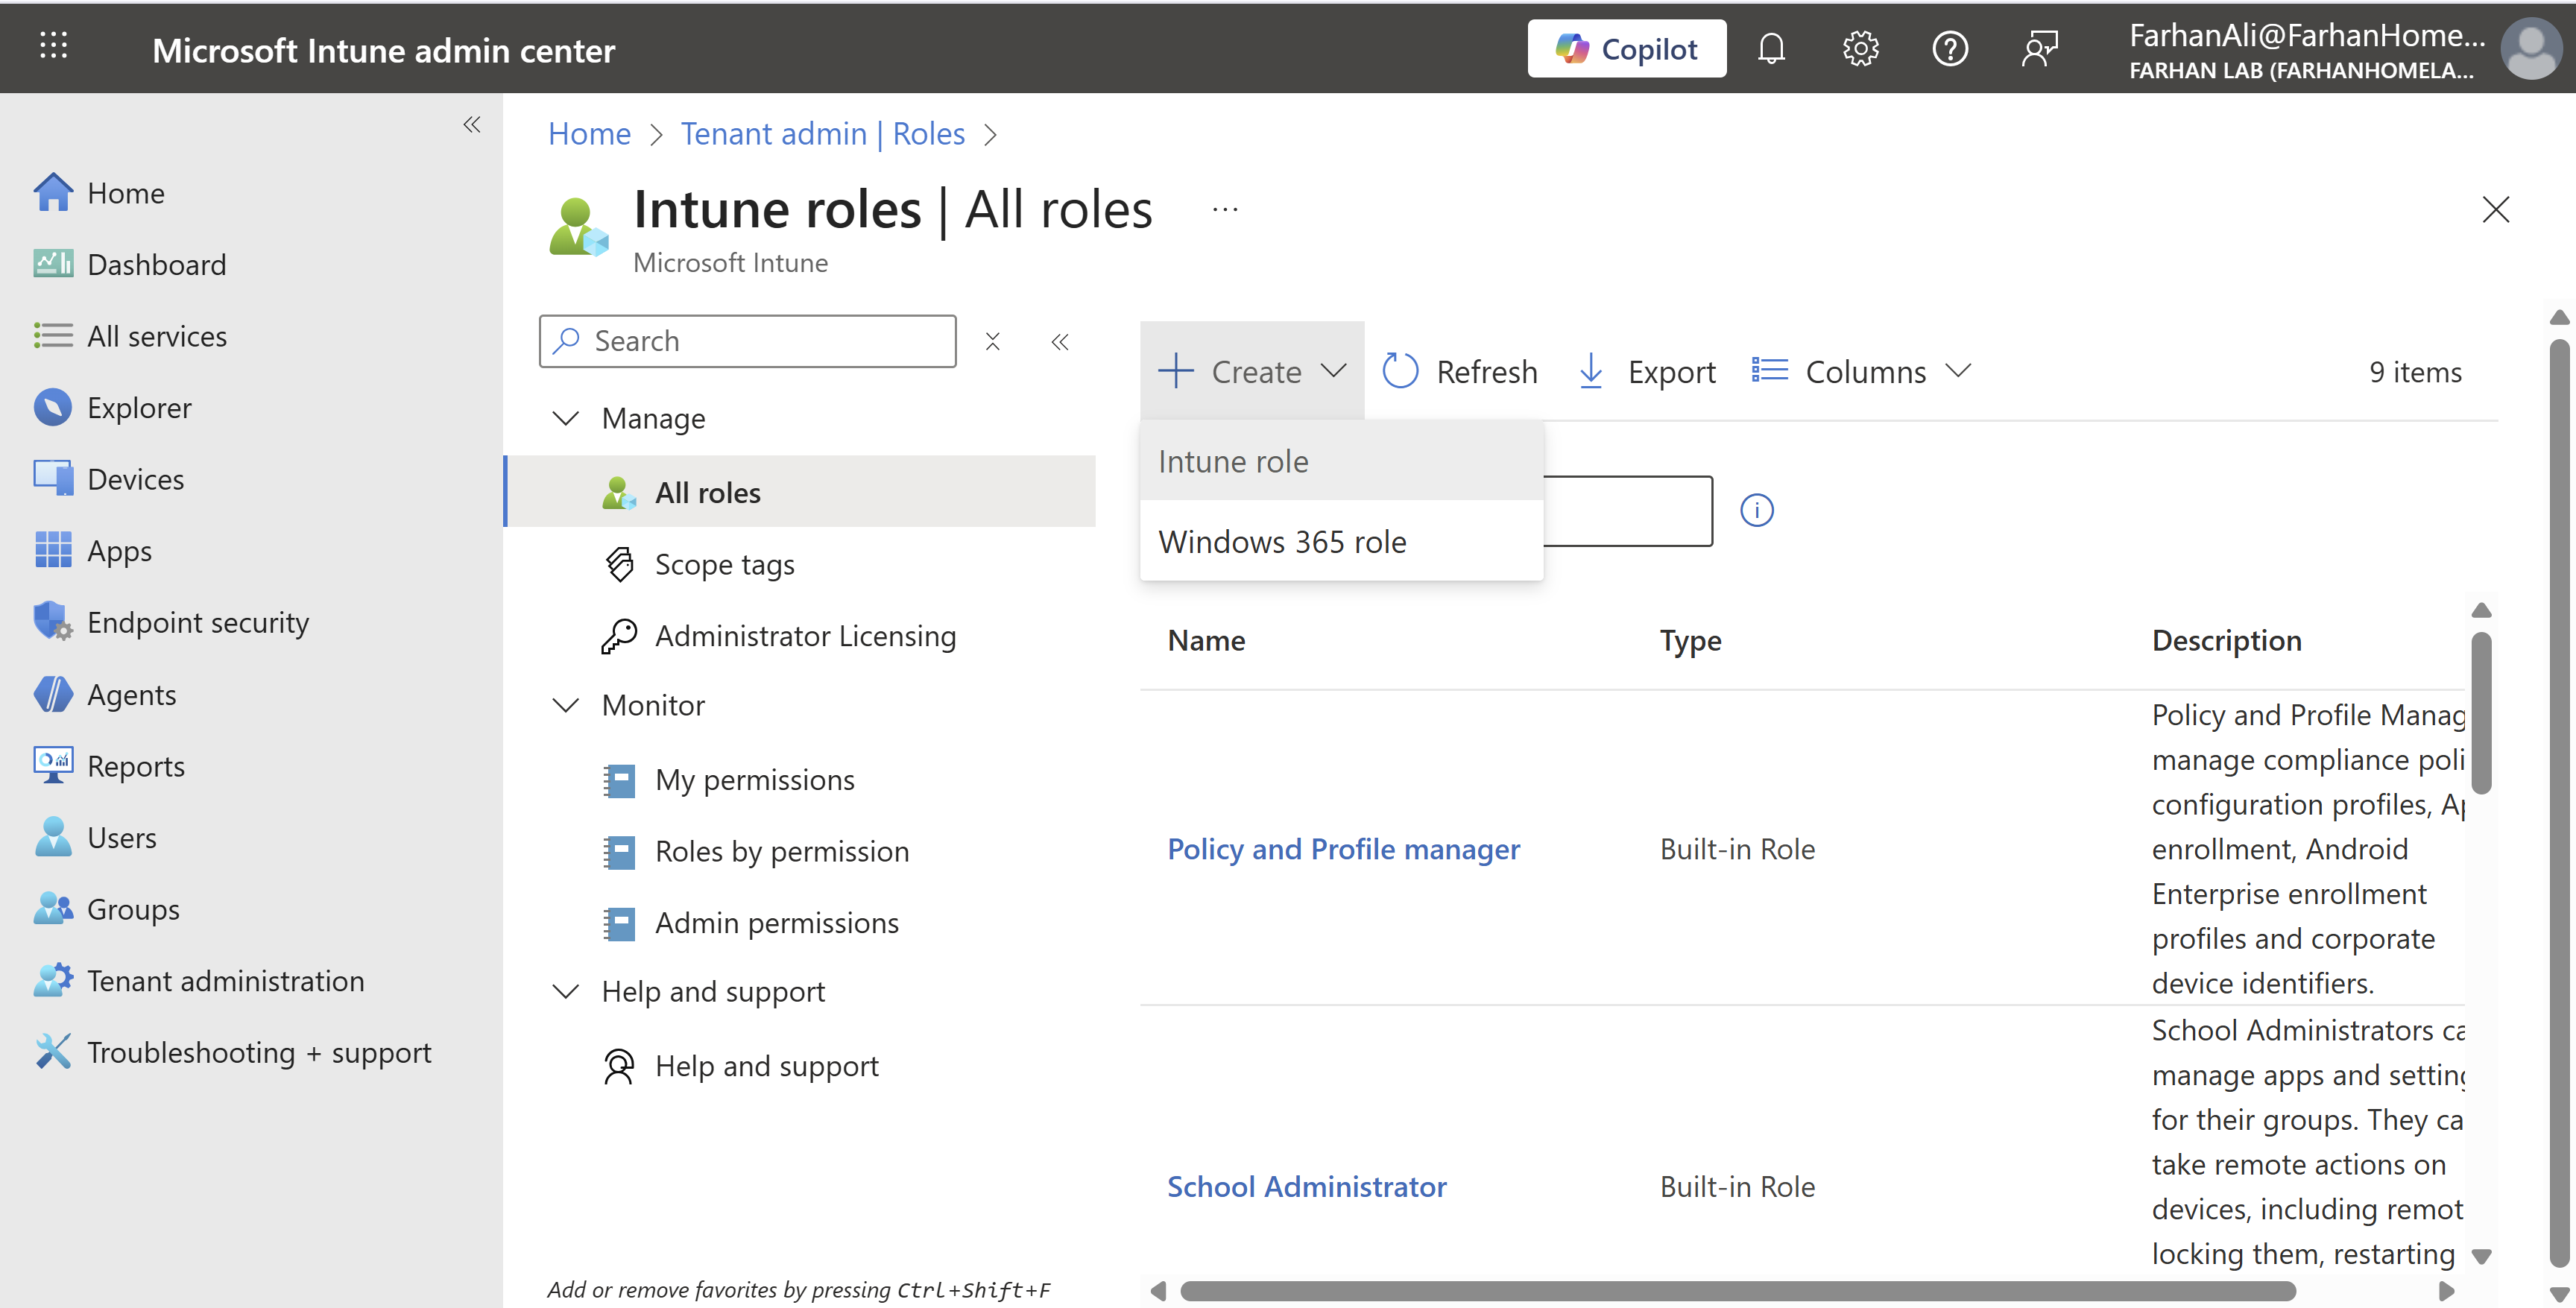
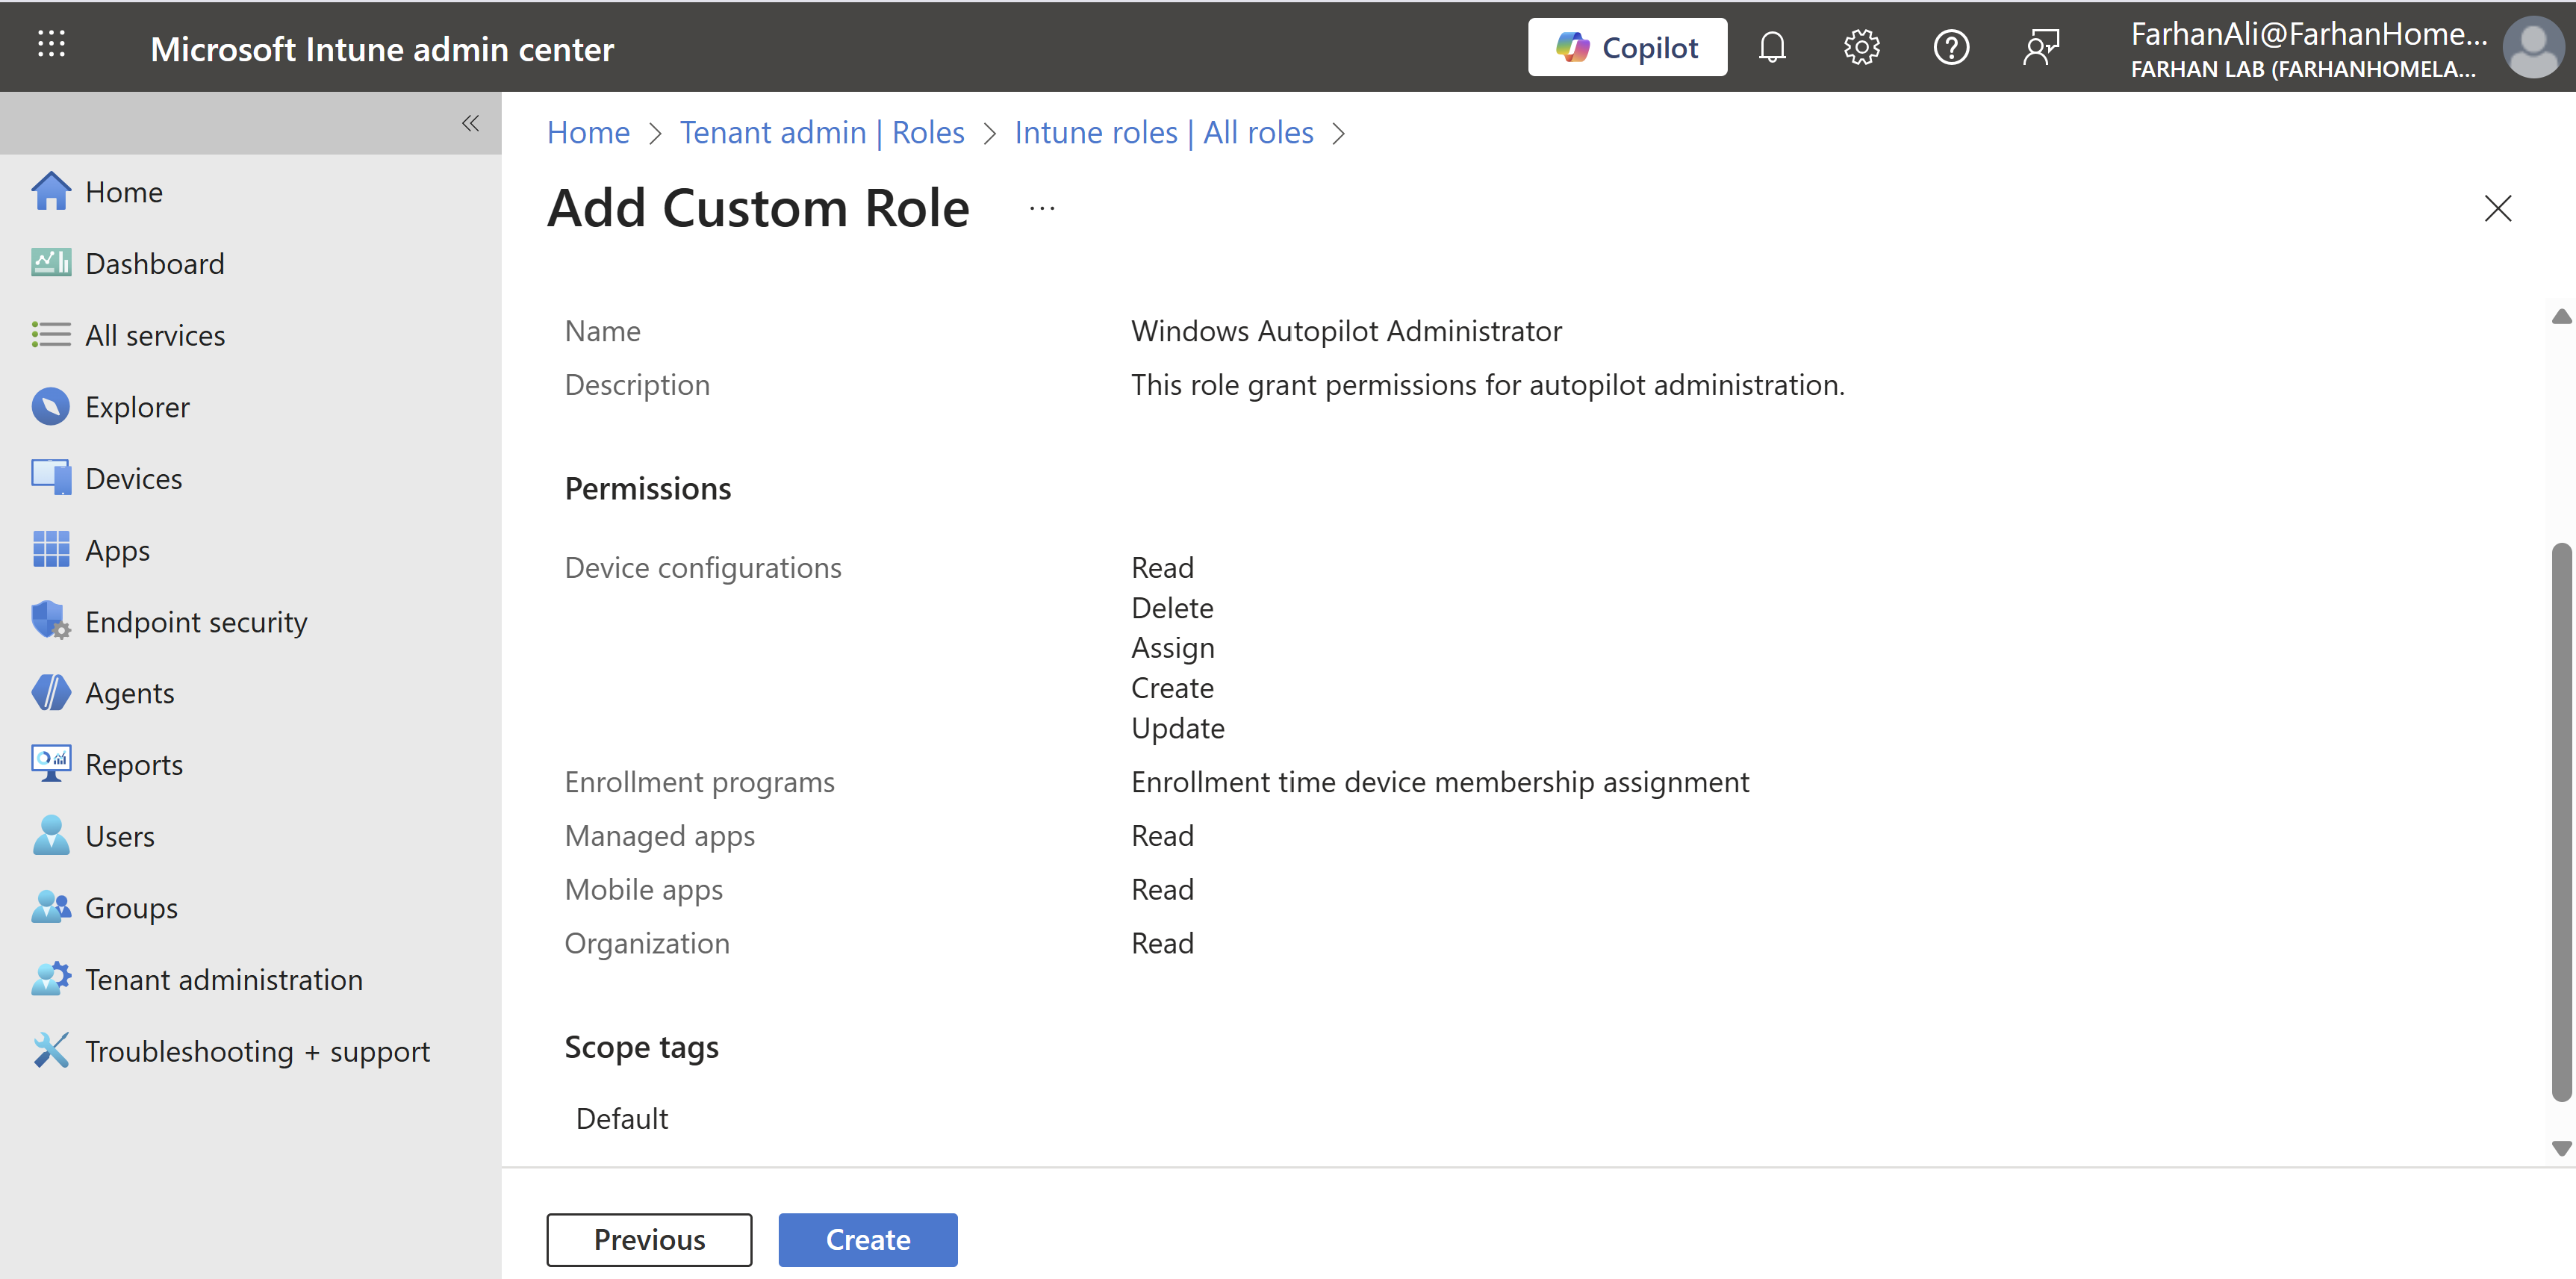
Named the role “Windows Autopilot Administrator”
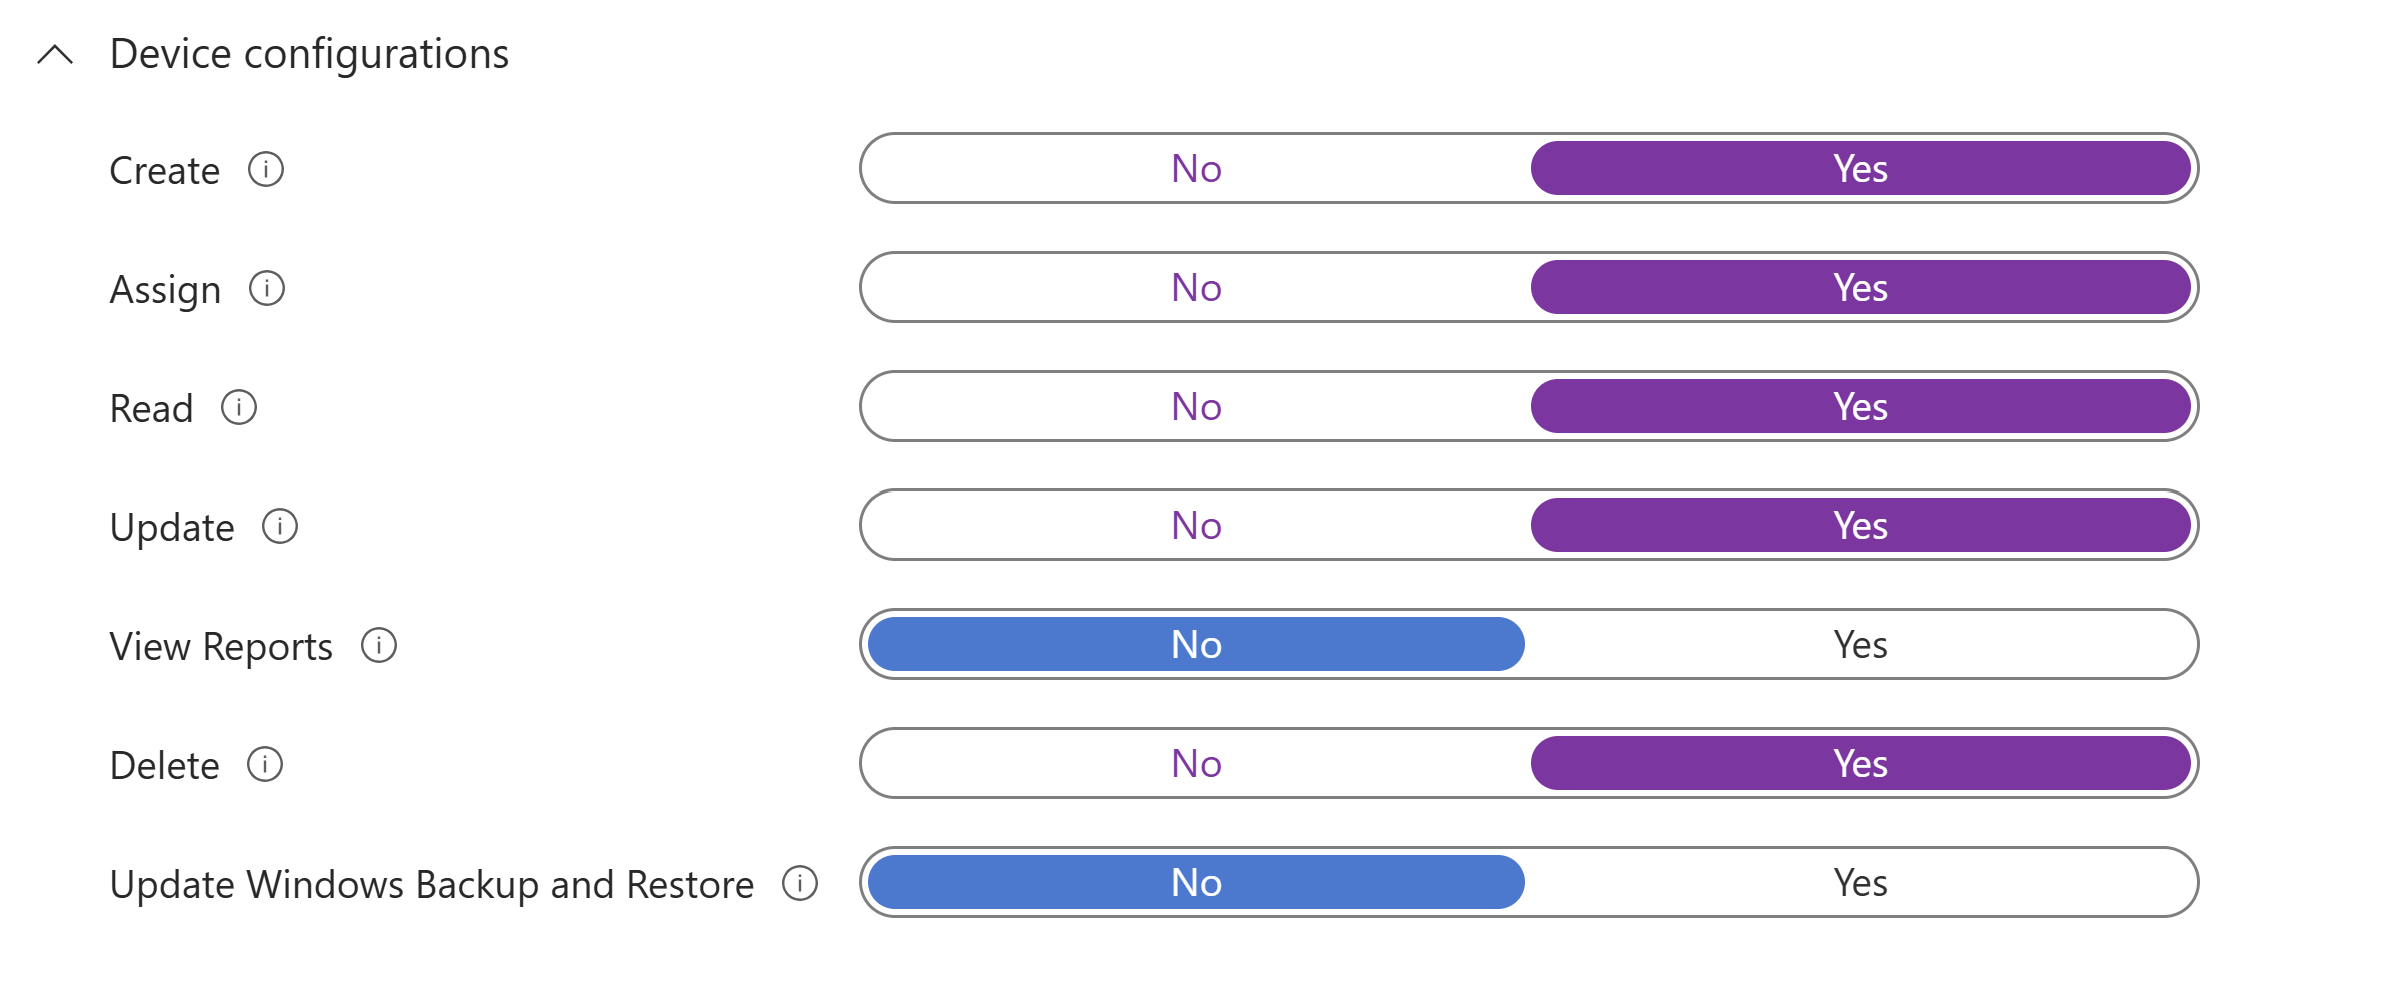
Only allow permissions required for device preparation for autopilot.
Define scope and add members through role assignment.
Navigate to Windows Autopilot Administrator -> Assignments
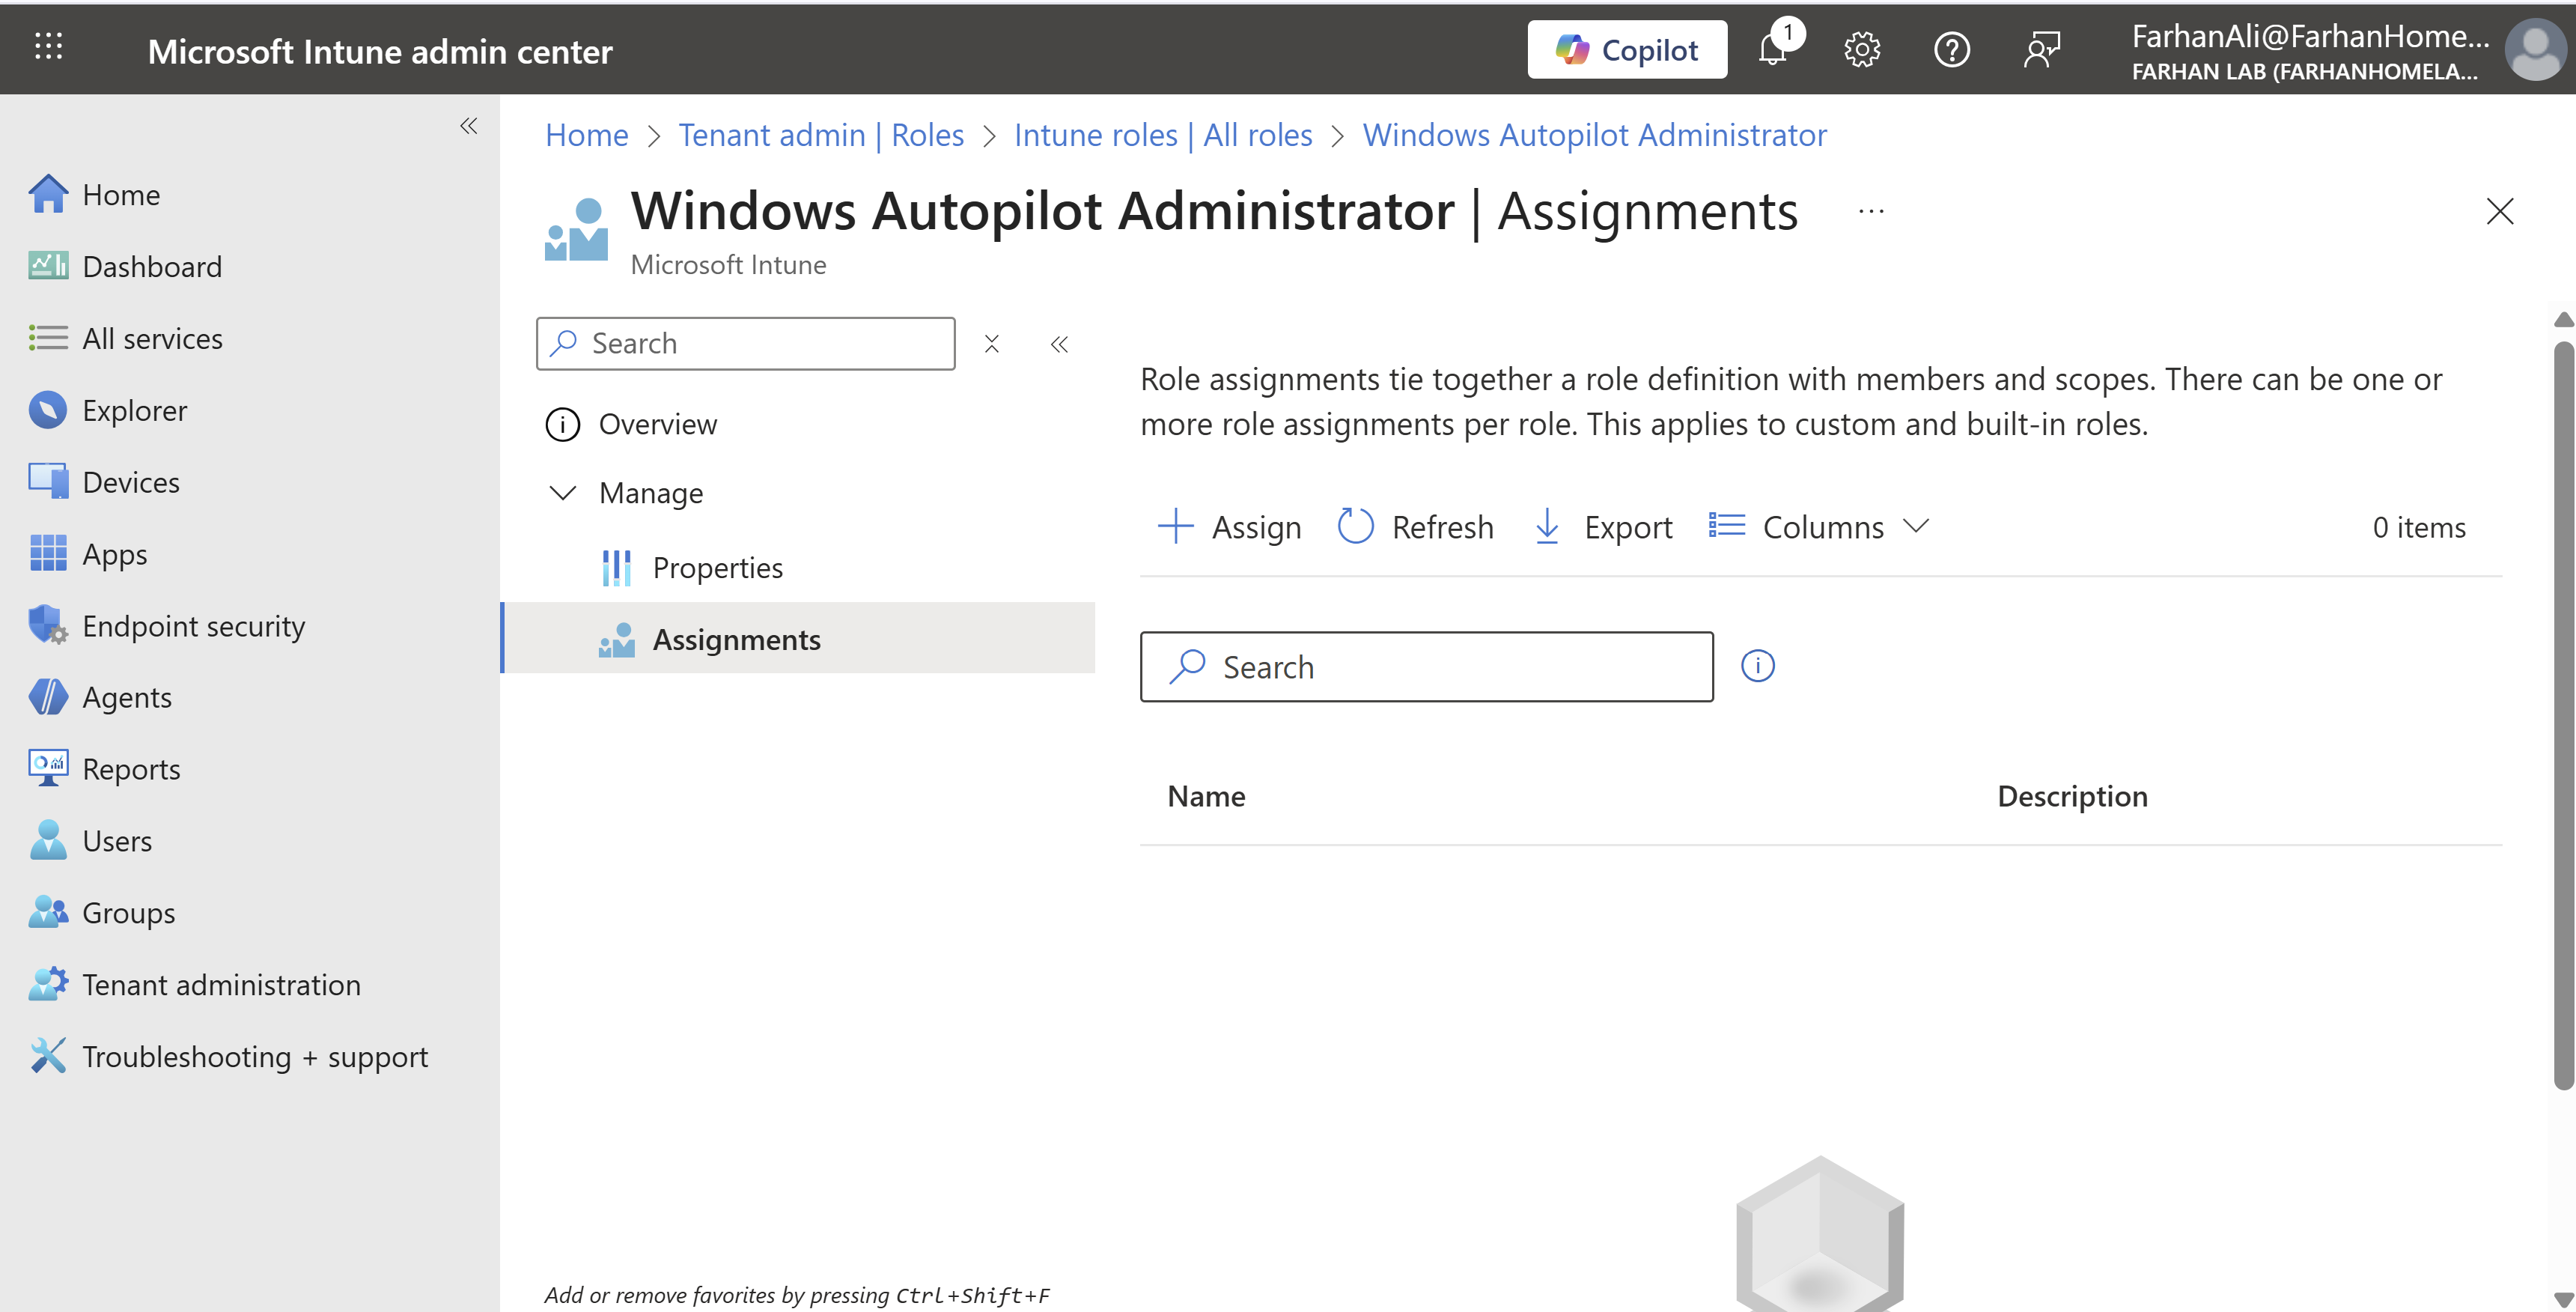
Click “Assign” and name the assignment Autopilot Administrators or anything that makes sense
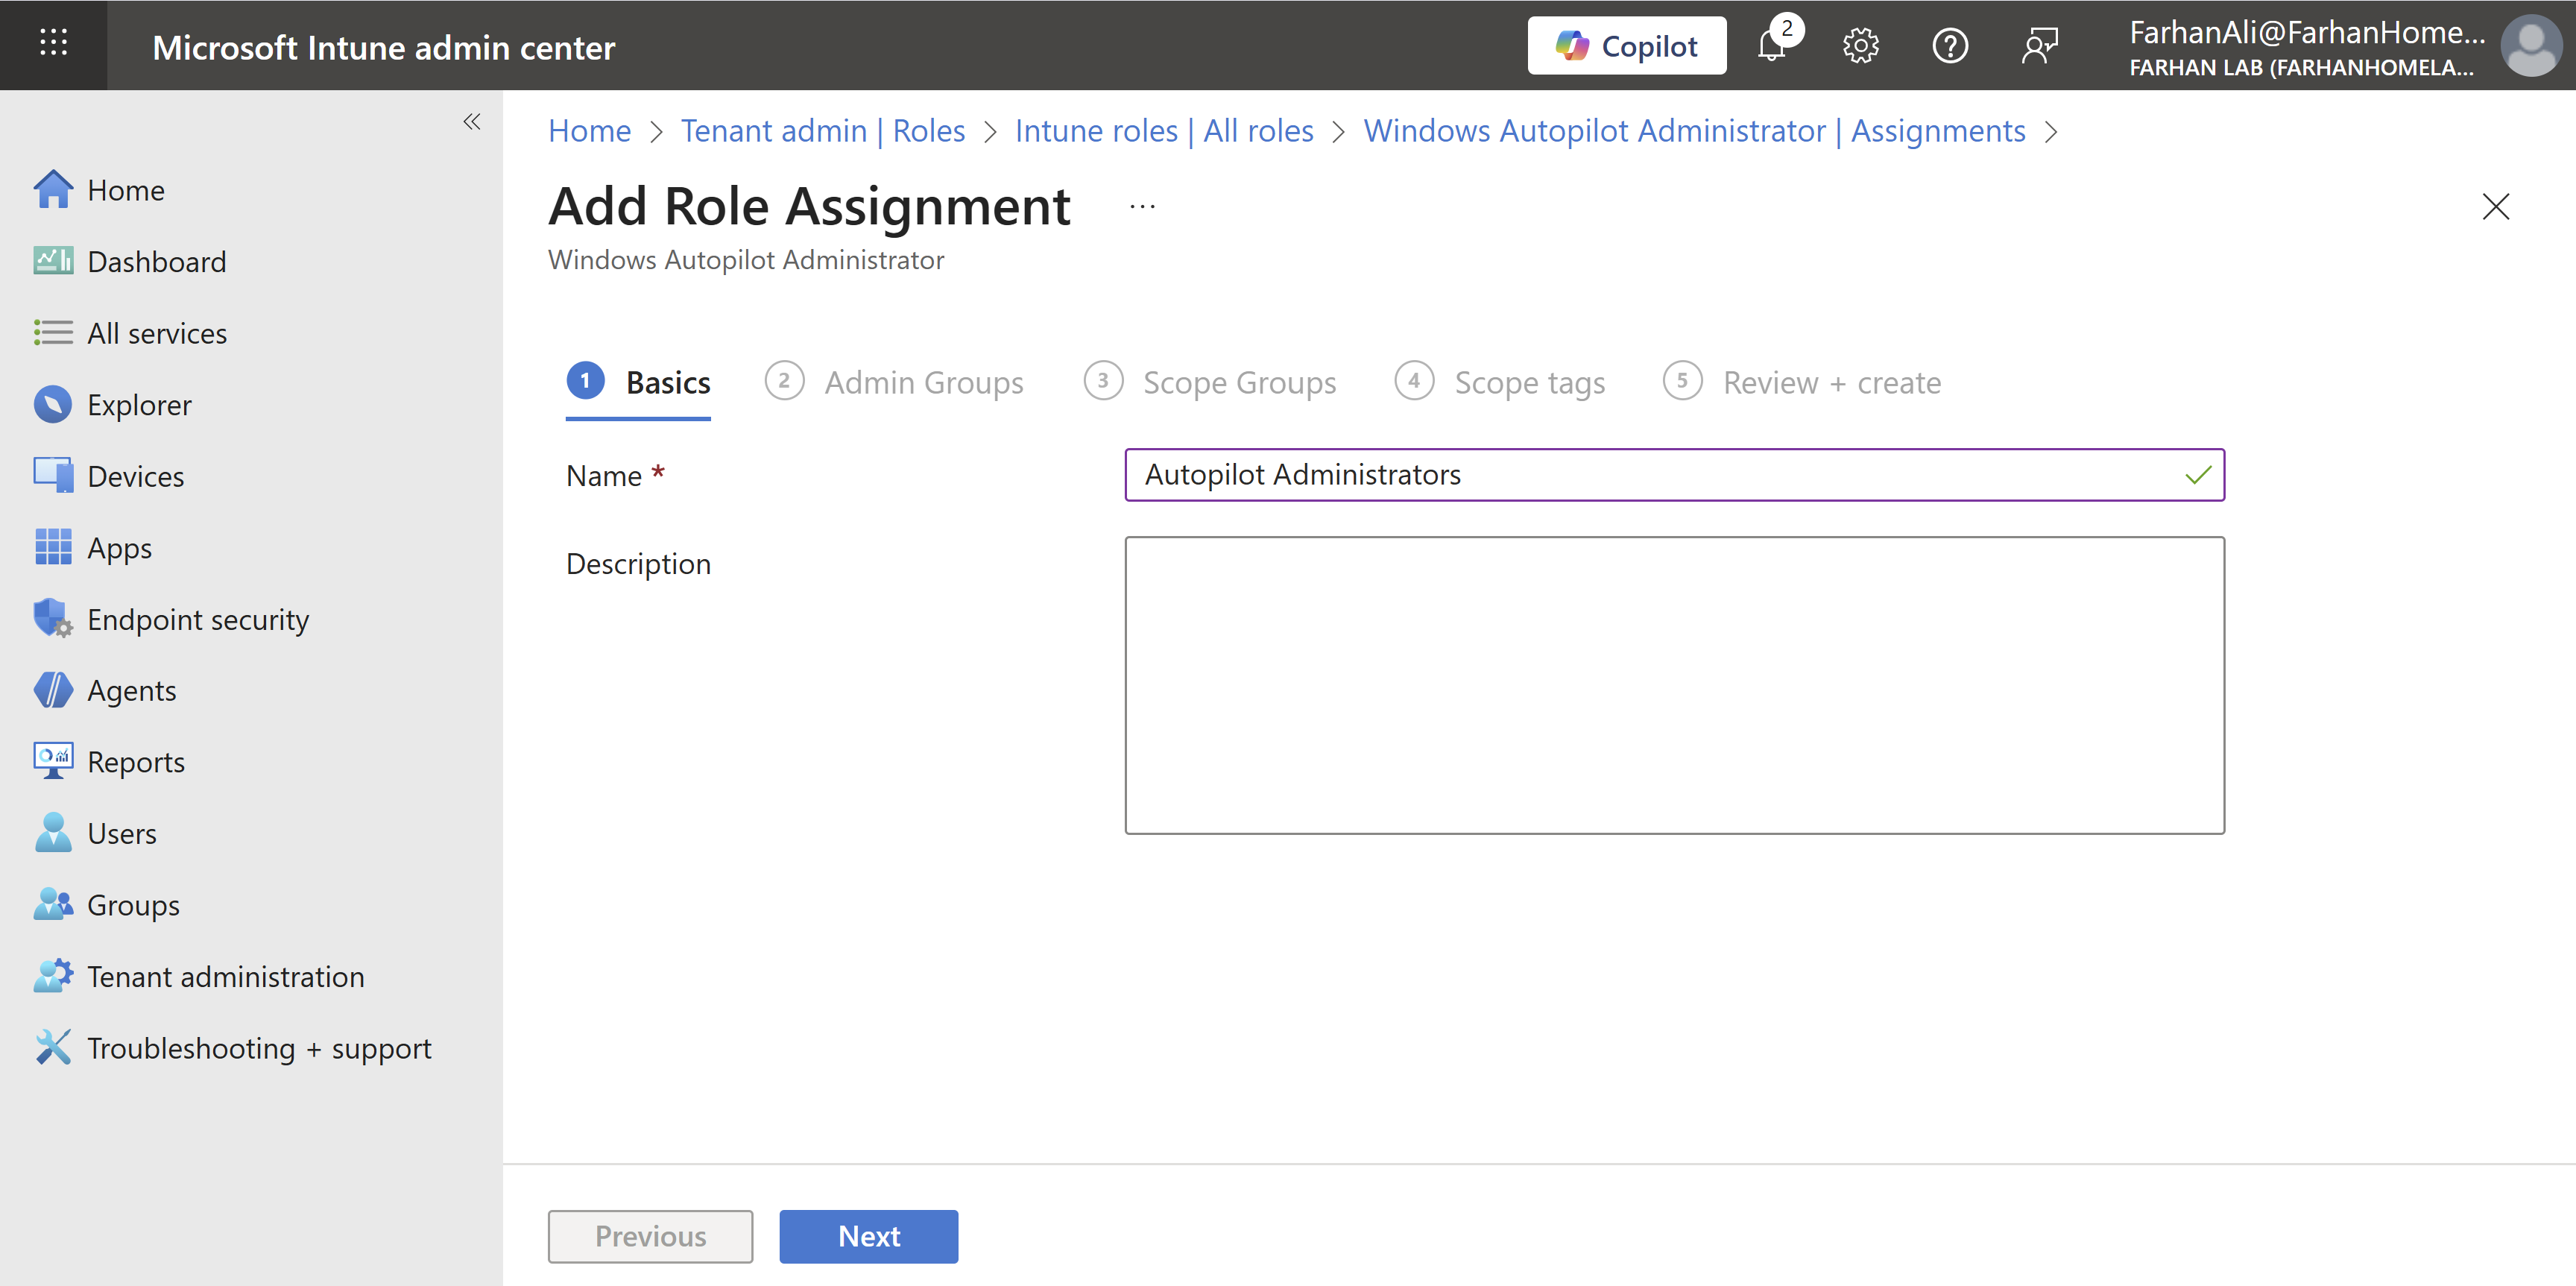
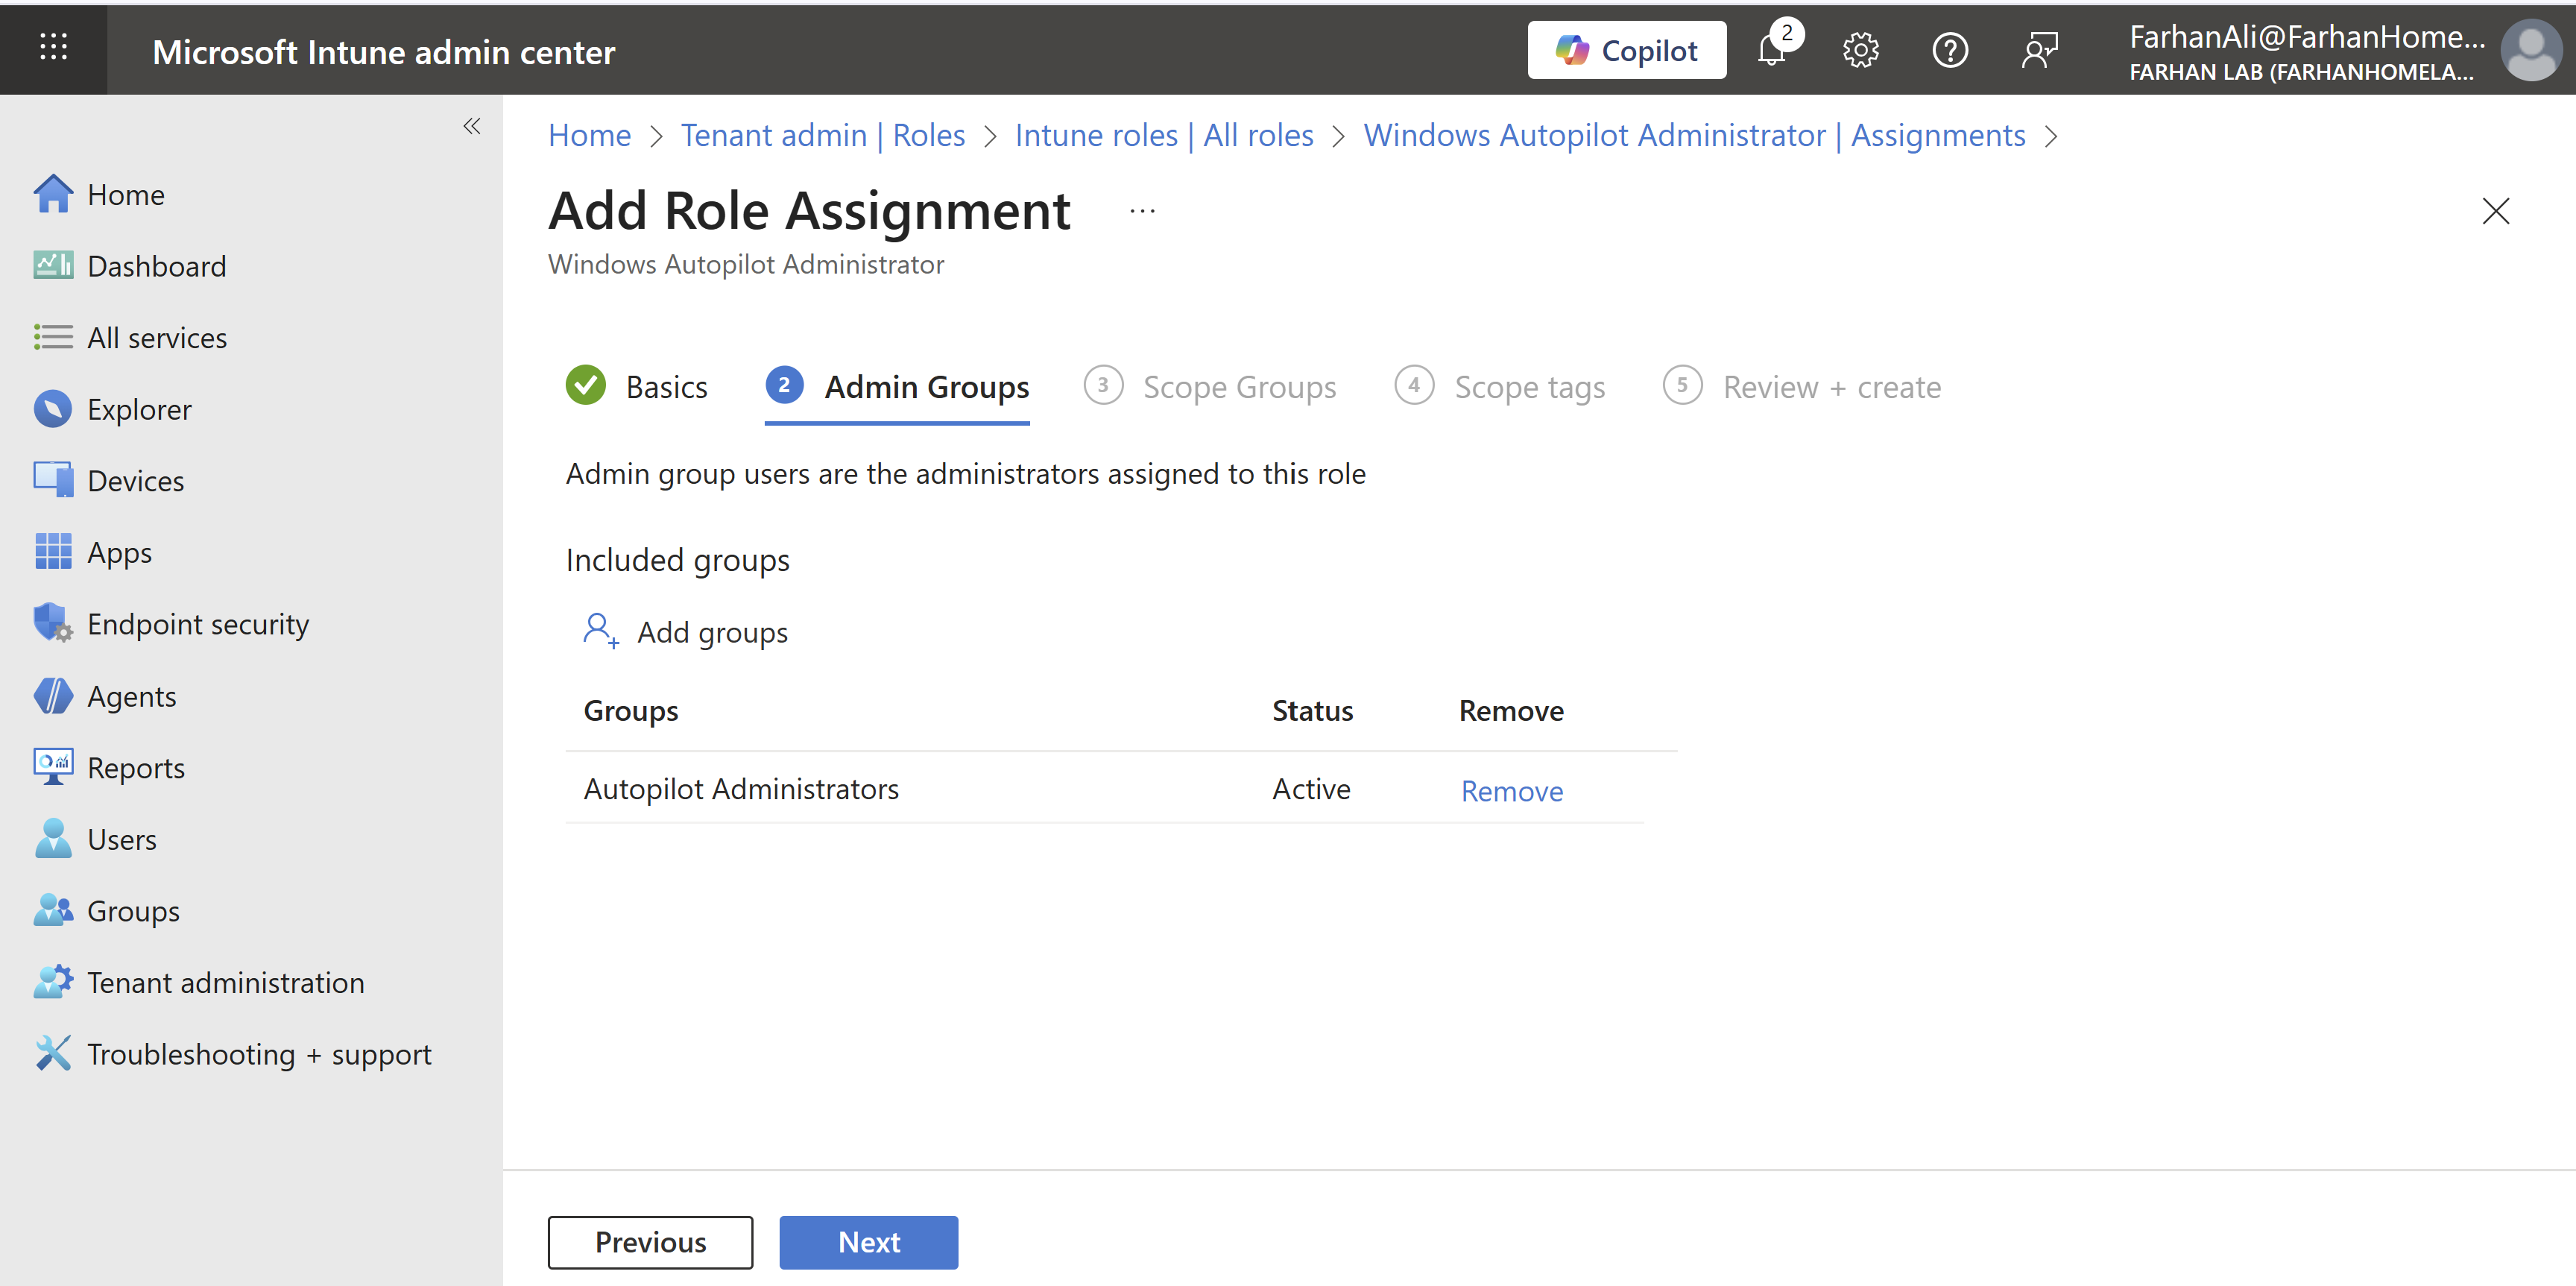
Add the Autopilot Administrators group under admin groups
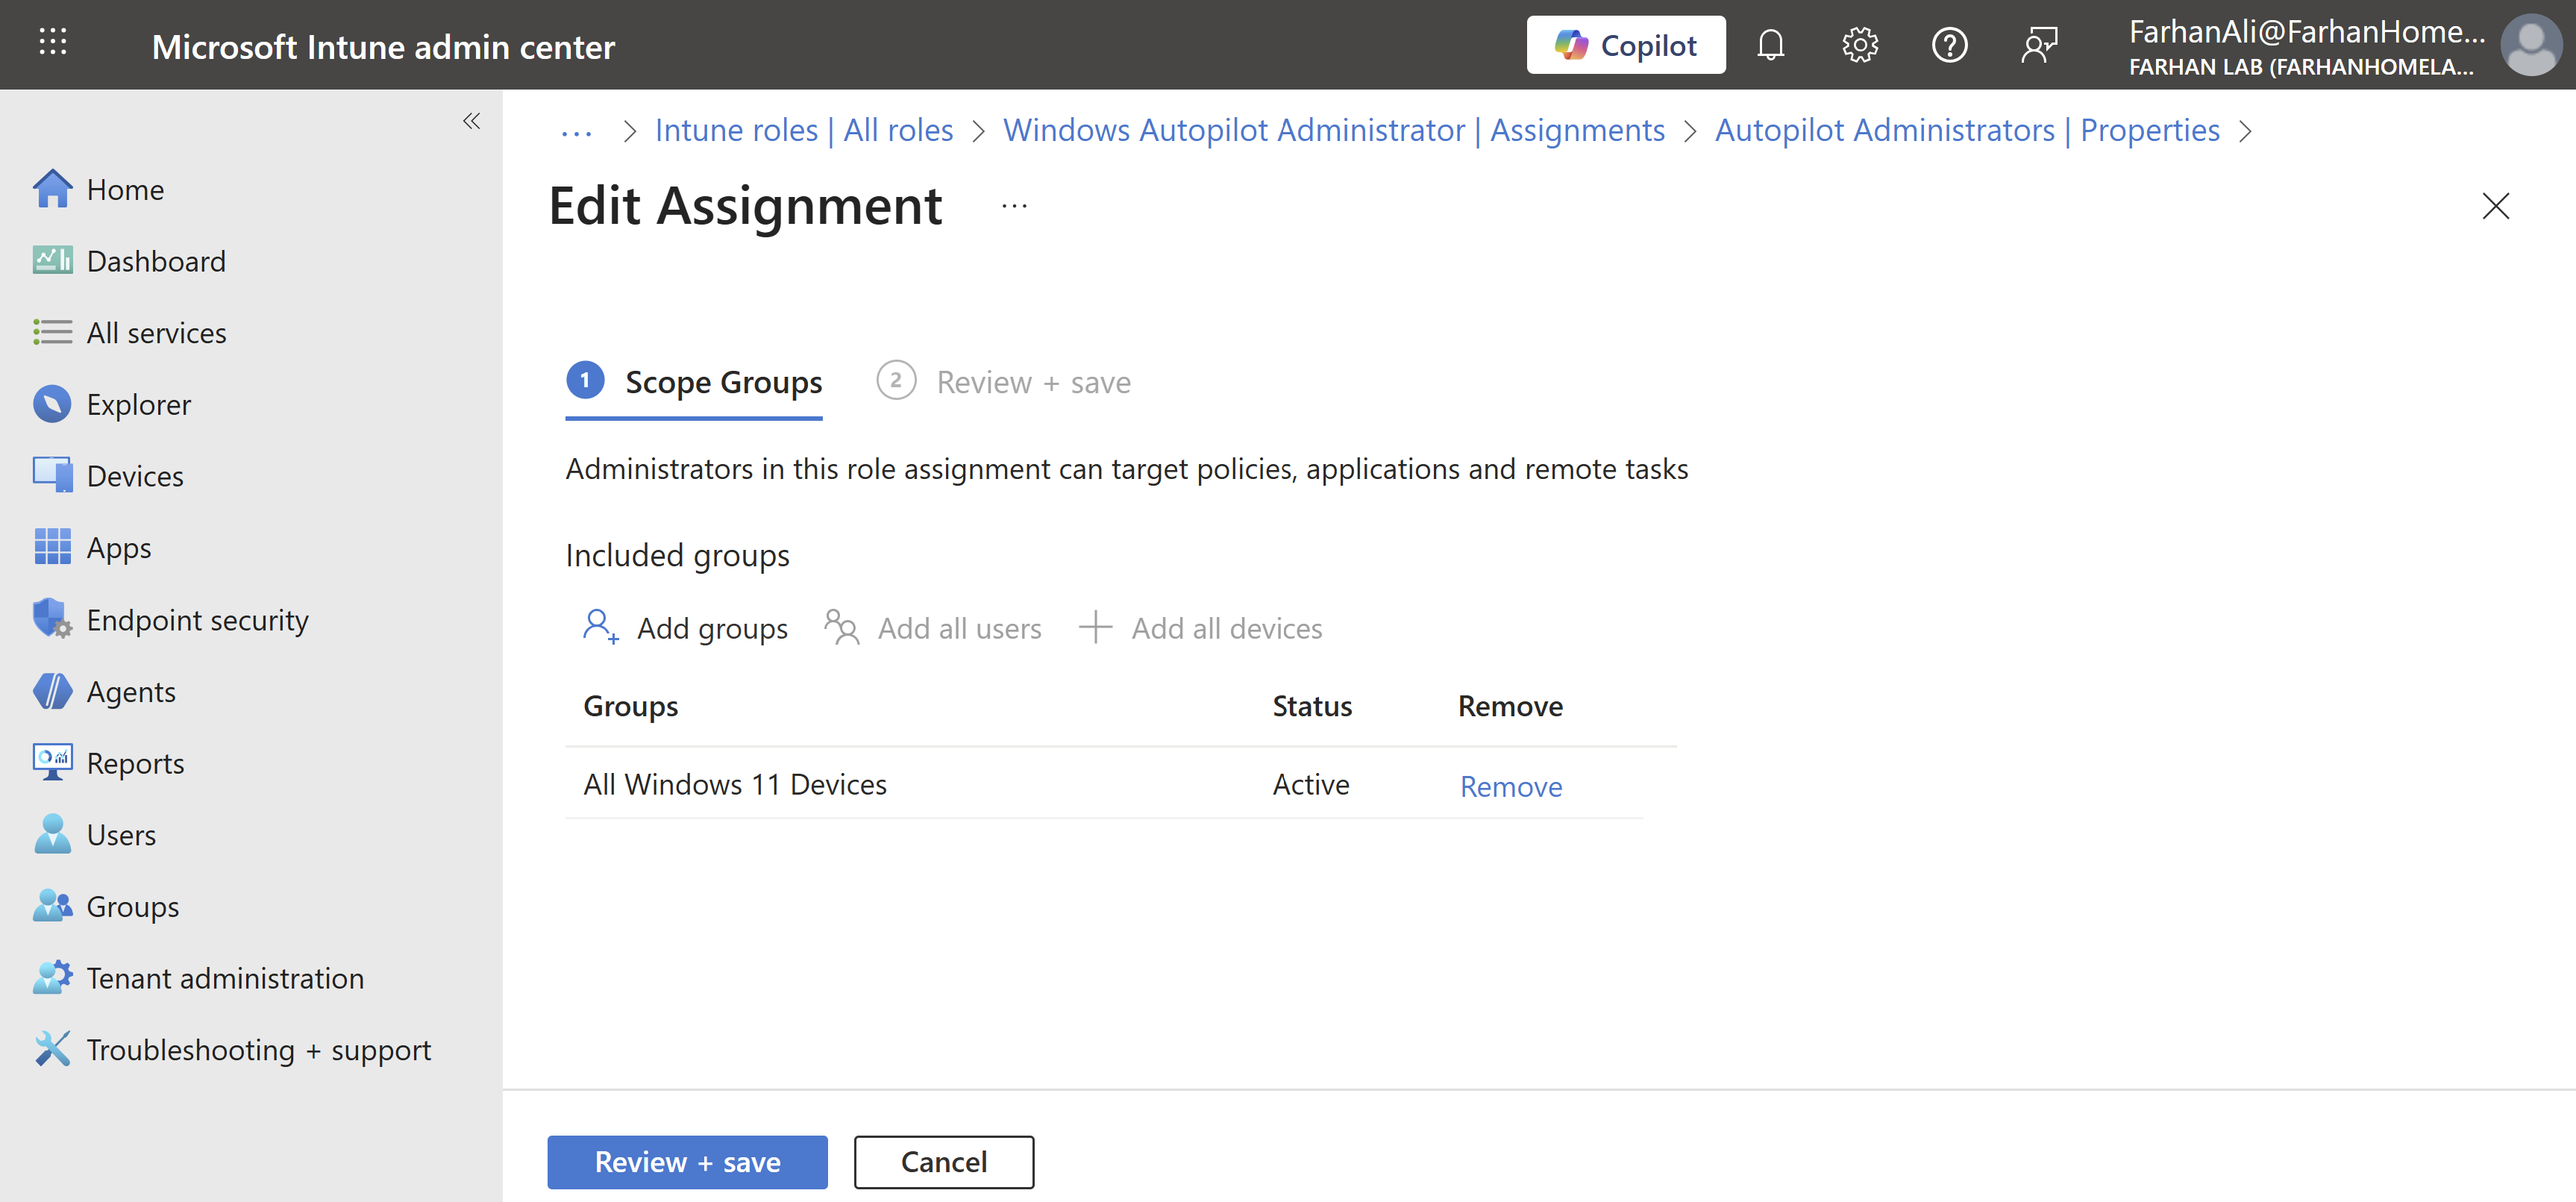
Add the All Windows 11 Devices under group scopes
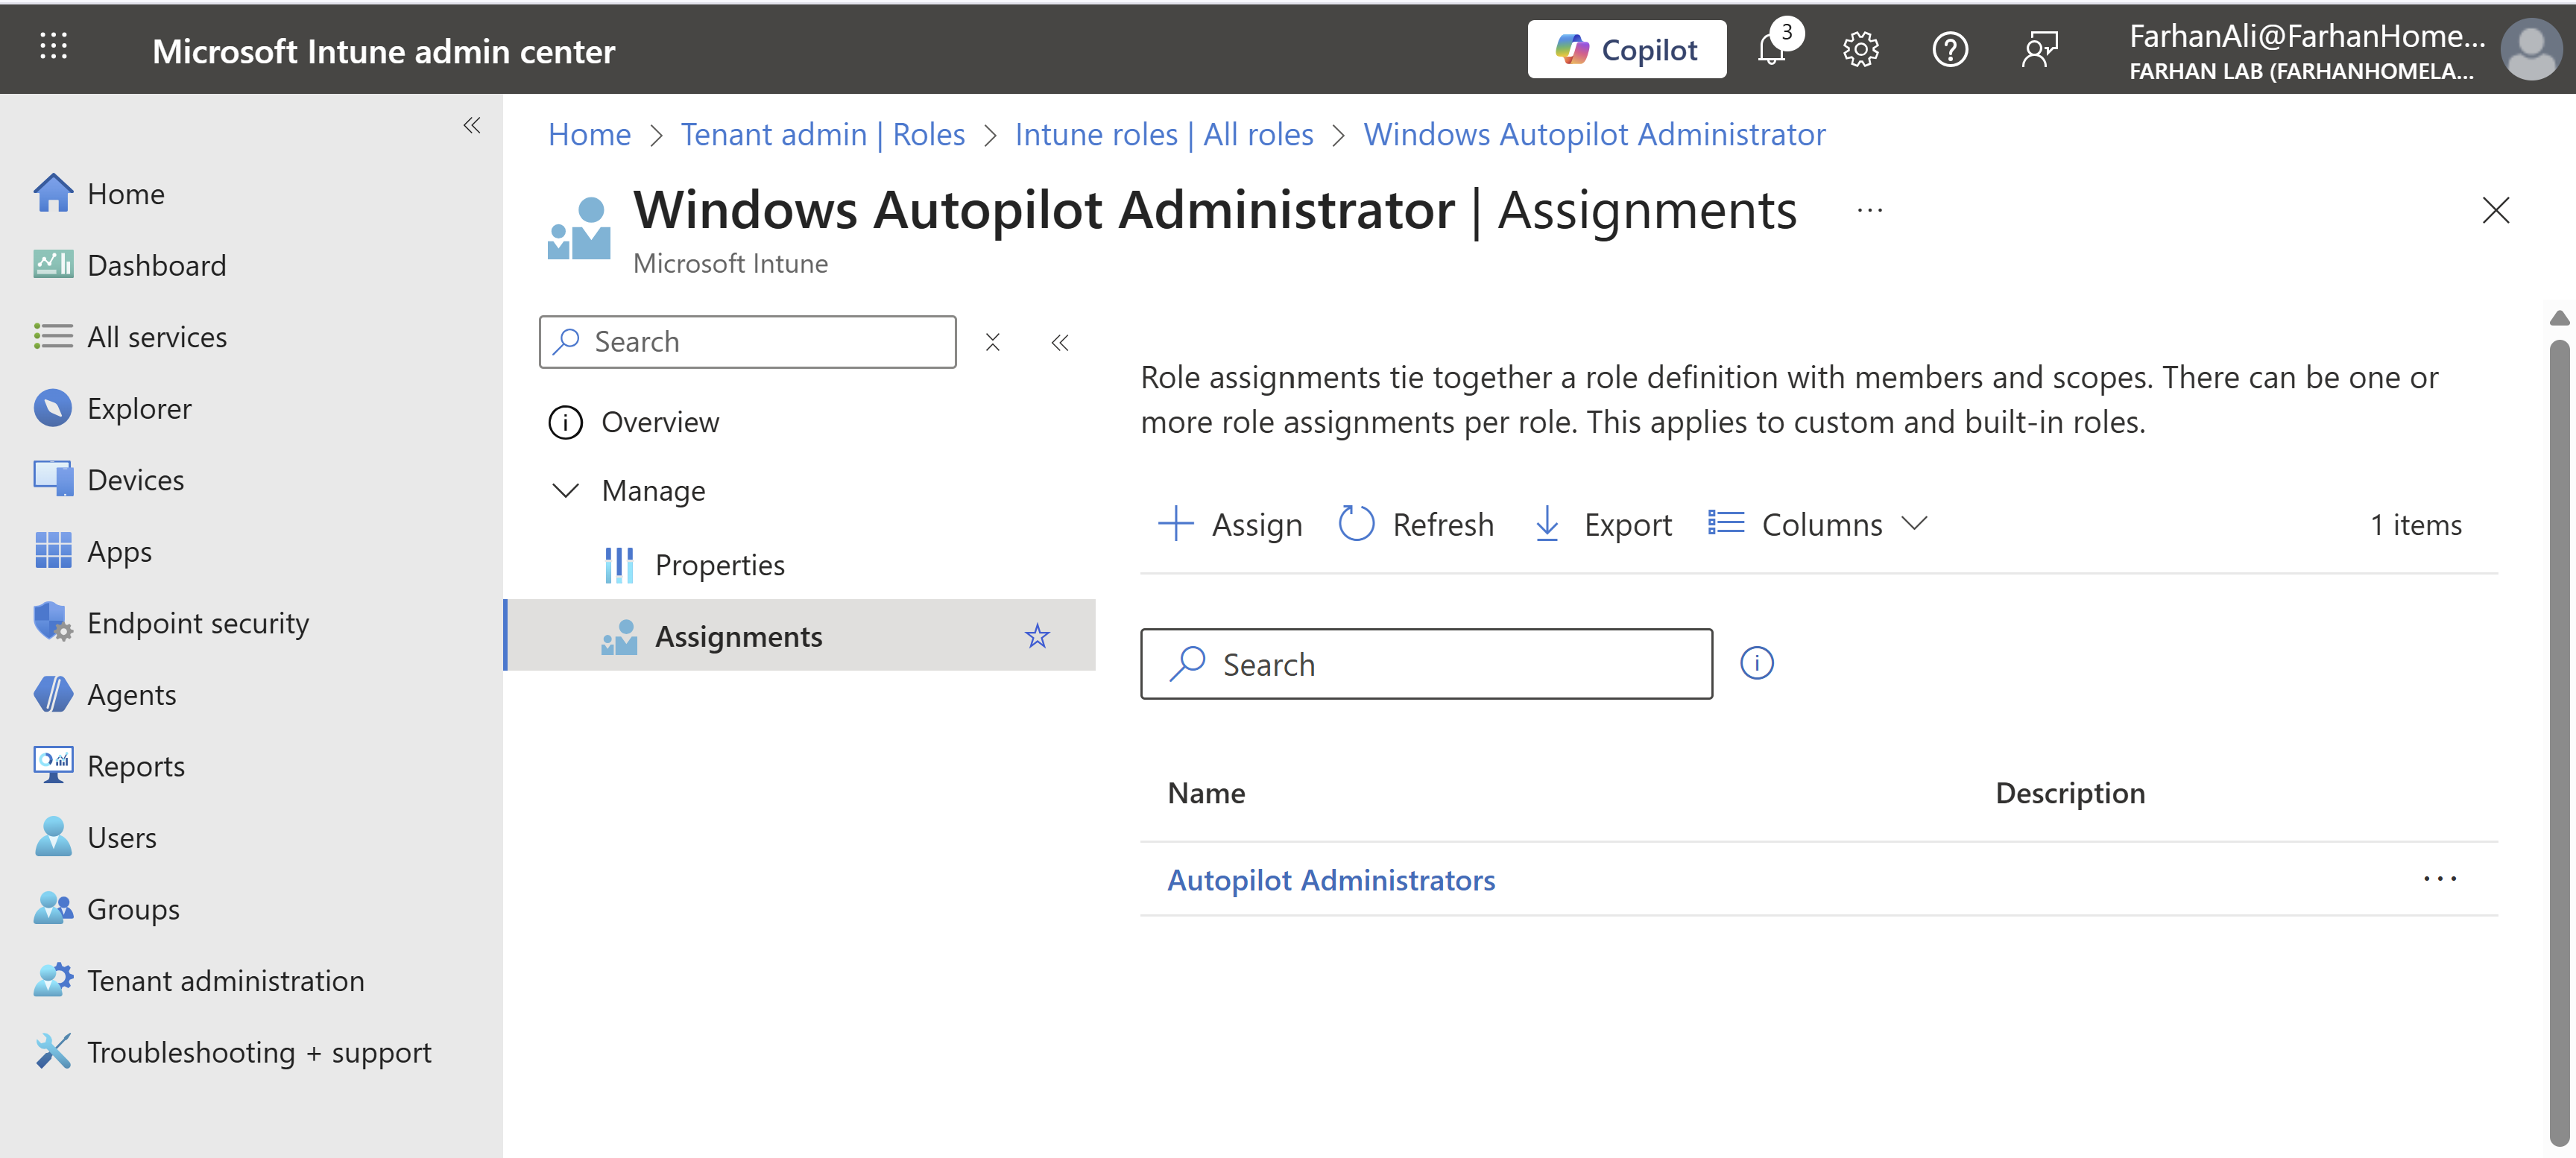
Confirm role assignment
Configure Firewall for Autopilot
In corporate networks with restrictive internet access, you would need to ensure that devices are able to communicate directly and securely to Microsoft during the autopilot setup by making required changes in the firewall such as:
- Bypass SSL inspection for Microsoft endpoints
- Allow outbound 443 without interception
I can skip this step for my lab but it’s important to note that Windows Autopilot device preparation relies on several different types of services to function properly so it’s important to ensure proper network configuration for these services: Windows Autopilot device preparation requirements
Phase 2: Create & Assign Autopilot Profiles
At this stage of the infrastructure design, you must decide how devices will be identified, deployed, and named.
Key design considerations include:
- Device Identity Scenario
- Autopilot Deployment Method
- Device Name Template
Device Identity Scenario
For this lab, I have chosen Entra ID joined (cloud-only) as the identity scenario which means that the devices will be joined directly to Microsoft Entra ID and managed entirely through Intune, without any dependency on on-premises Active Directory.
Another suitable scenario for Autopilot is Hybrid Entra ID joined in which devices are joined to both on-prem Active Directory and Entra ID.
Autopilot Deployment Method
I am using the User-Driven Deployment method for this lab because it closely reflects the most common real-world enterprise Autopilot scenario and also because it does not require TPM attestation lol (I am using a VM as an endpoint).
In a user-driven deployment, the end user signs in during the Out-of-Box Experience (OOBE), and the device is provisioned automatically based on assigned Autopilot profiles and Intune policies.
Other deployment methods are:
Pre-Provisioned Deployment: Pre-provisioned deployment is an extension of the user-driven model but is divided into two phases: Technician Flow and User Flow.
Self-Deploying Mode: Self-deploying mode provisions a device without user credentials and is not tied to a specific user during enrollment - Autopilot begins automatically during OOBE.
Device Naming Template
The device naming template defines how devices are renamed during Autopilot deployment. It’s important to set a consistent naming convention for device identification, support, and lifecycle management.
For this lab, I am using %SERIAL% as a naming template which renames each device to its hardware serial number.
Now that we have determined how devices will be identified, deployed, and named; let’s get started.
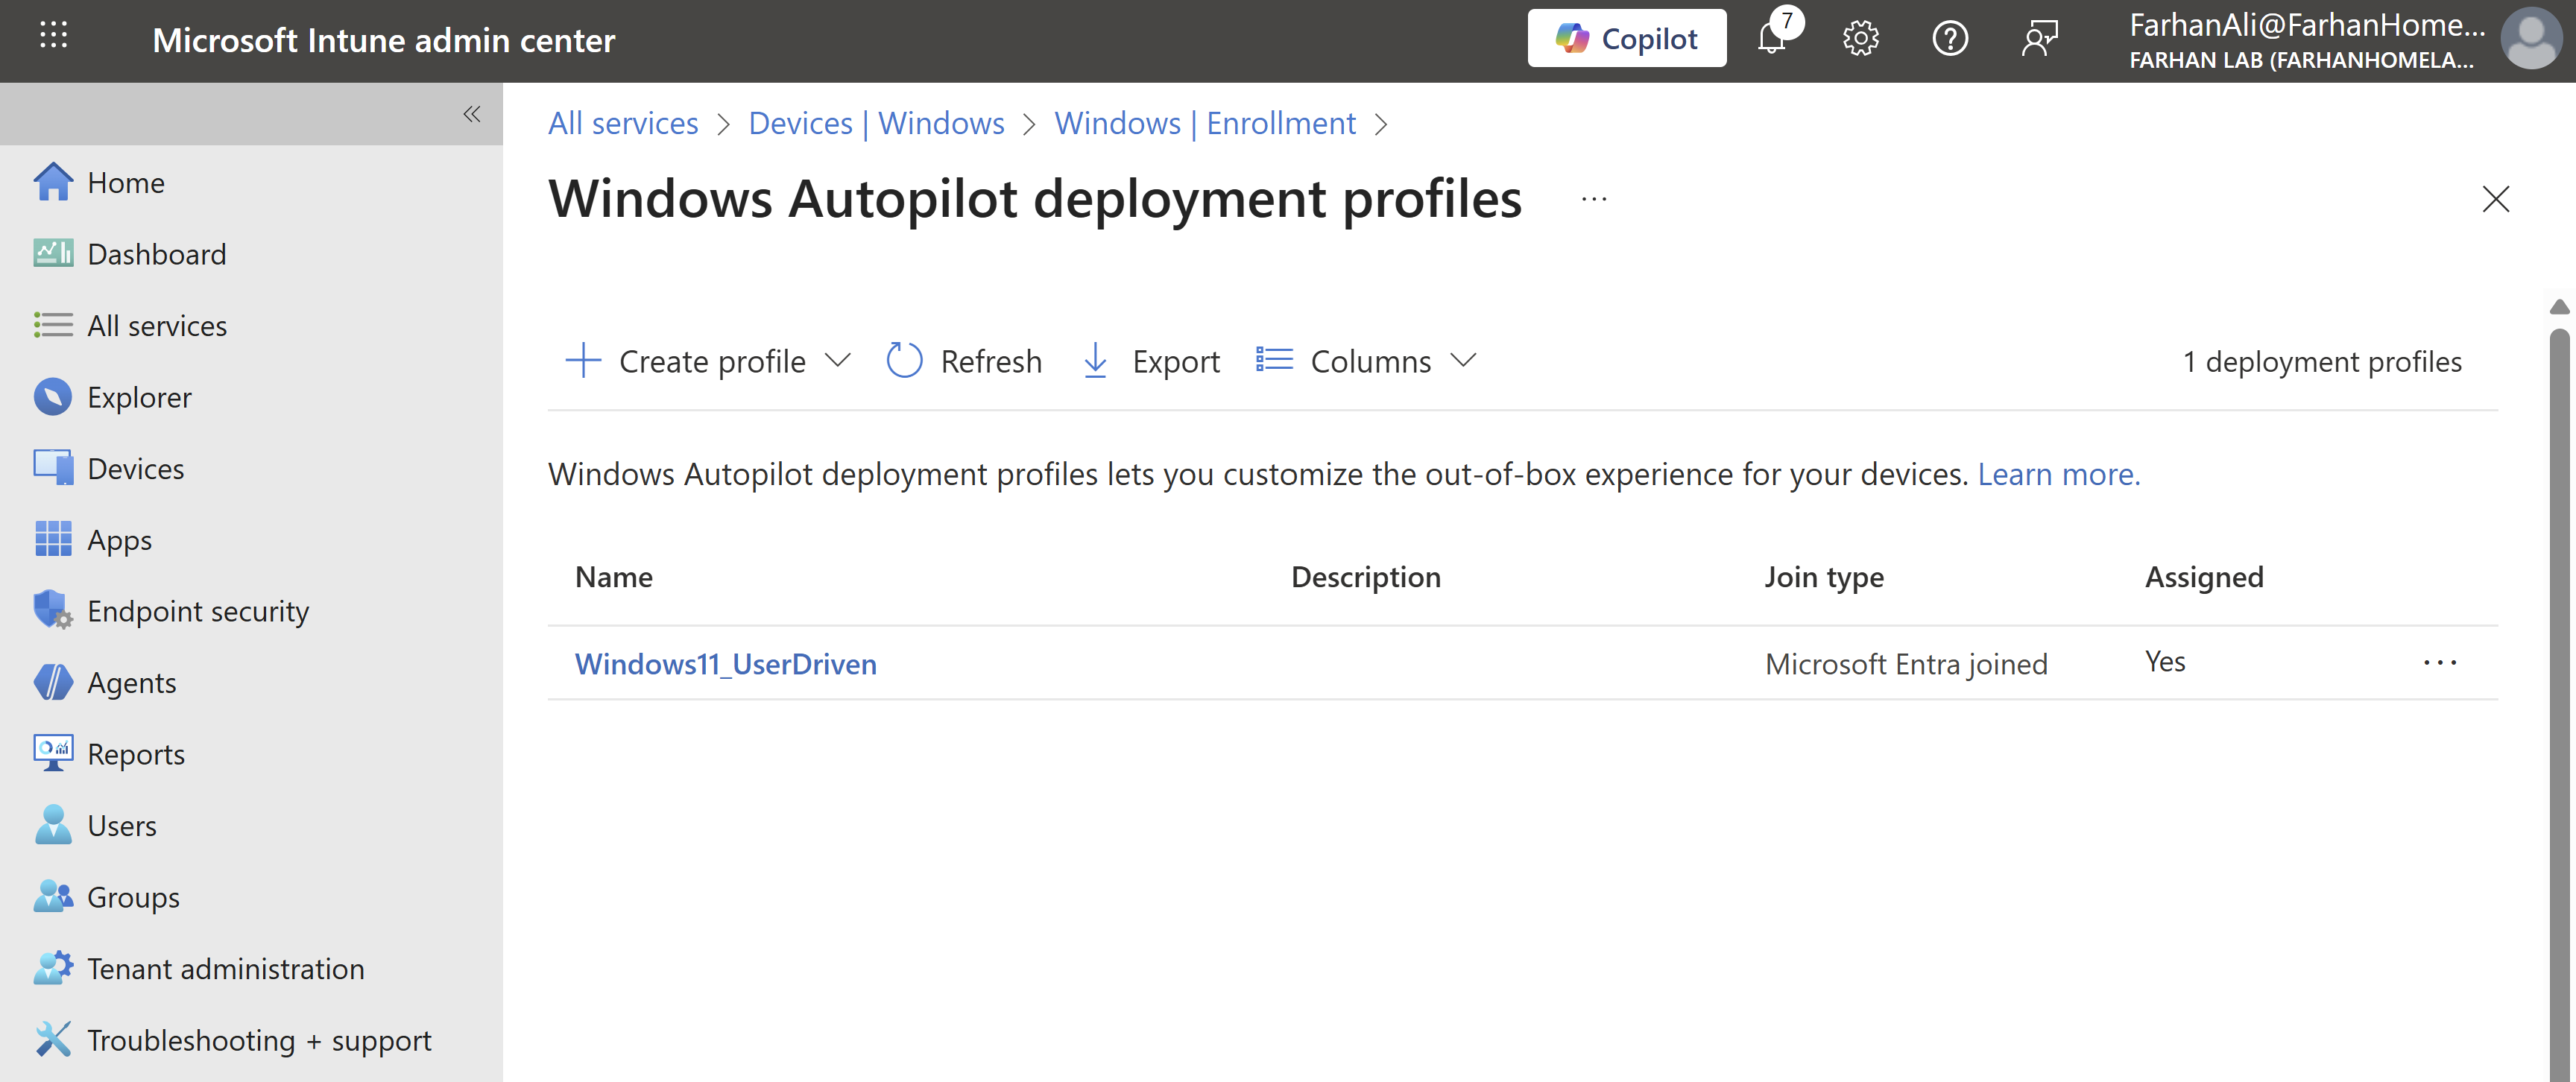
Navigate to Microsoft Intune admin center -> Devices -> Windows -> Enrollment -> Deployment profiles under Windows Autopilot
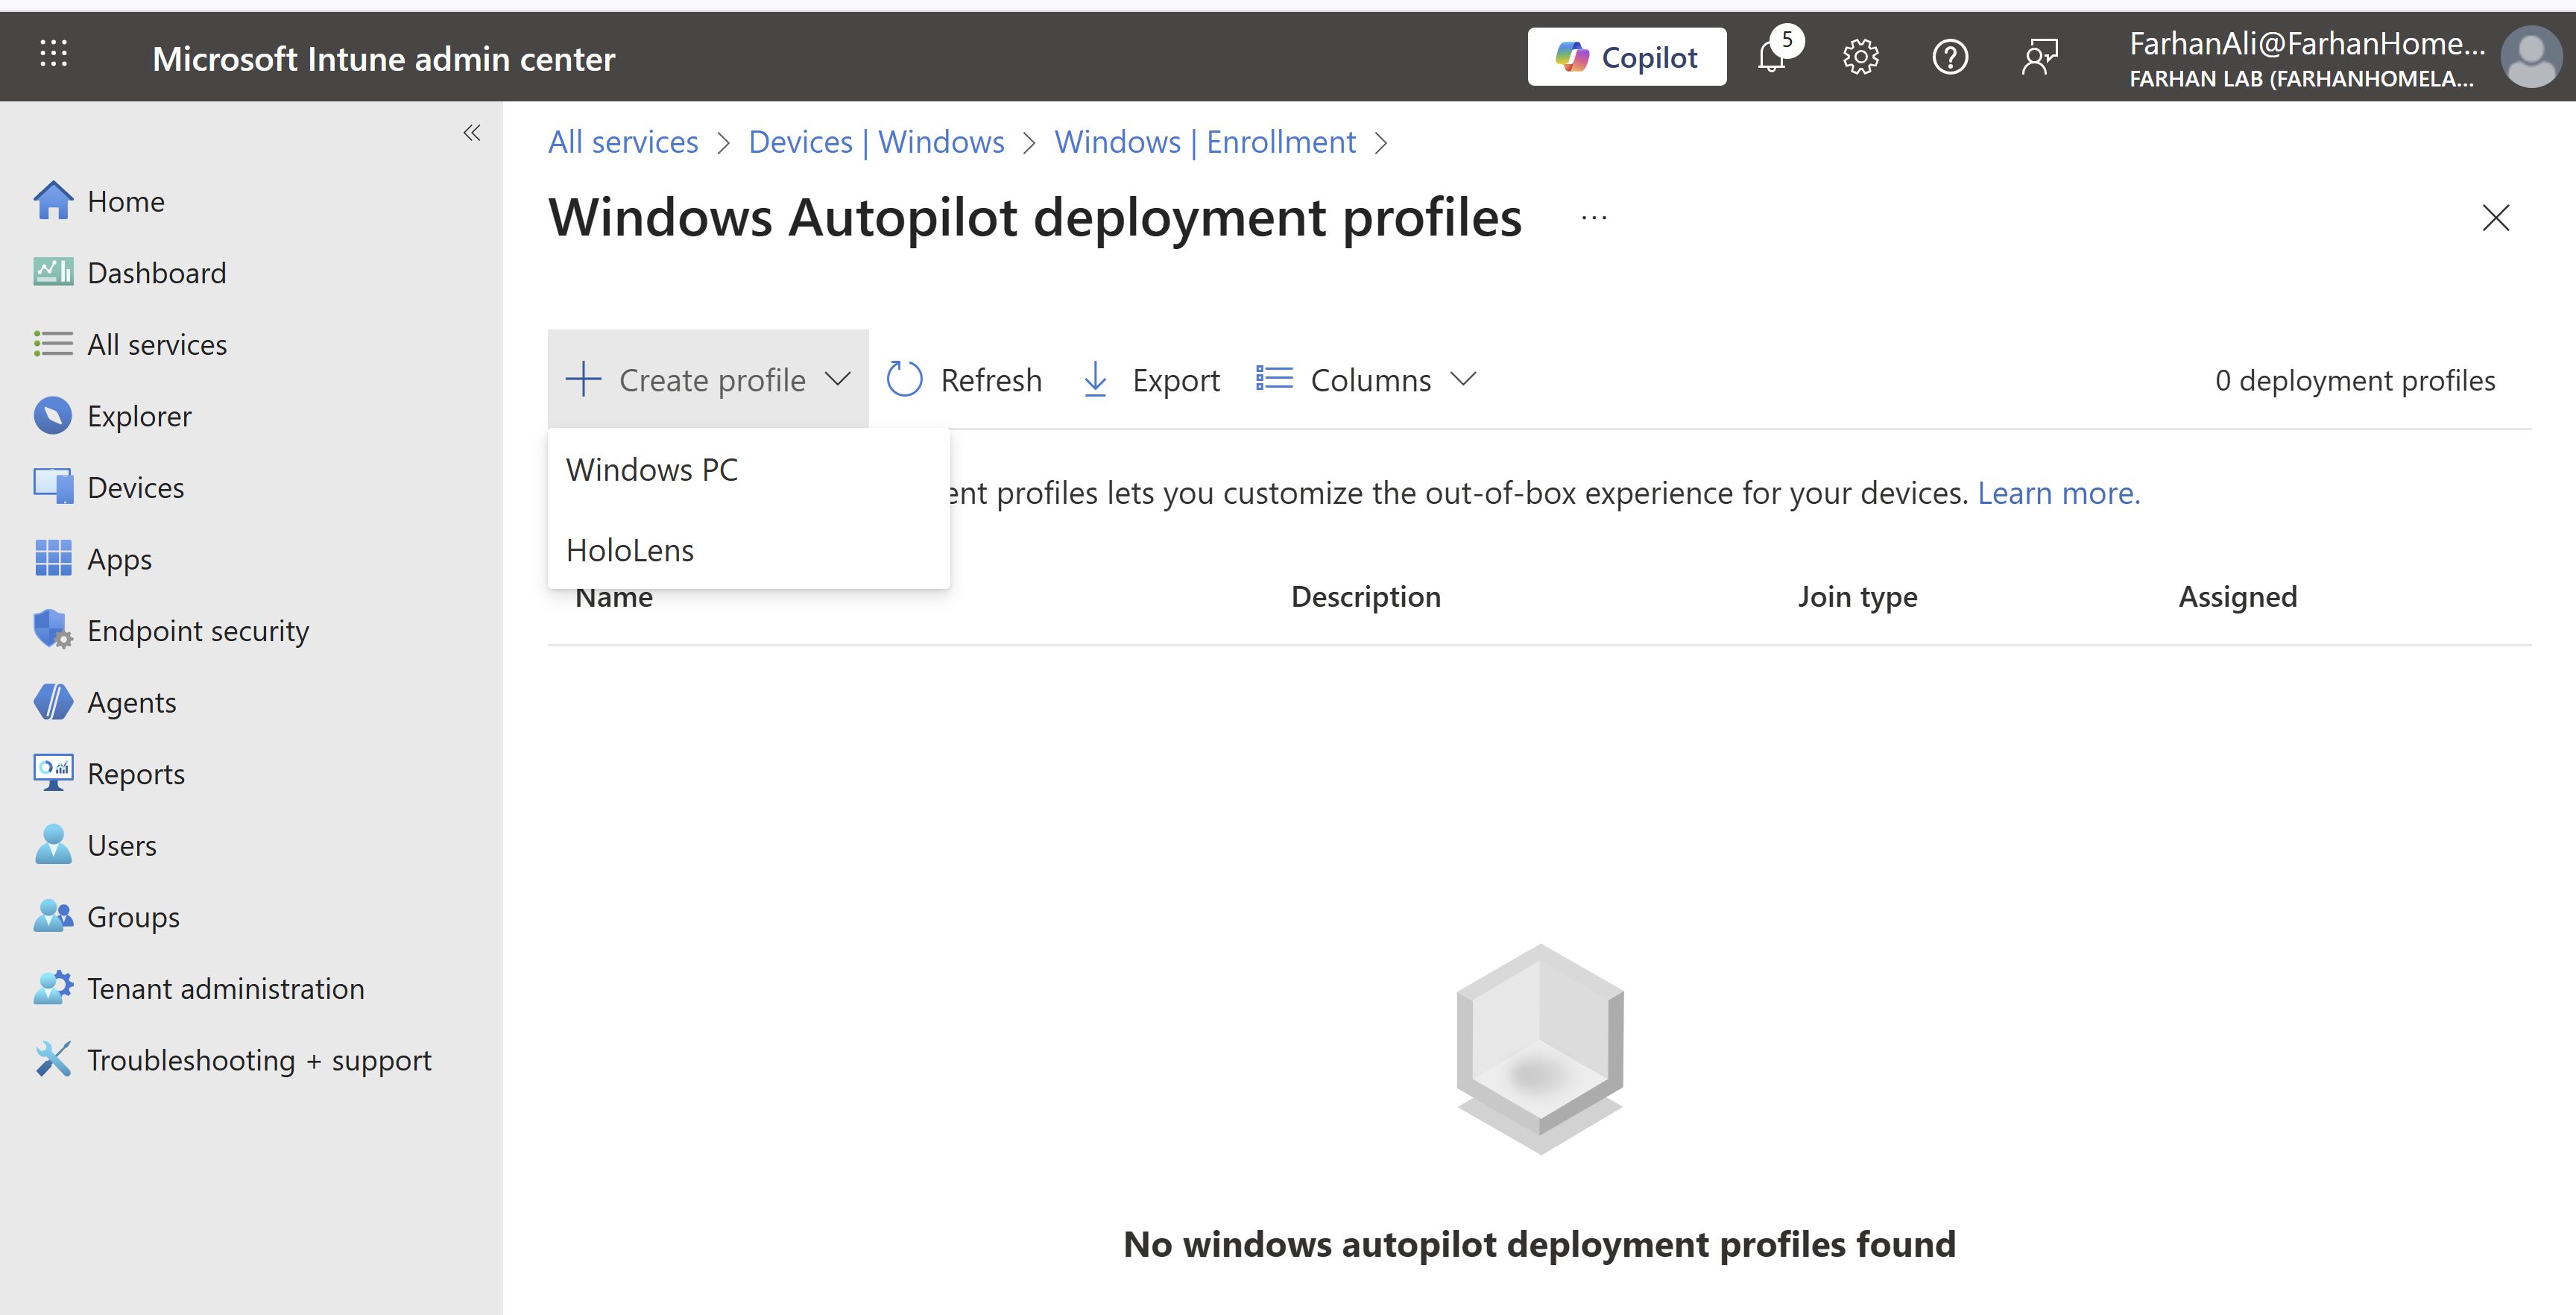
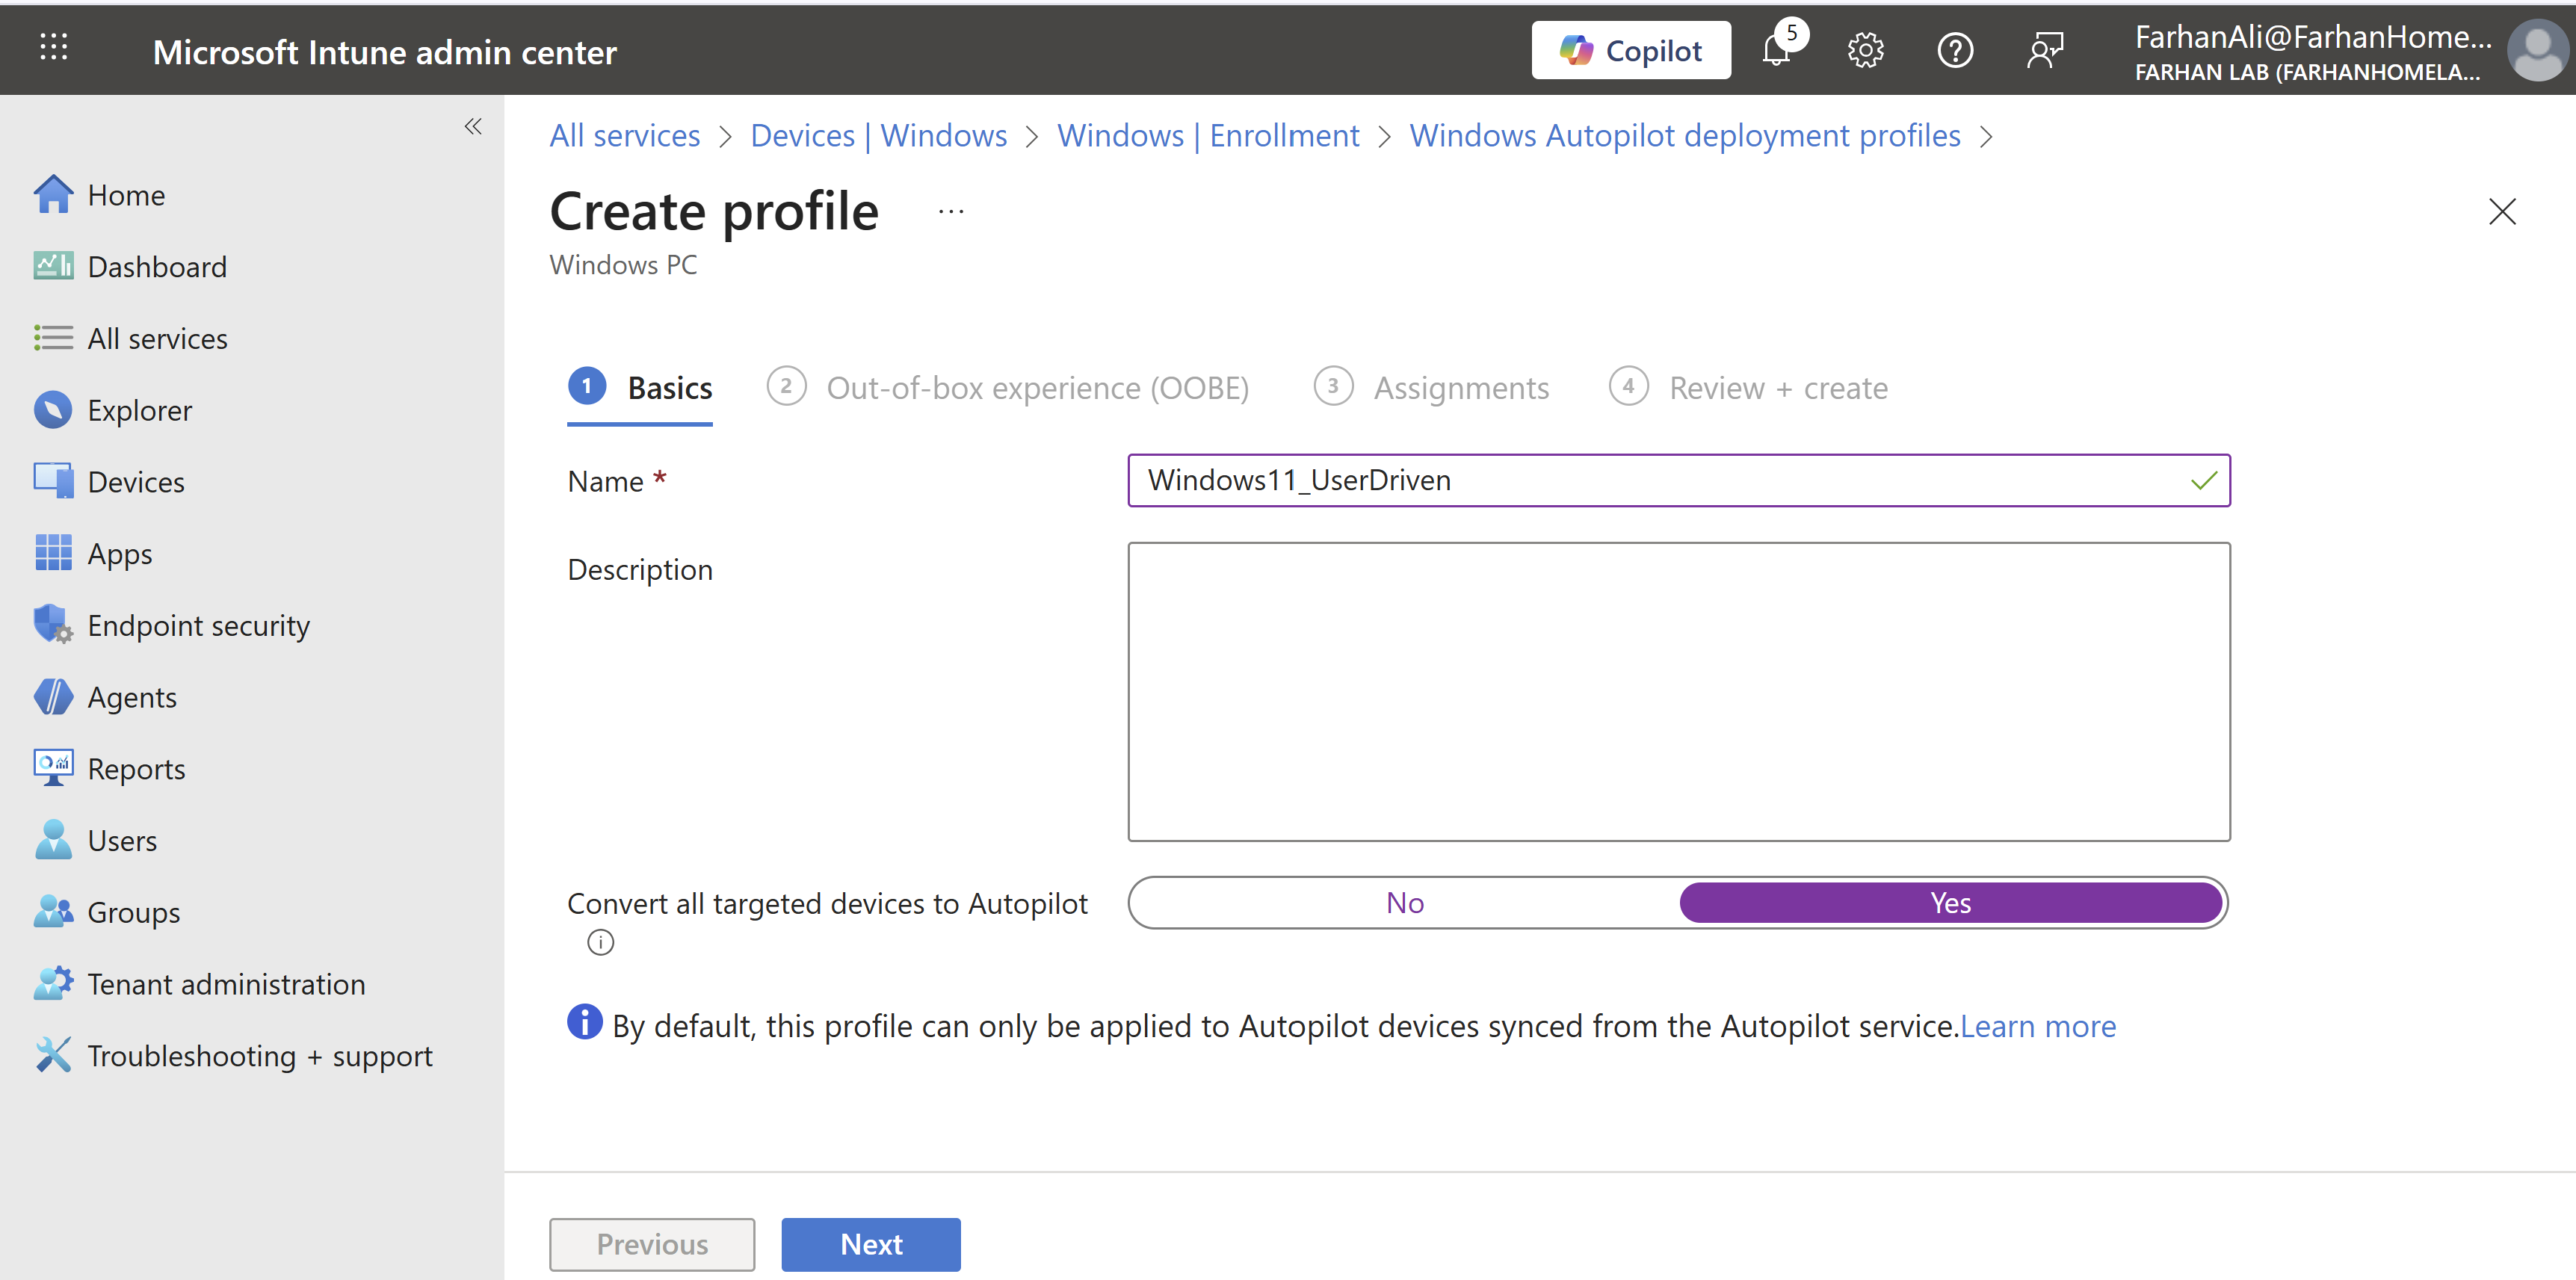
Created a Windows PC profile and checked the option to “Convert all targeted devices to Autopilot” to automatically register existing, non-Autopilot Windows devices in All Windows 11 Devices group to the Windows Autopilot service.
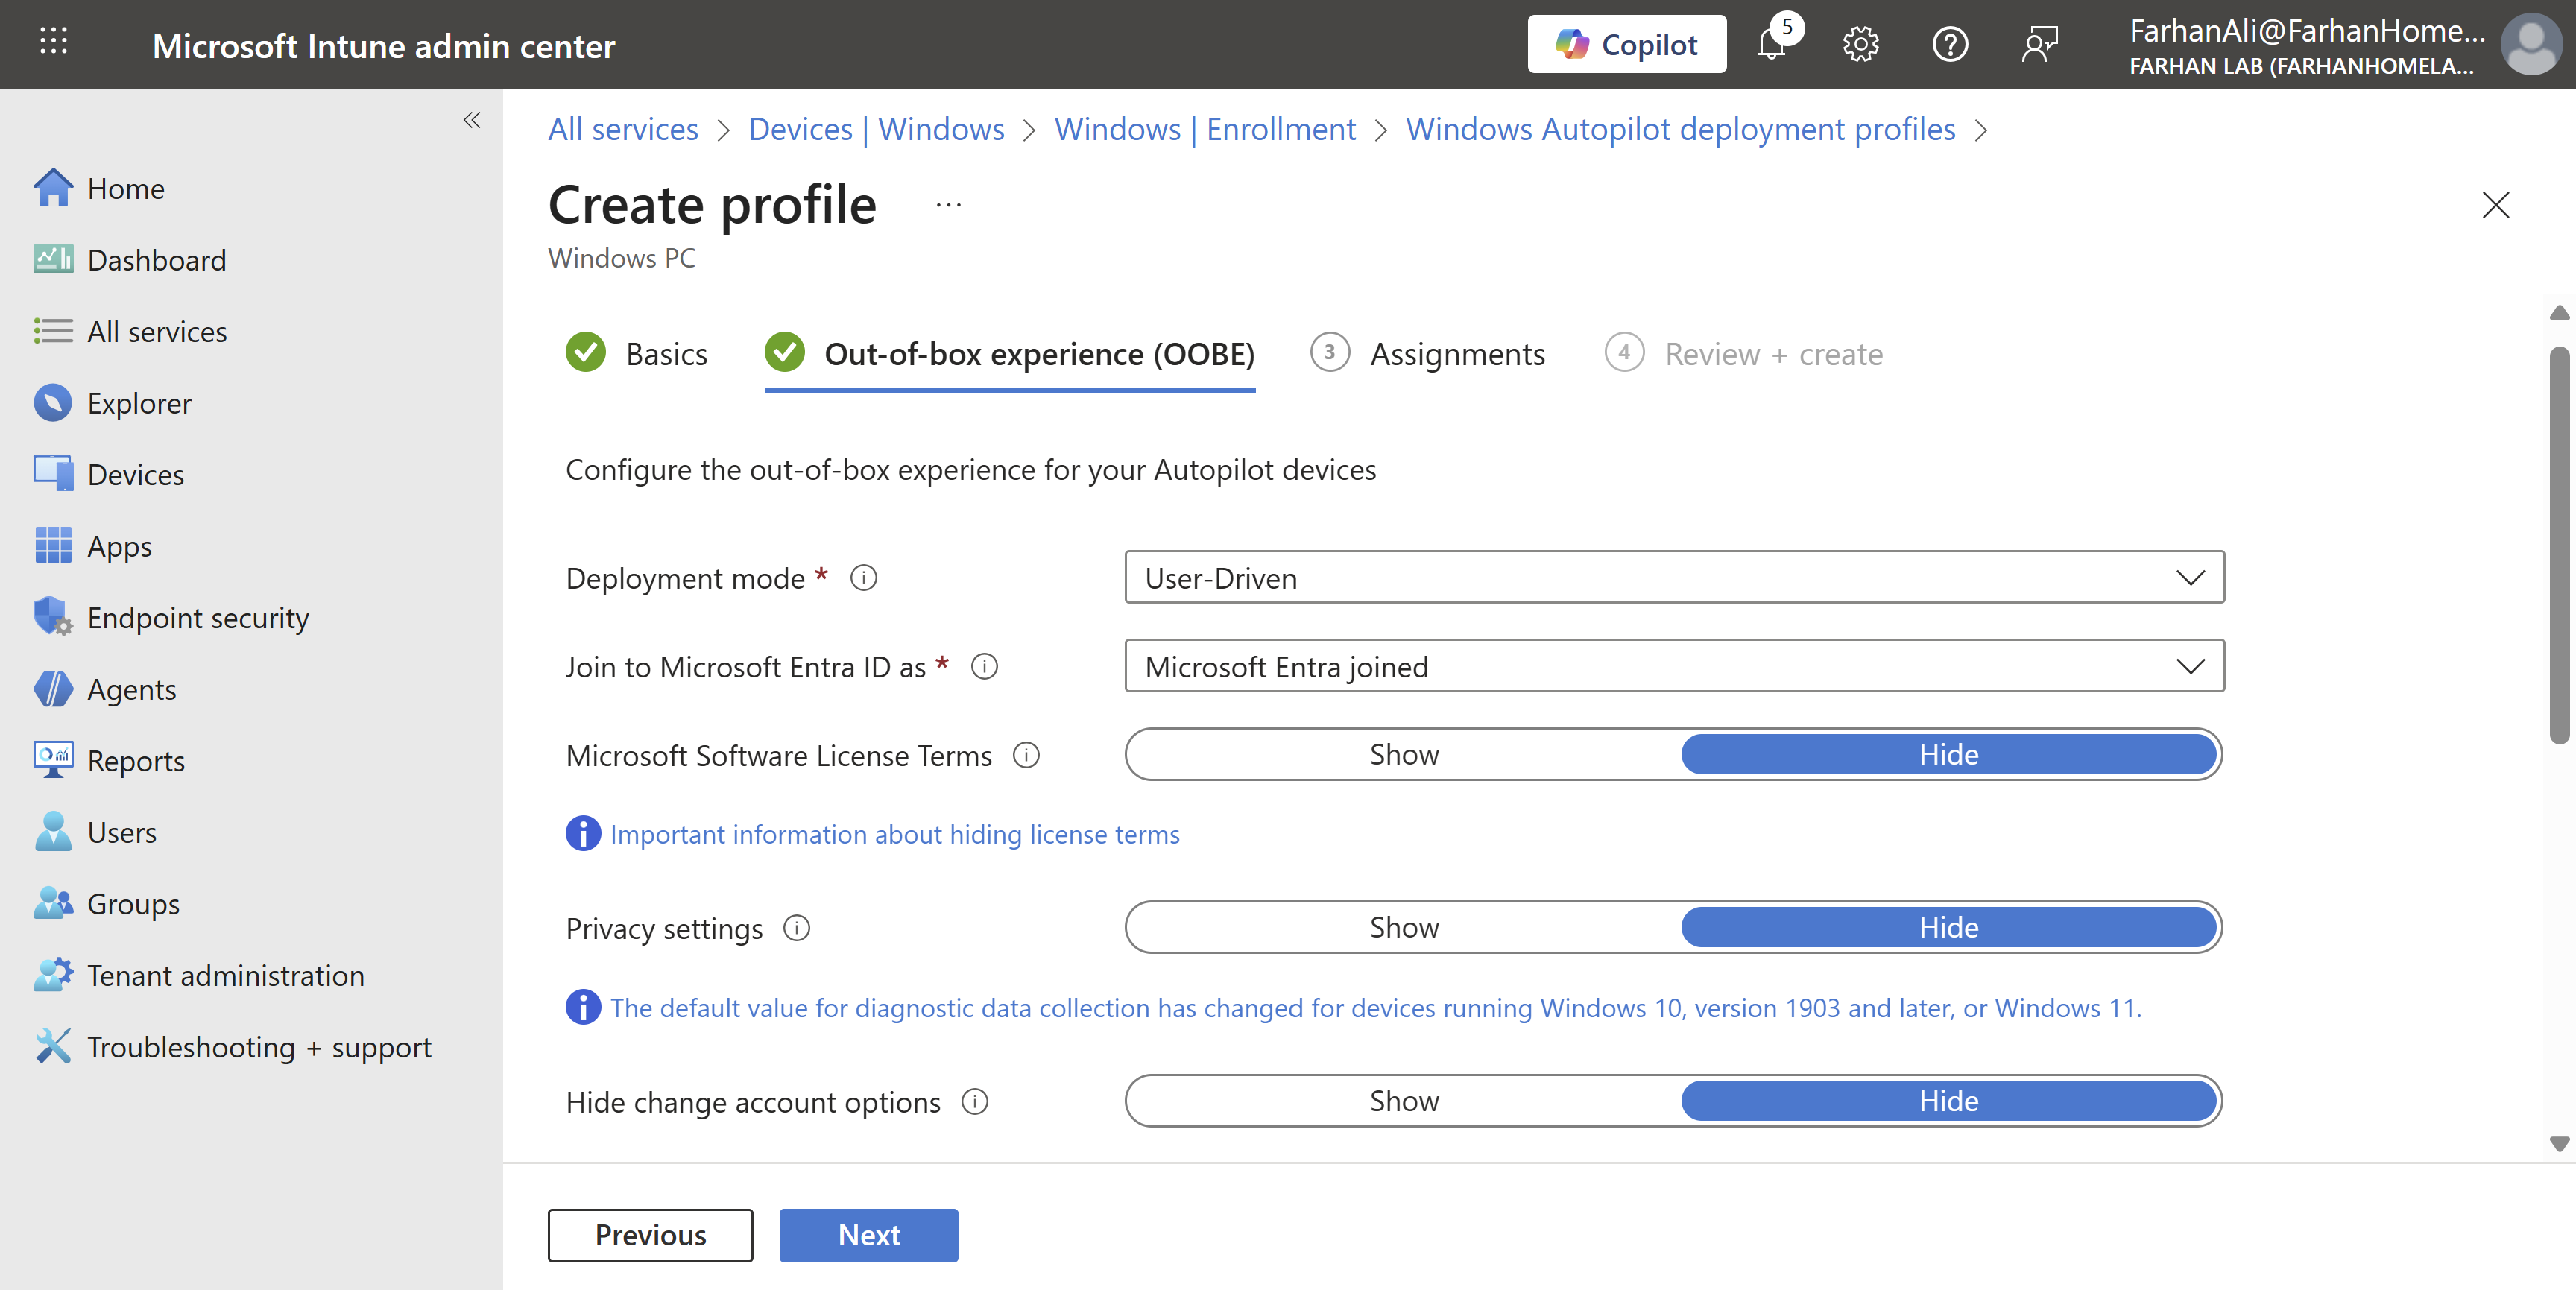
Configuration Values for OOBE
- Deployment Mode: User Driven
- Join to Microsoft Entra ID as: Microsoft Entra joined
- Skip/settings for privacy/EULA/screens
- Apply device name template: %SERIAL%
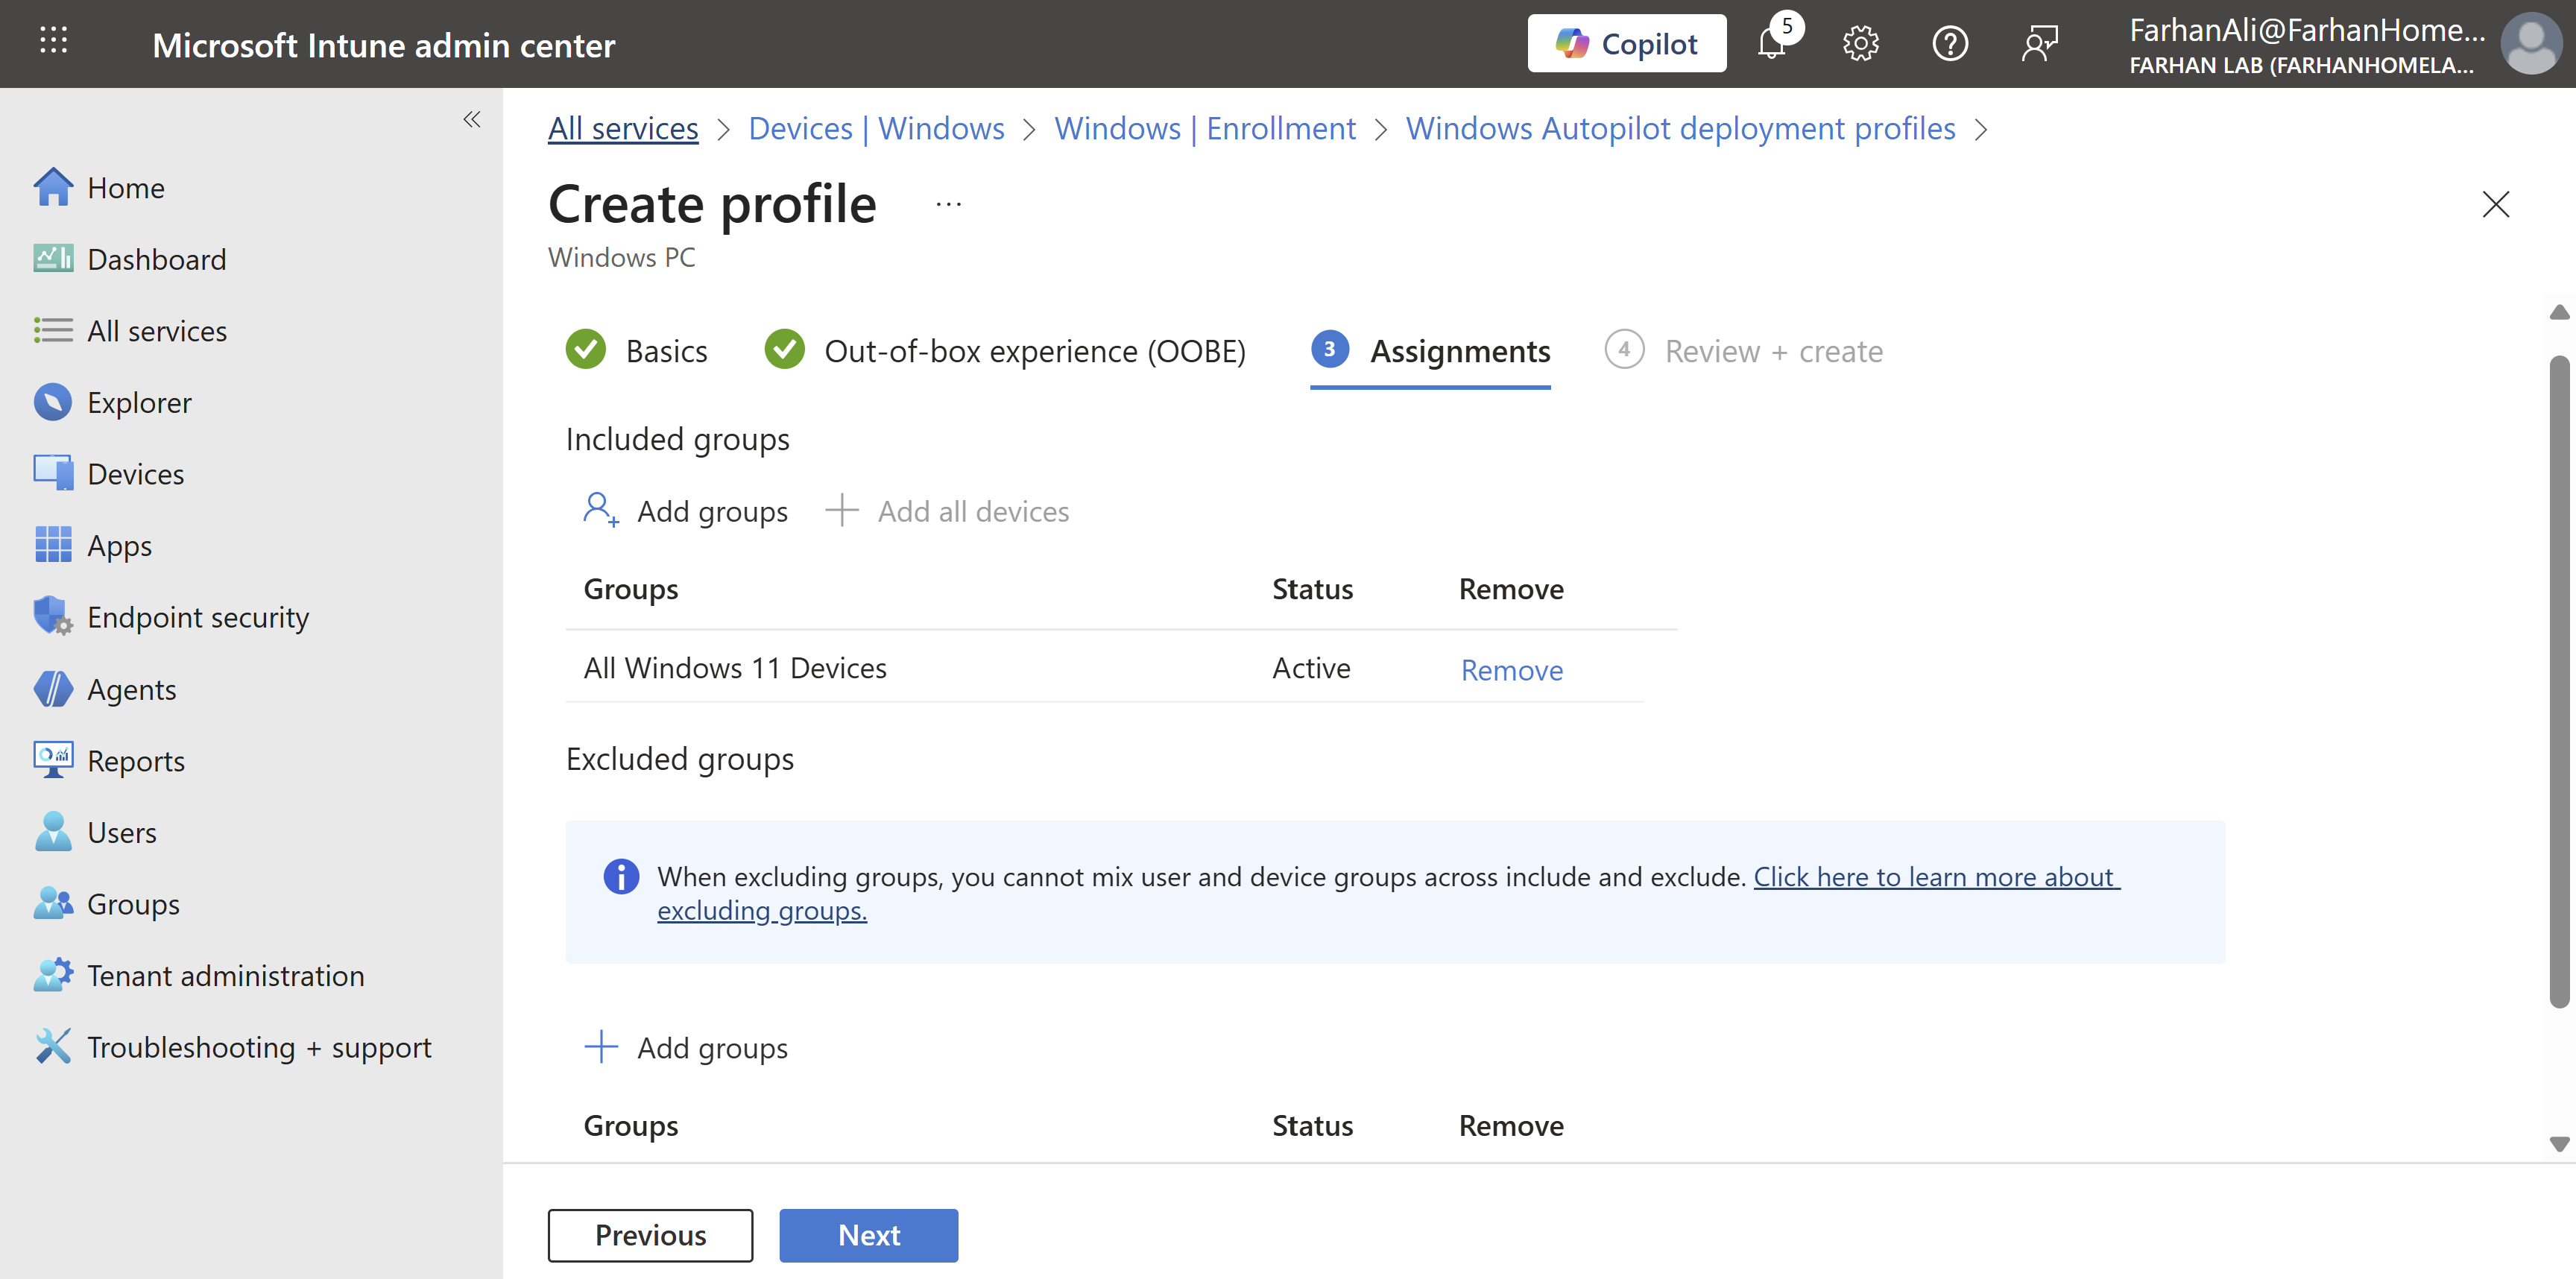
Assign profile to All Windows 11 Devices group
Verify profile creation
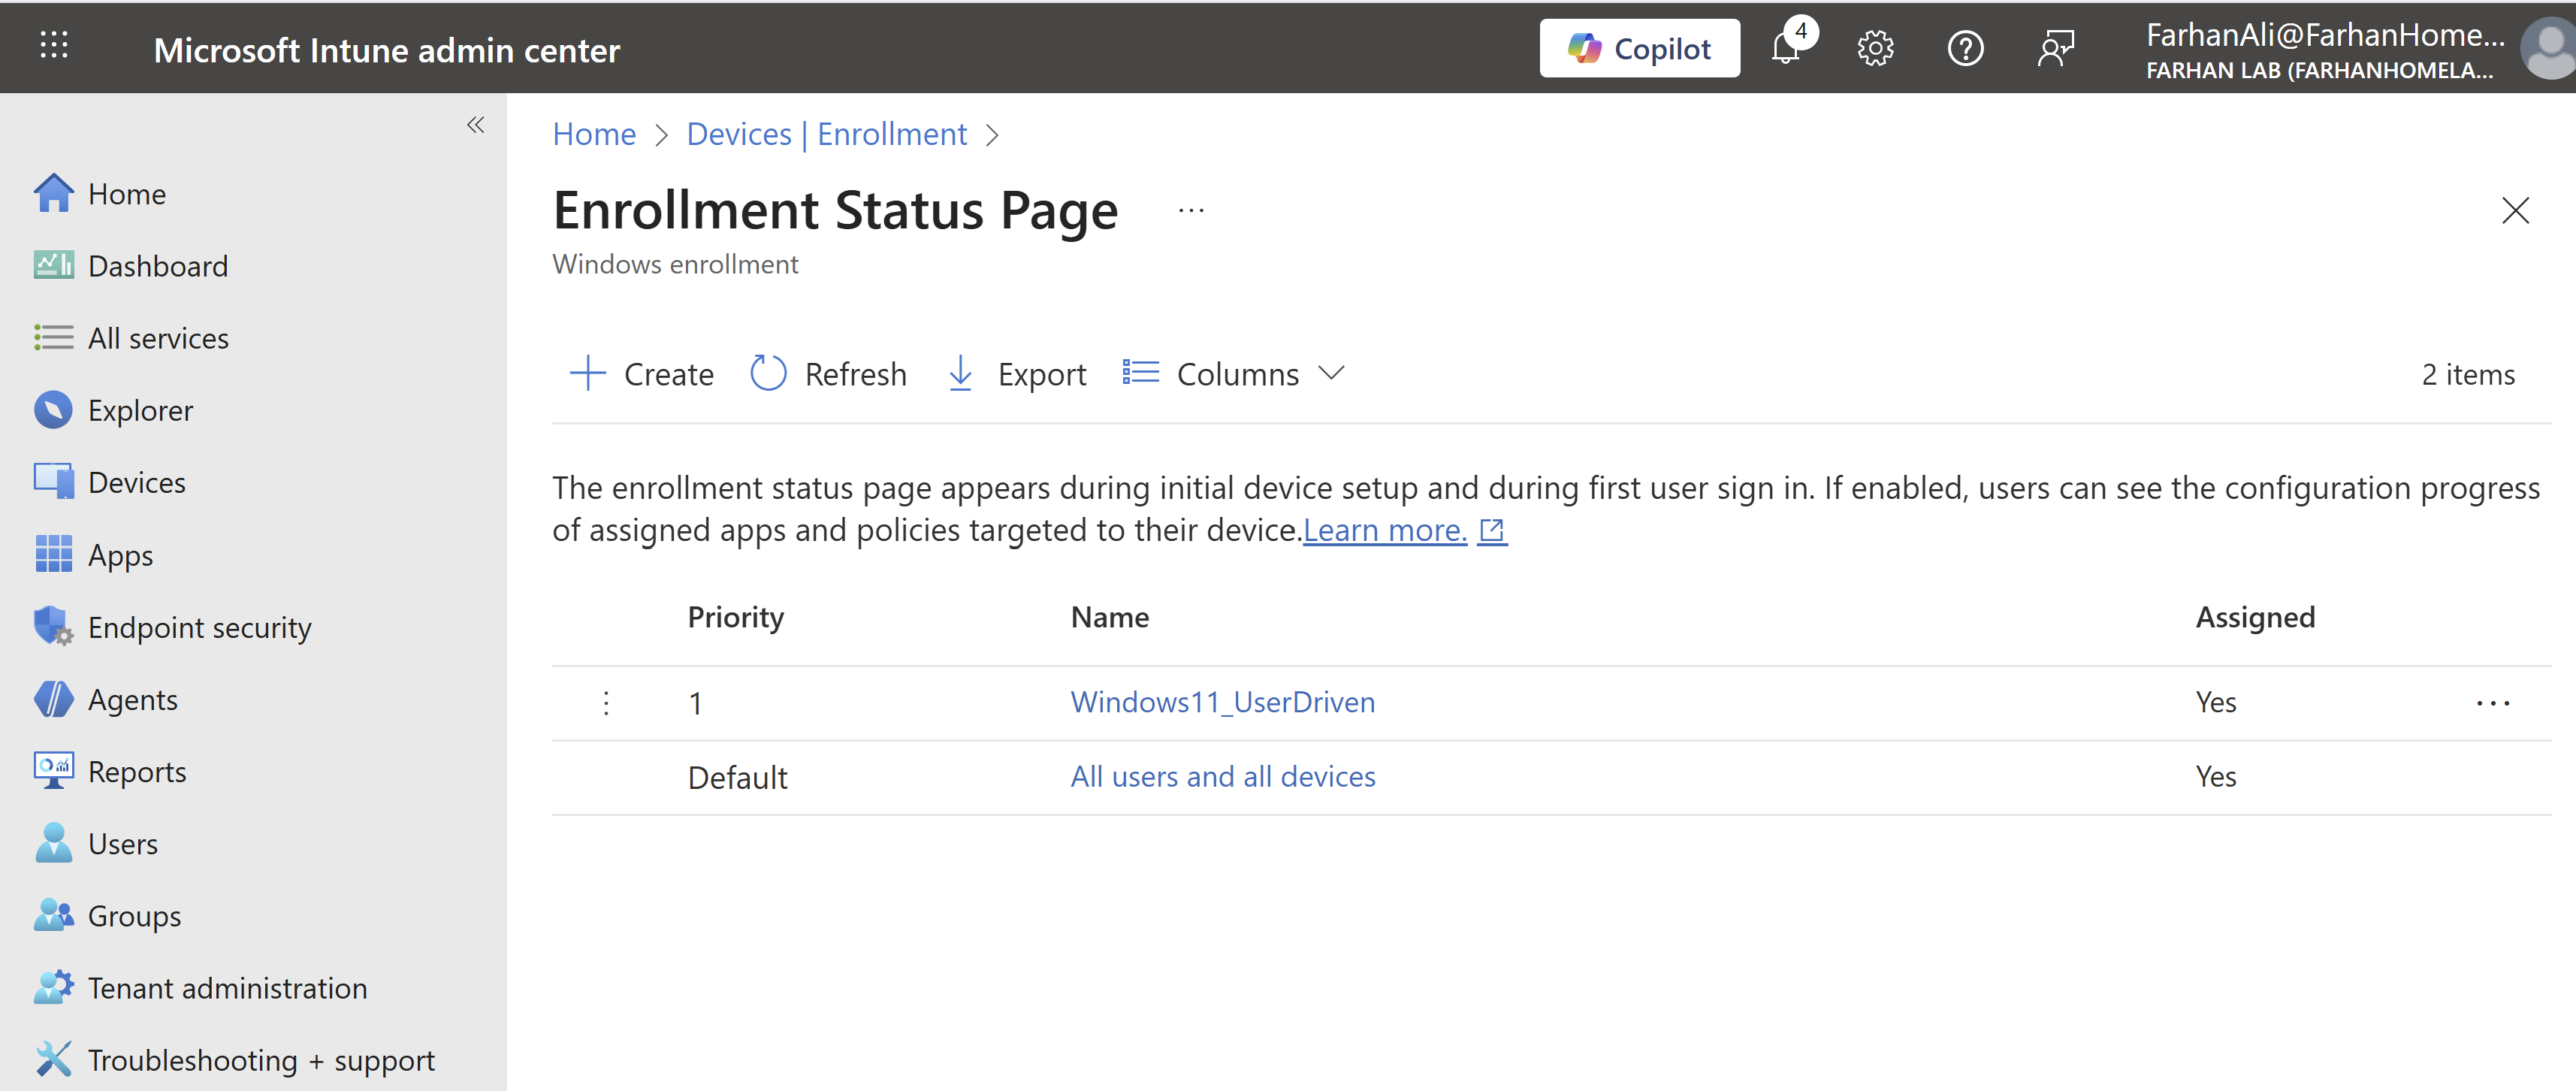
Phase 3: Configure Enrollment Status Page (ESP)
ESP shows users the progress of device setup (apps, policies, certificates) during the first sign-in and can block device use until everything is installed.
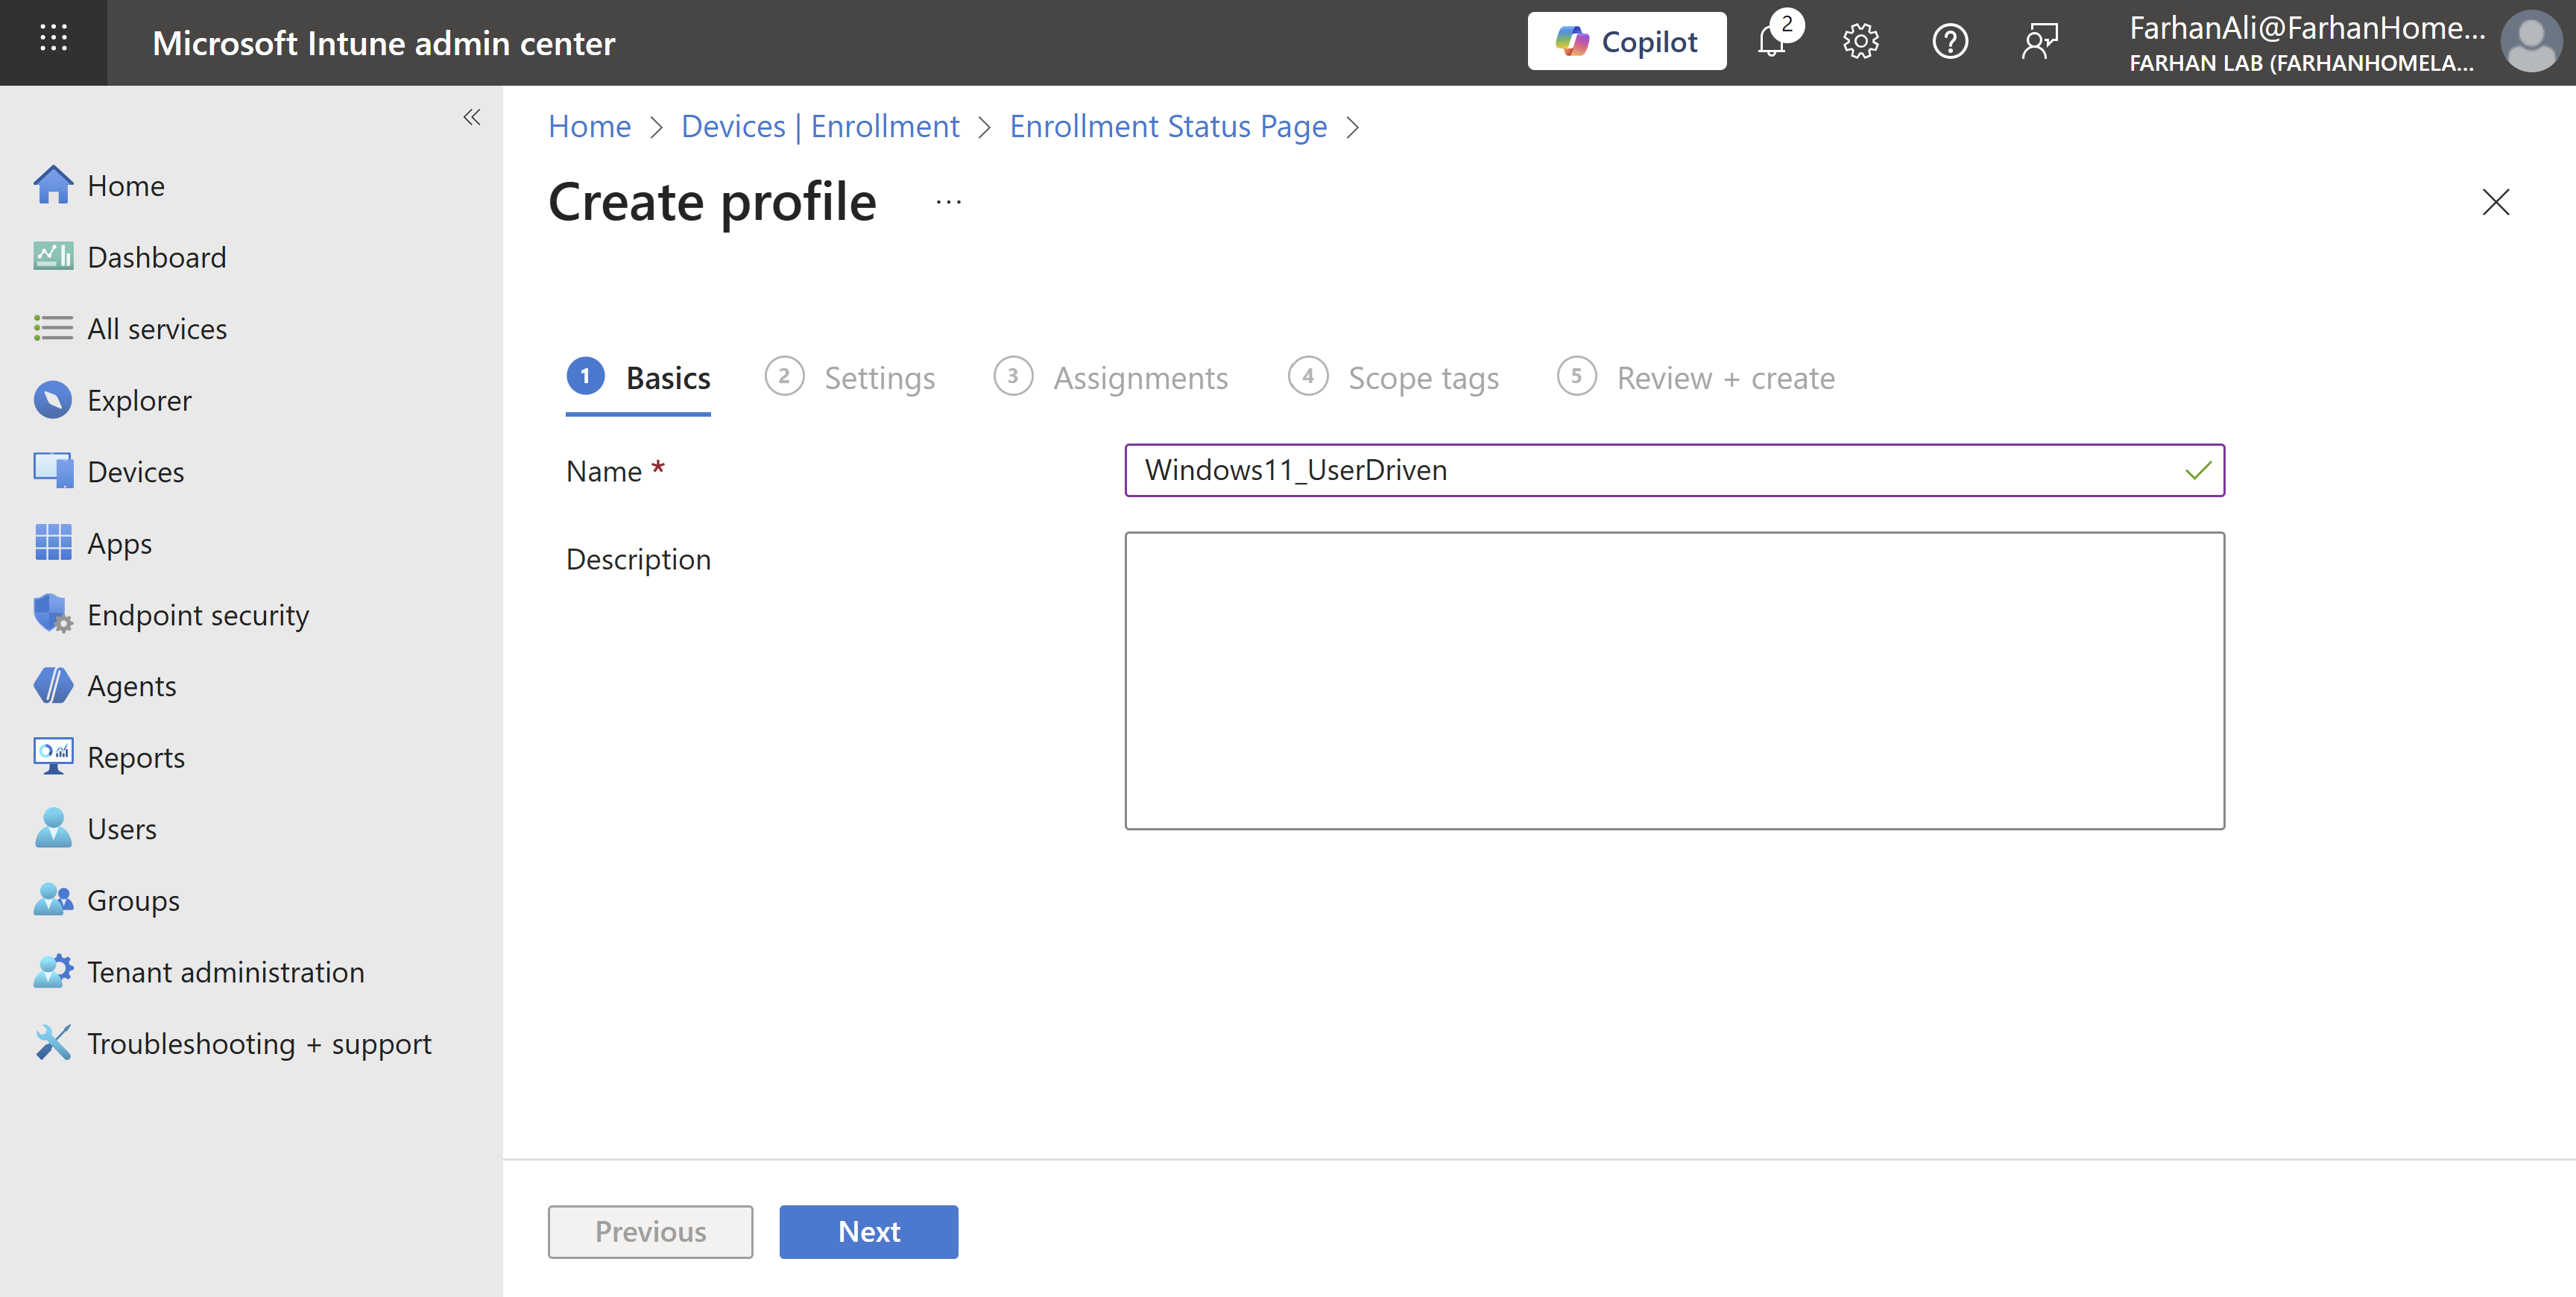
Navigate to Microsoft Intune admin center → Enrollment → Enrollment Status Page under Windows Autopilot

Named the profile Windows11_UserDriven
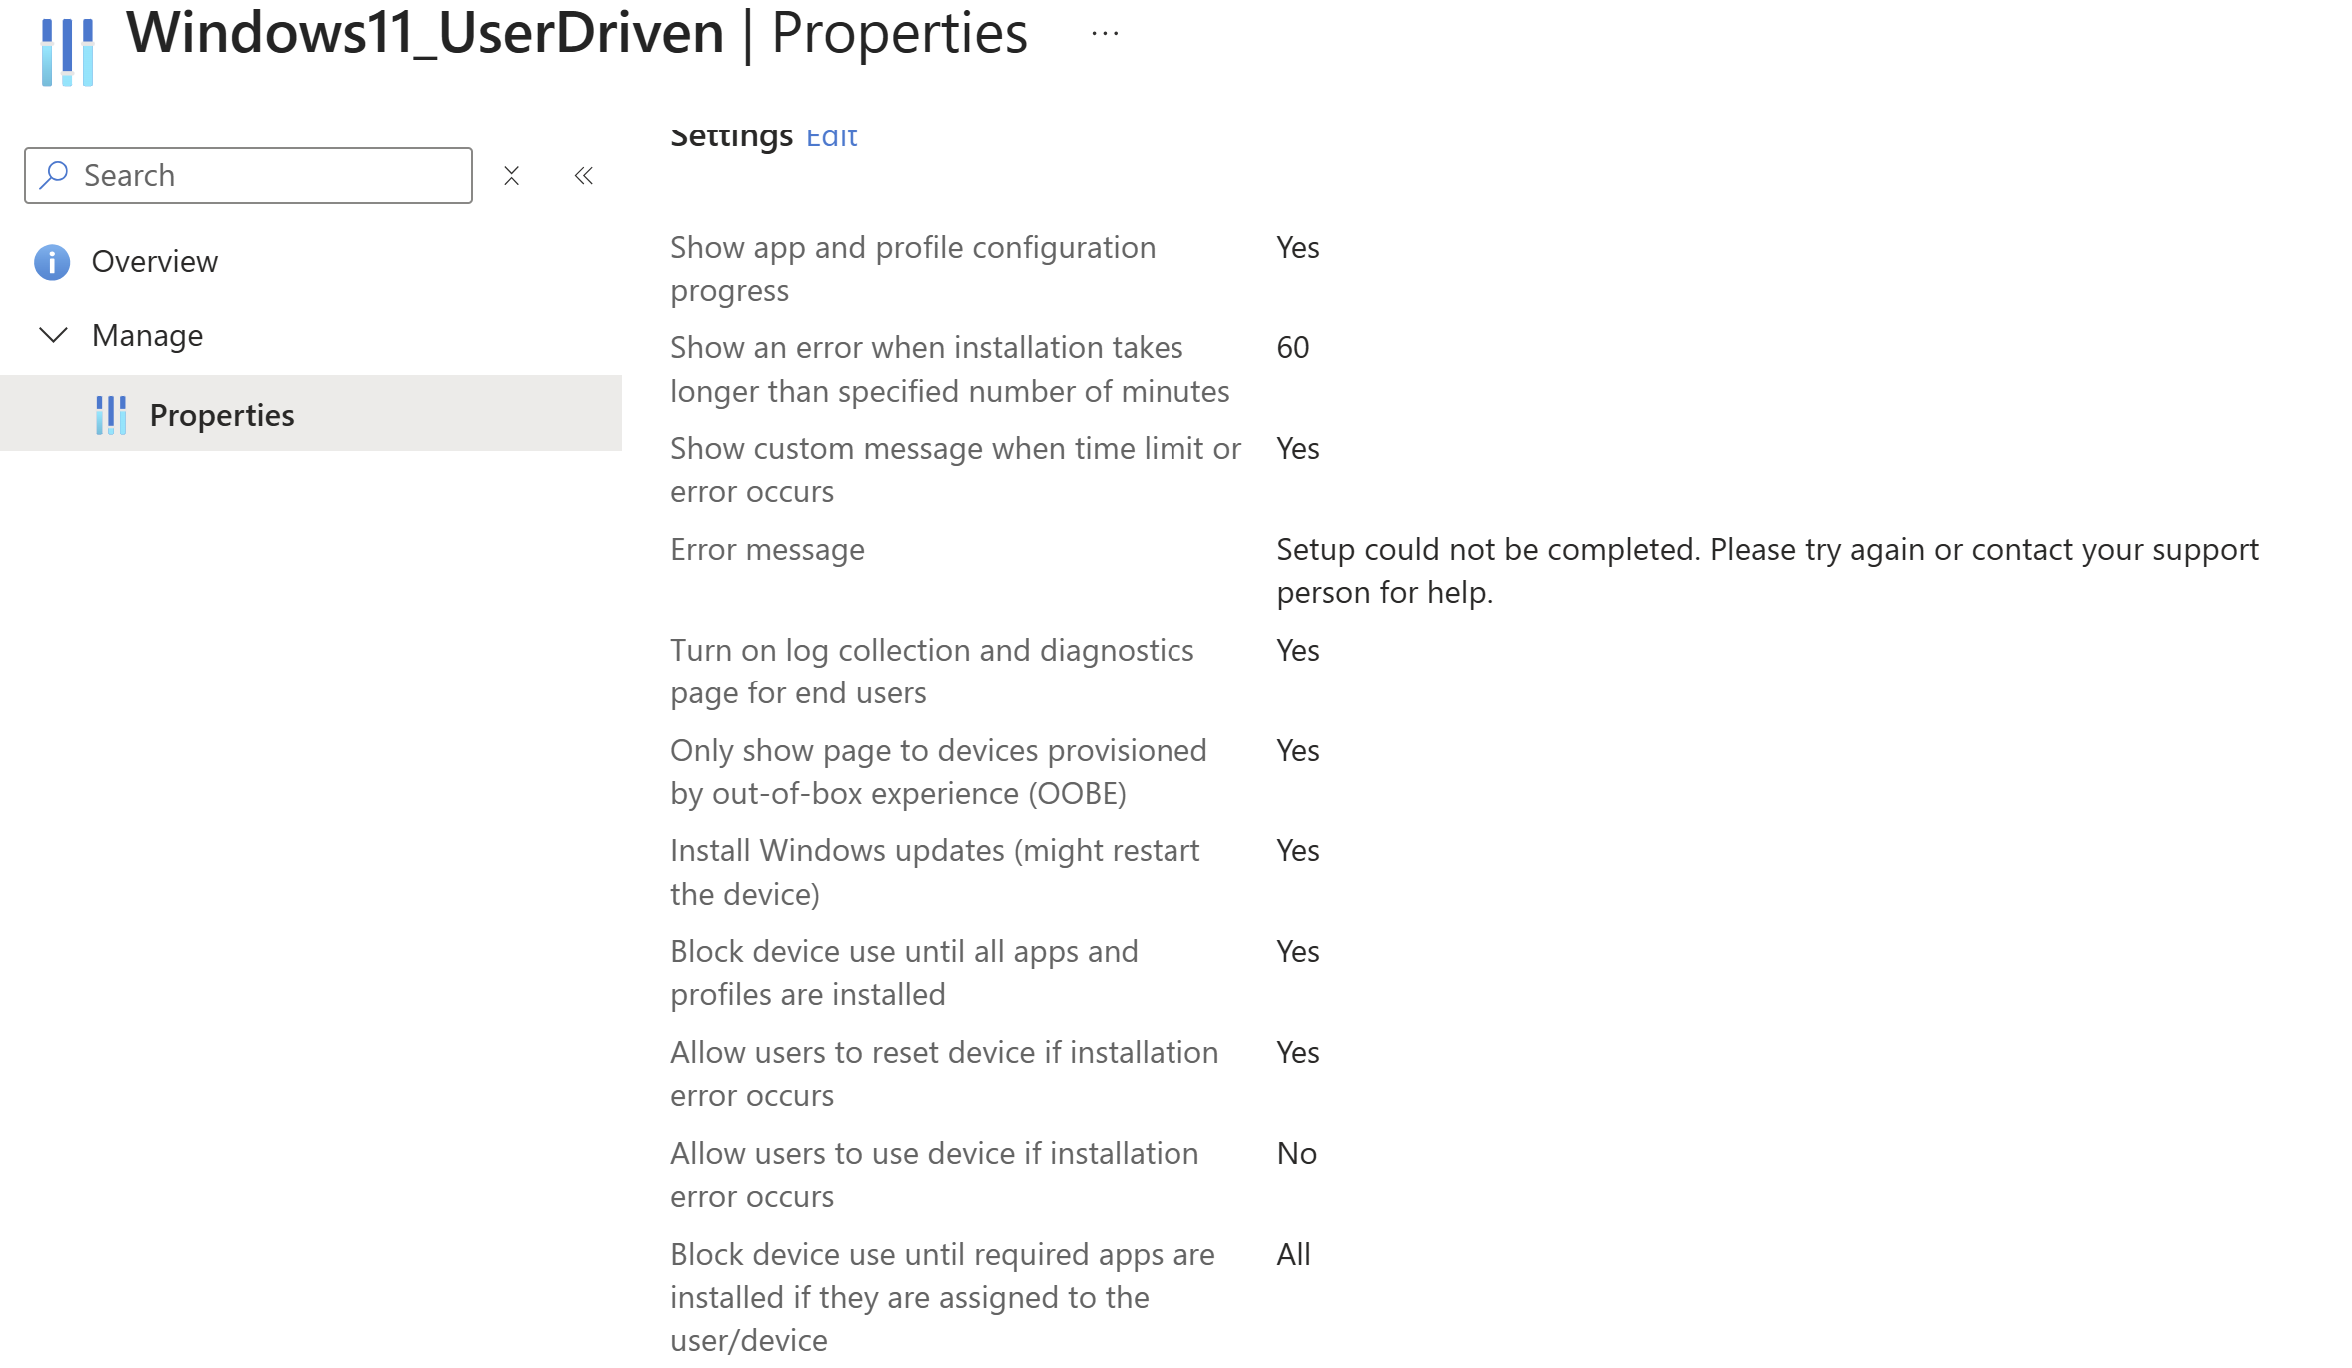
Checked following options under settings and left the rest as default:
- Show app and profile configuration progress
- Allow users to reset device if installation error occurs
Add the All Windows 11 Devices group under assignments
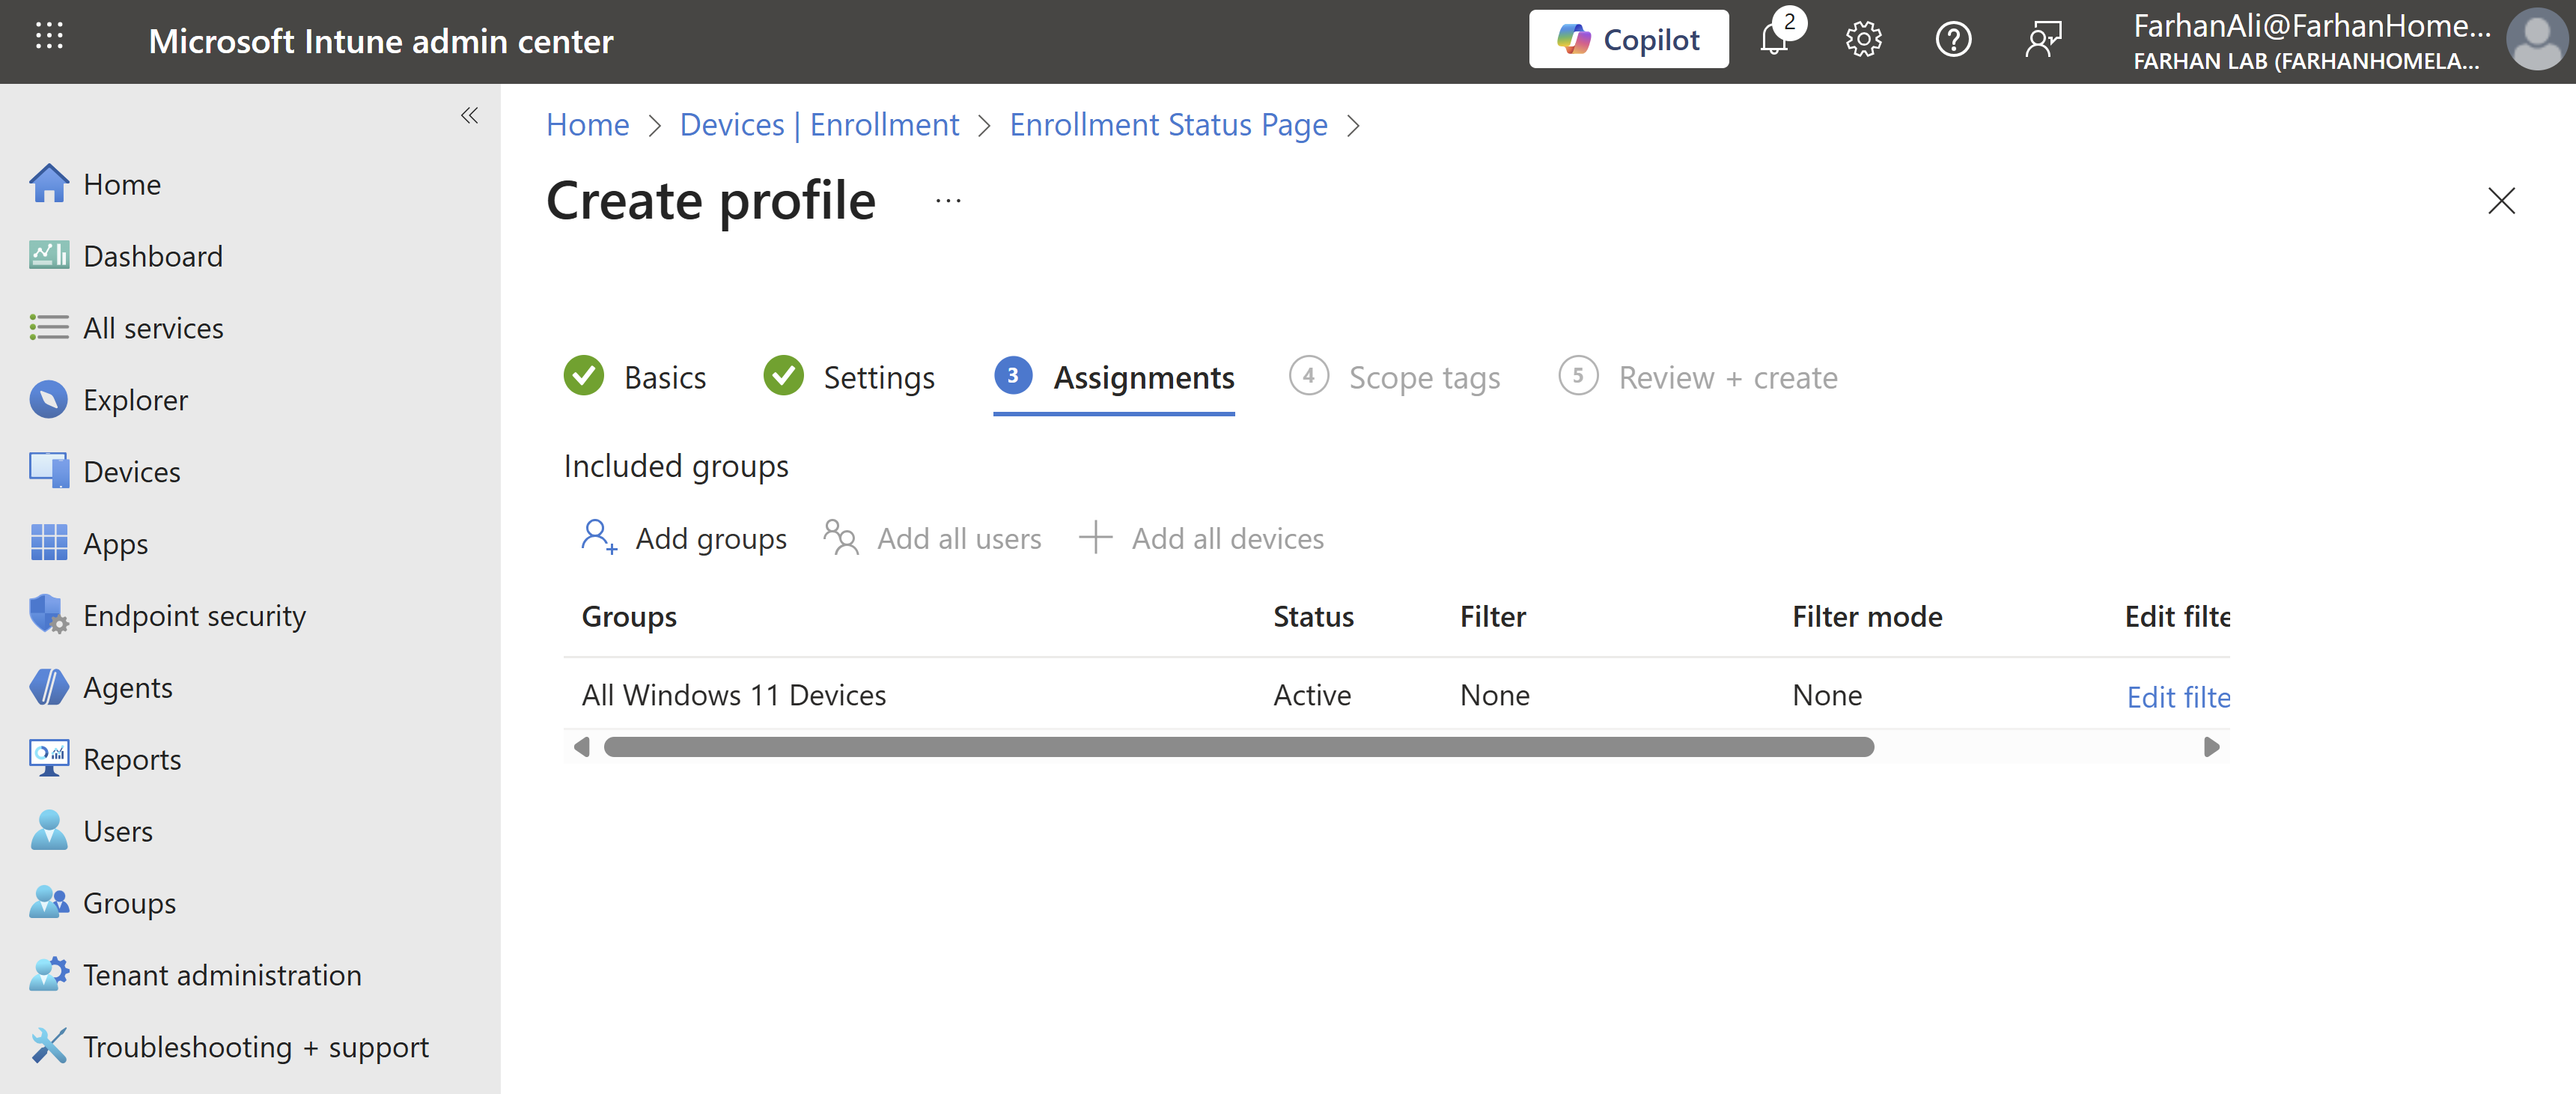
Verify profile creation and ensure that it has the right priority
Phase 4: Configure Apps, Policies and Update Rings
Configure Apps
Navigate to Microsoft Intune admin center → Apps → Windows → Create
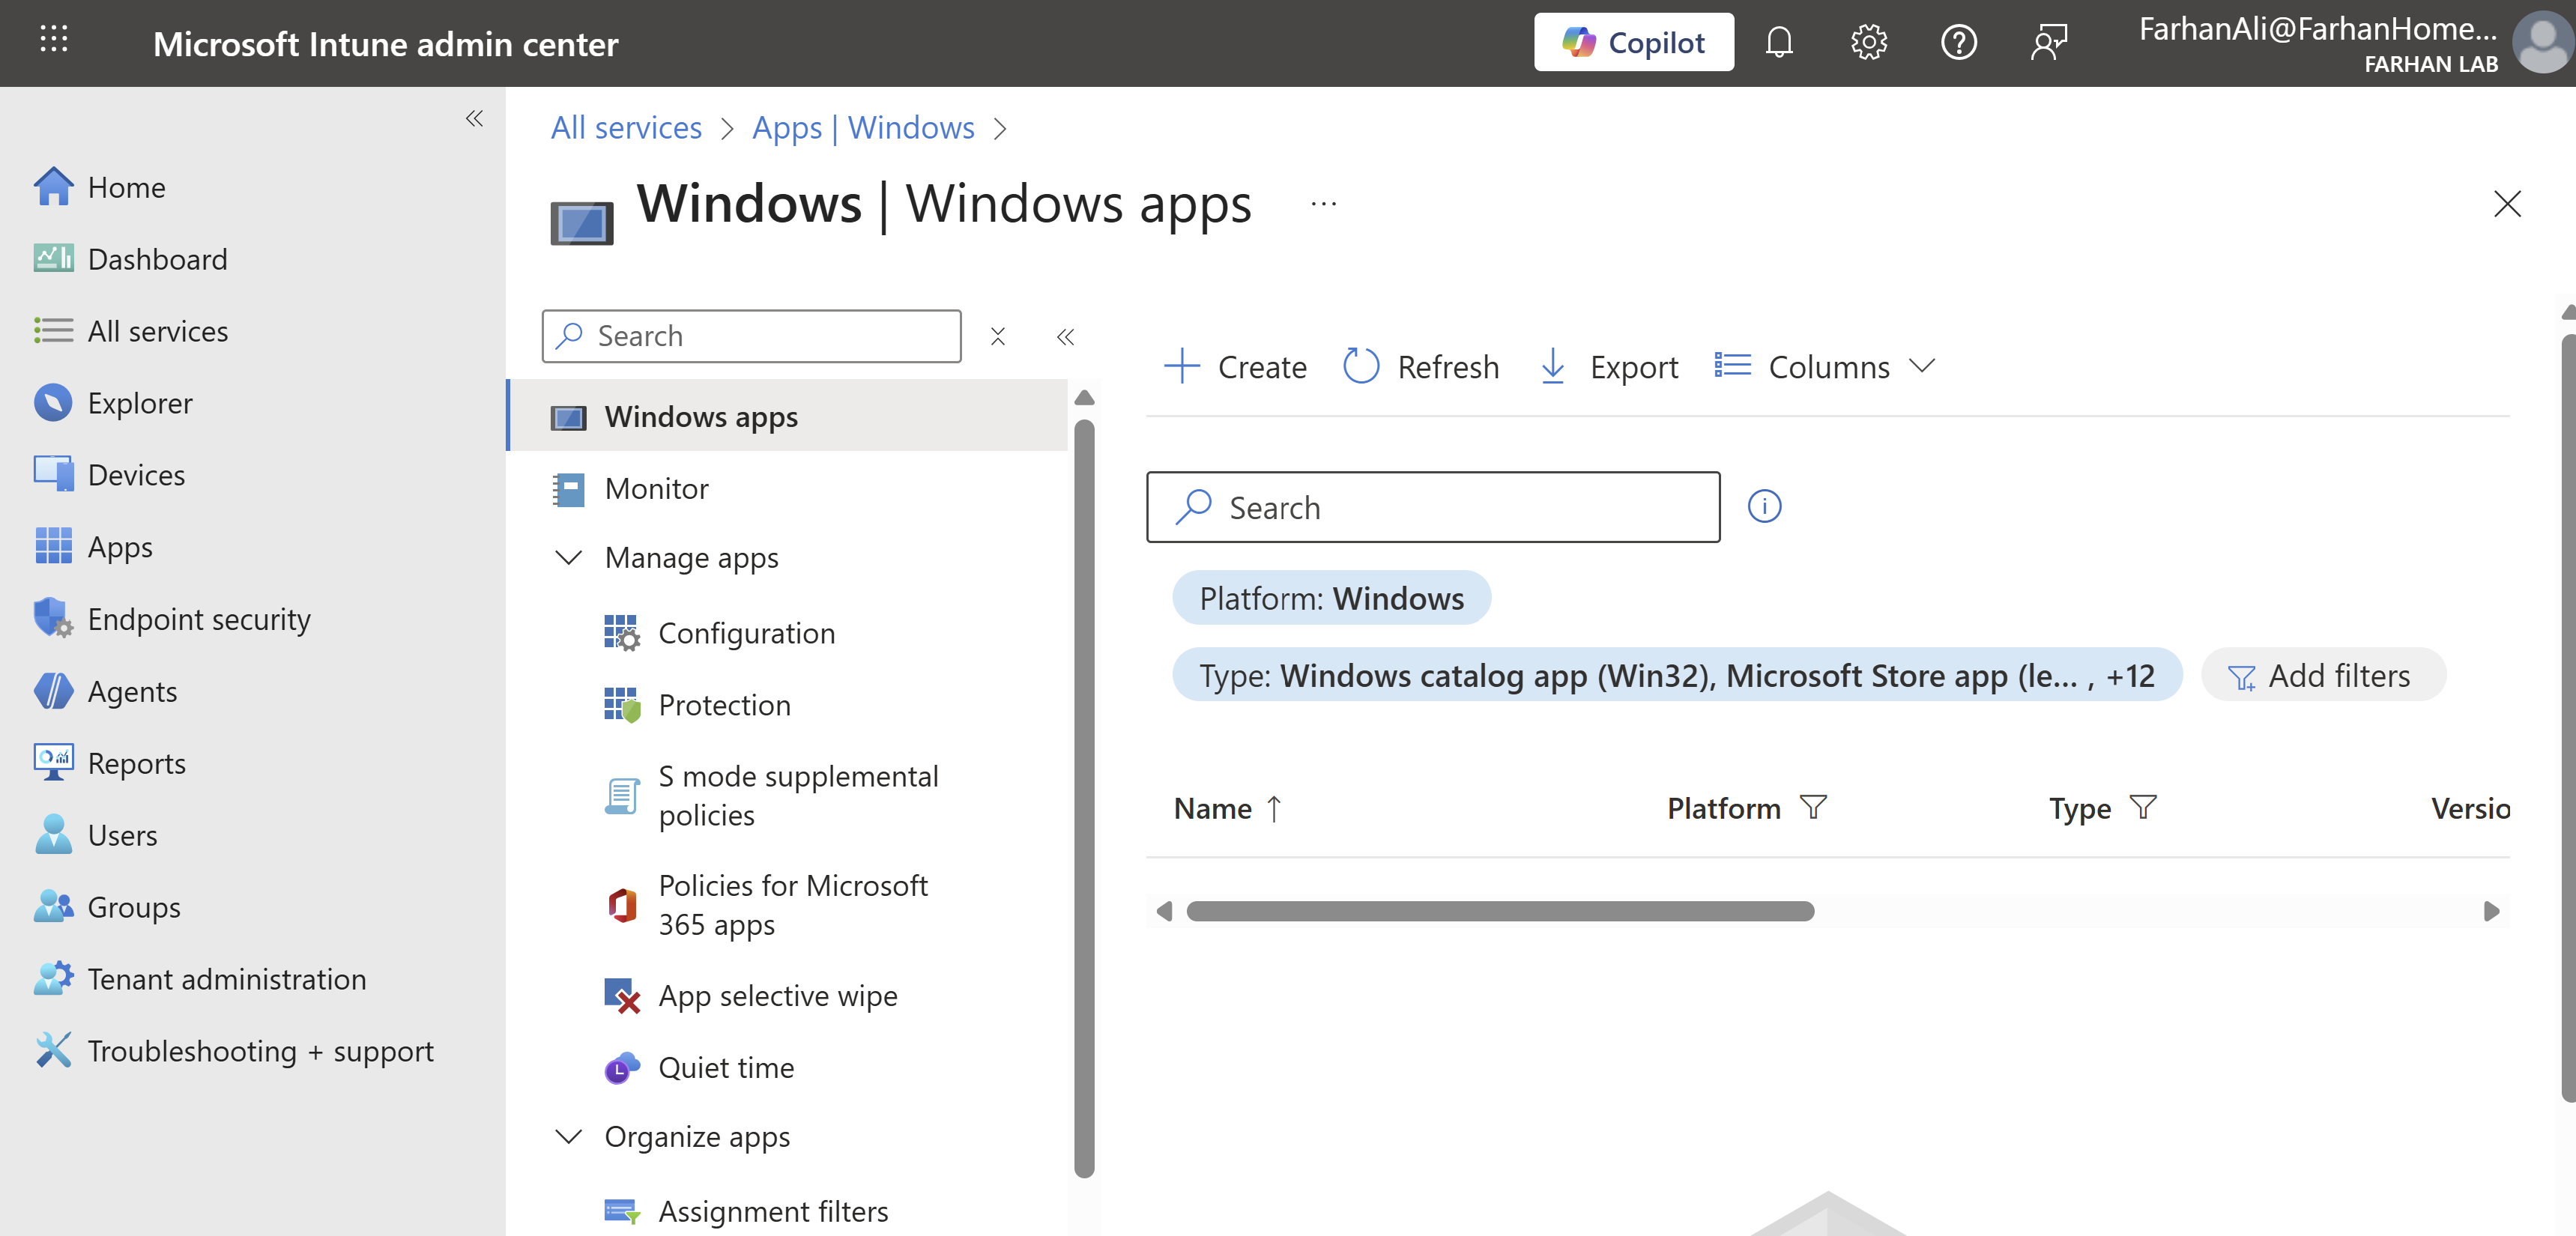
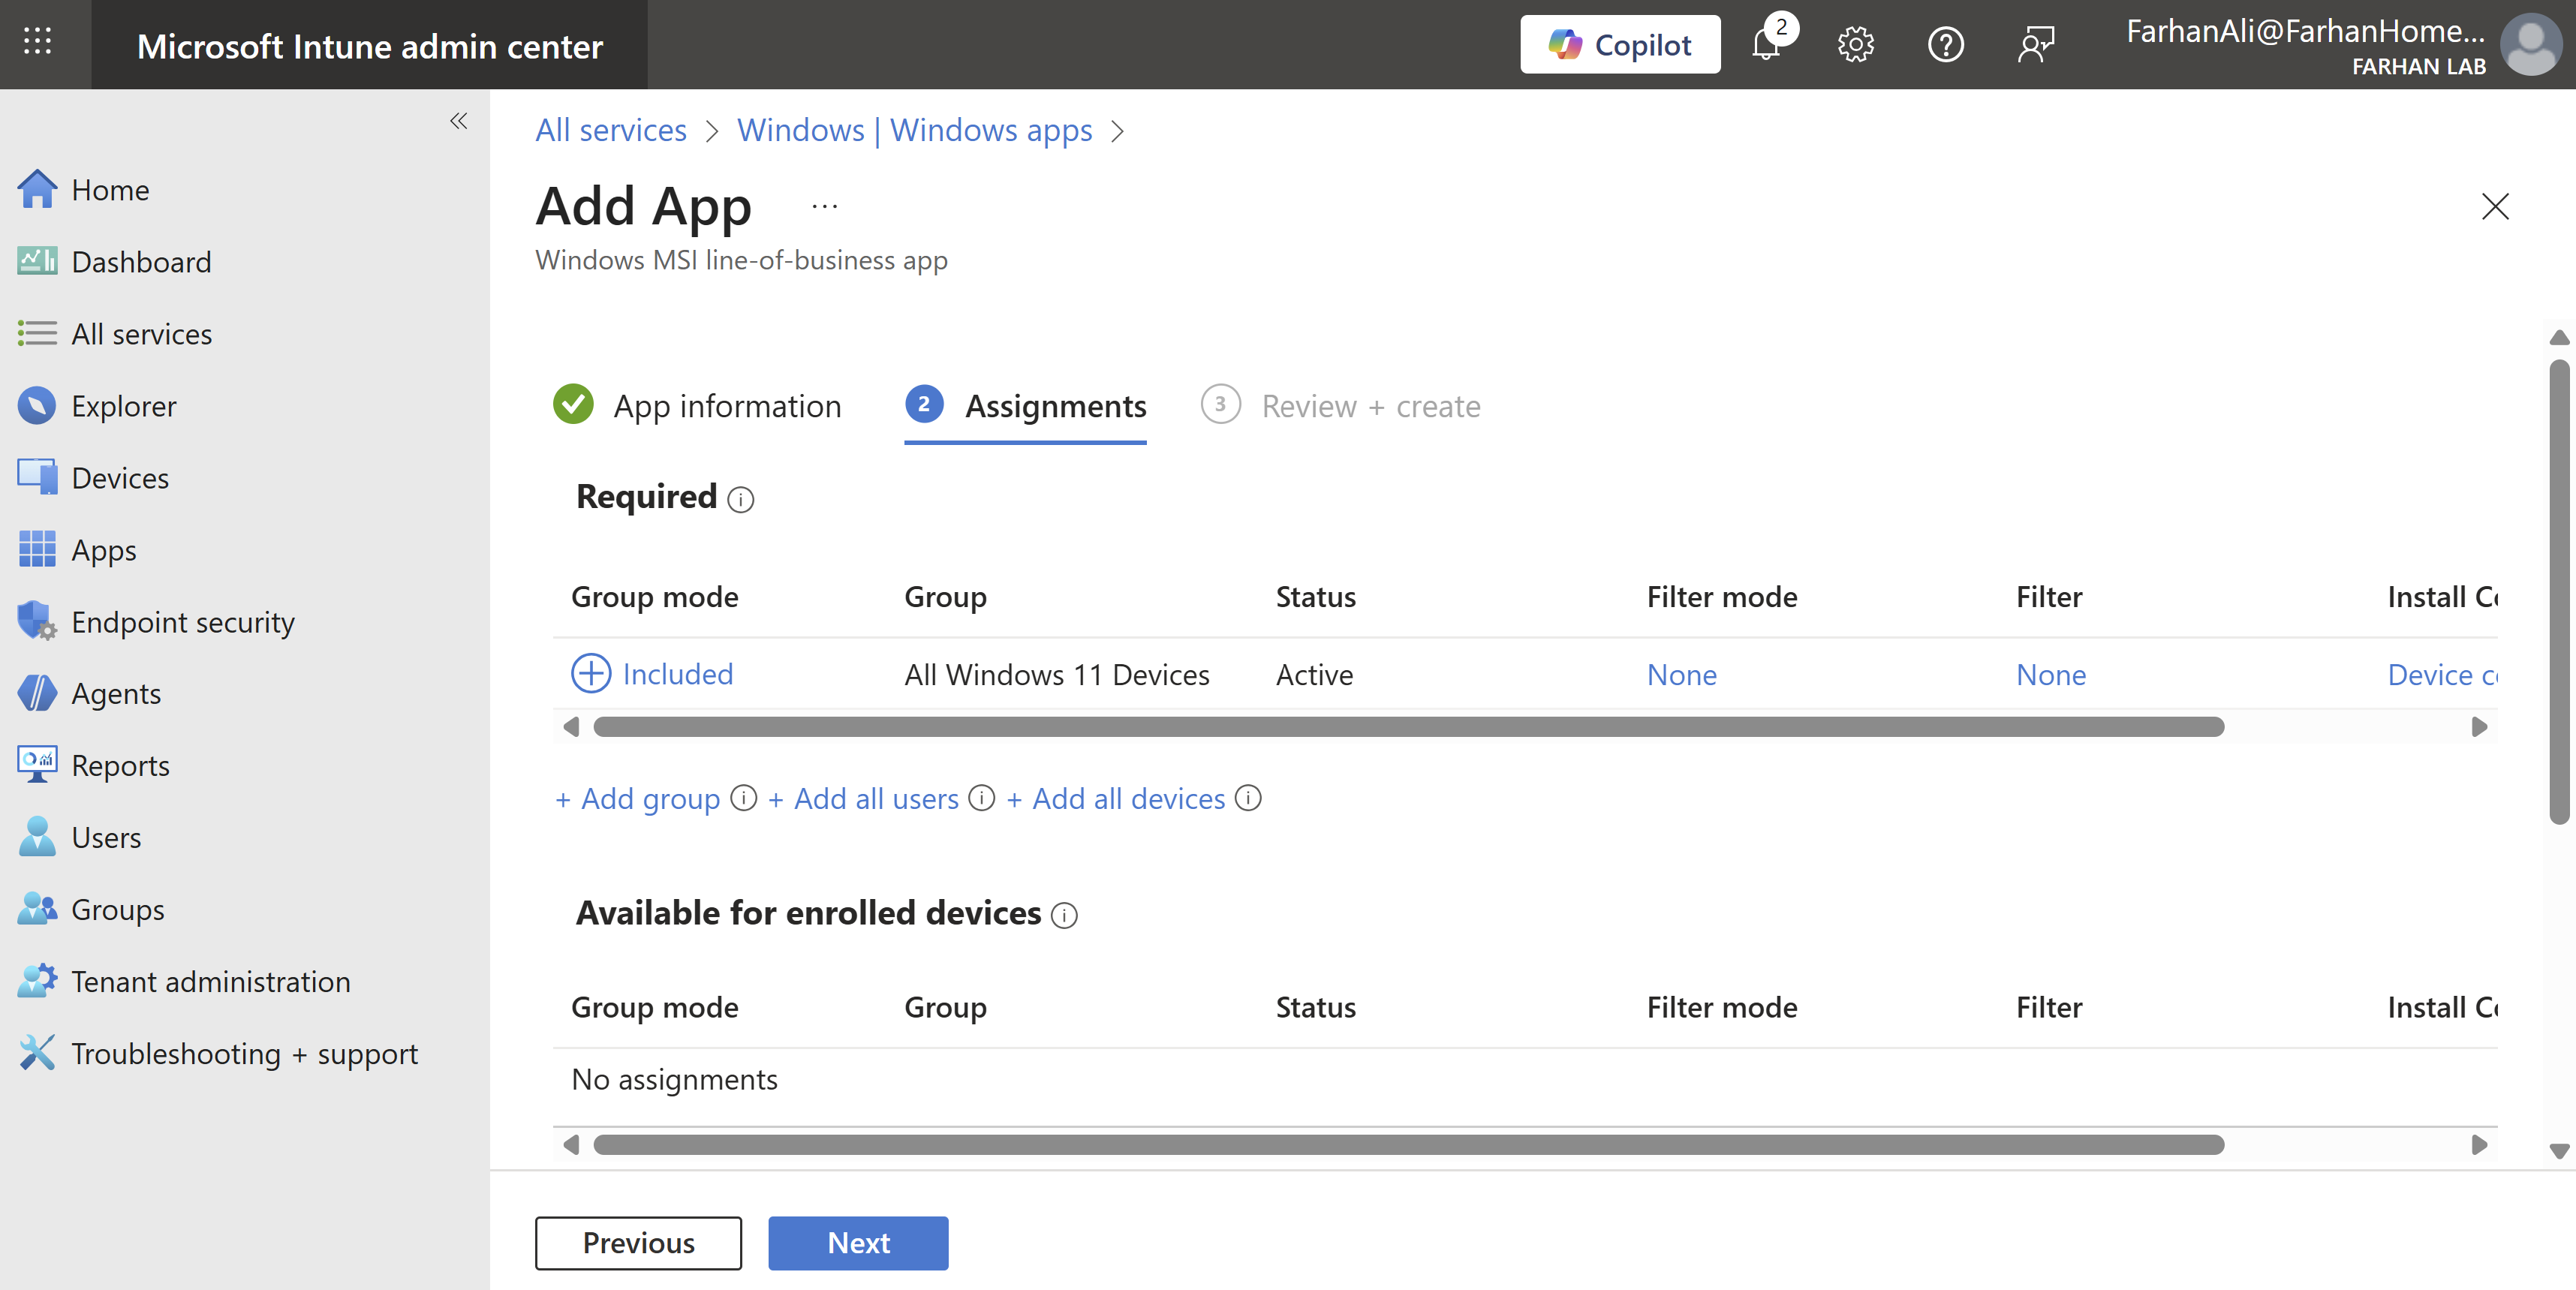
Select app type: Line-of-business. I am adding Chrome using its msi file so this option makes the most sense.
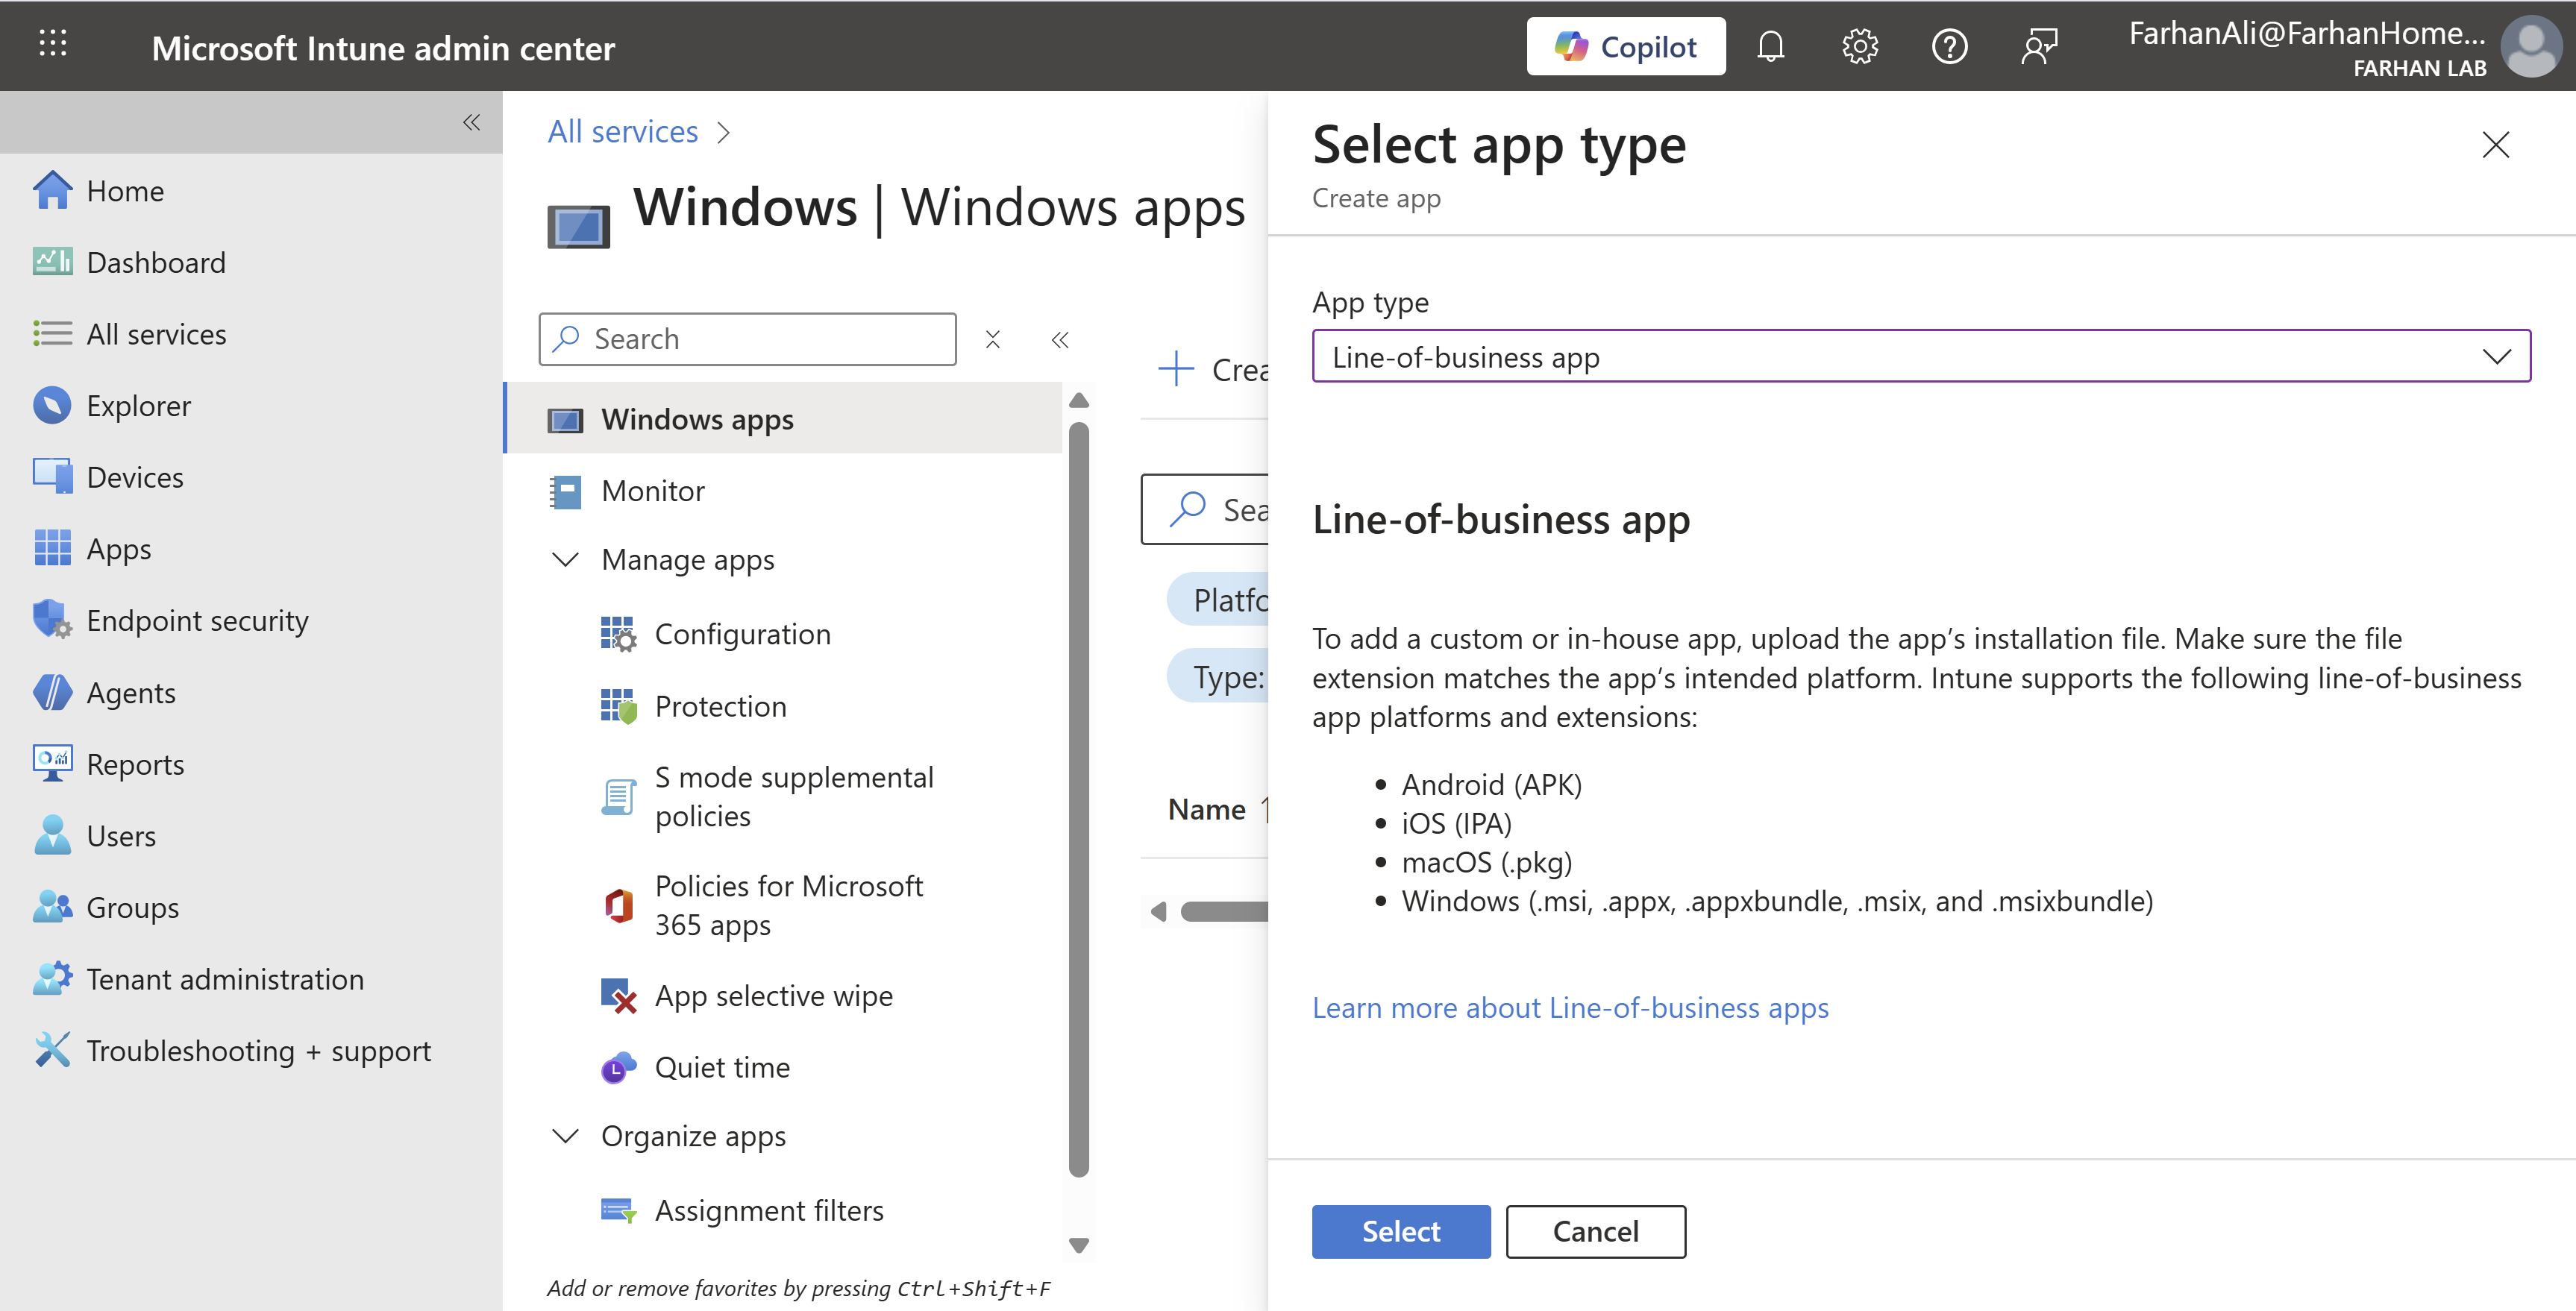
Specify Name and Publisher etc.
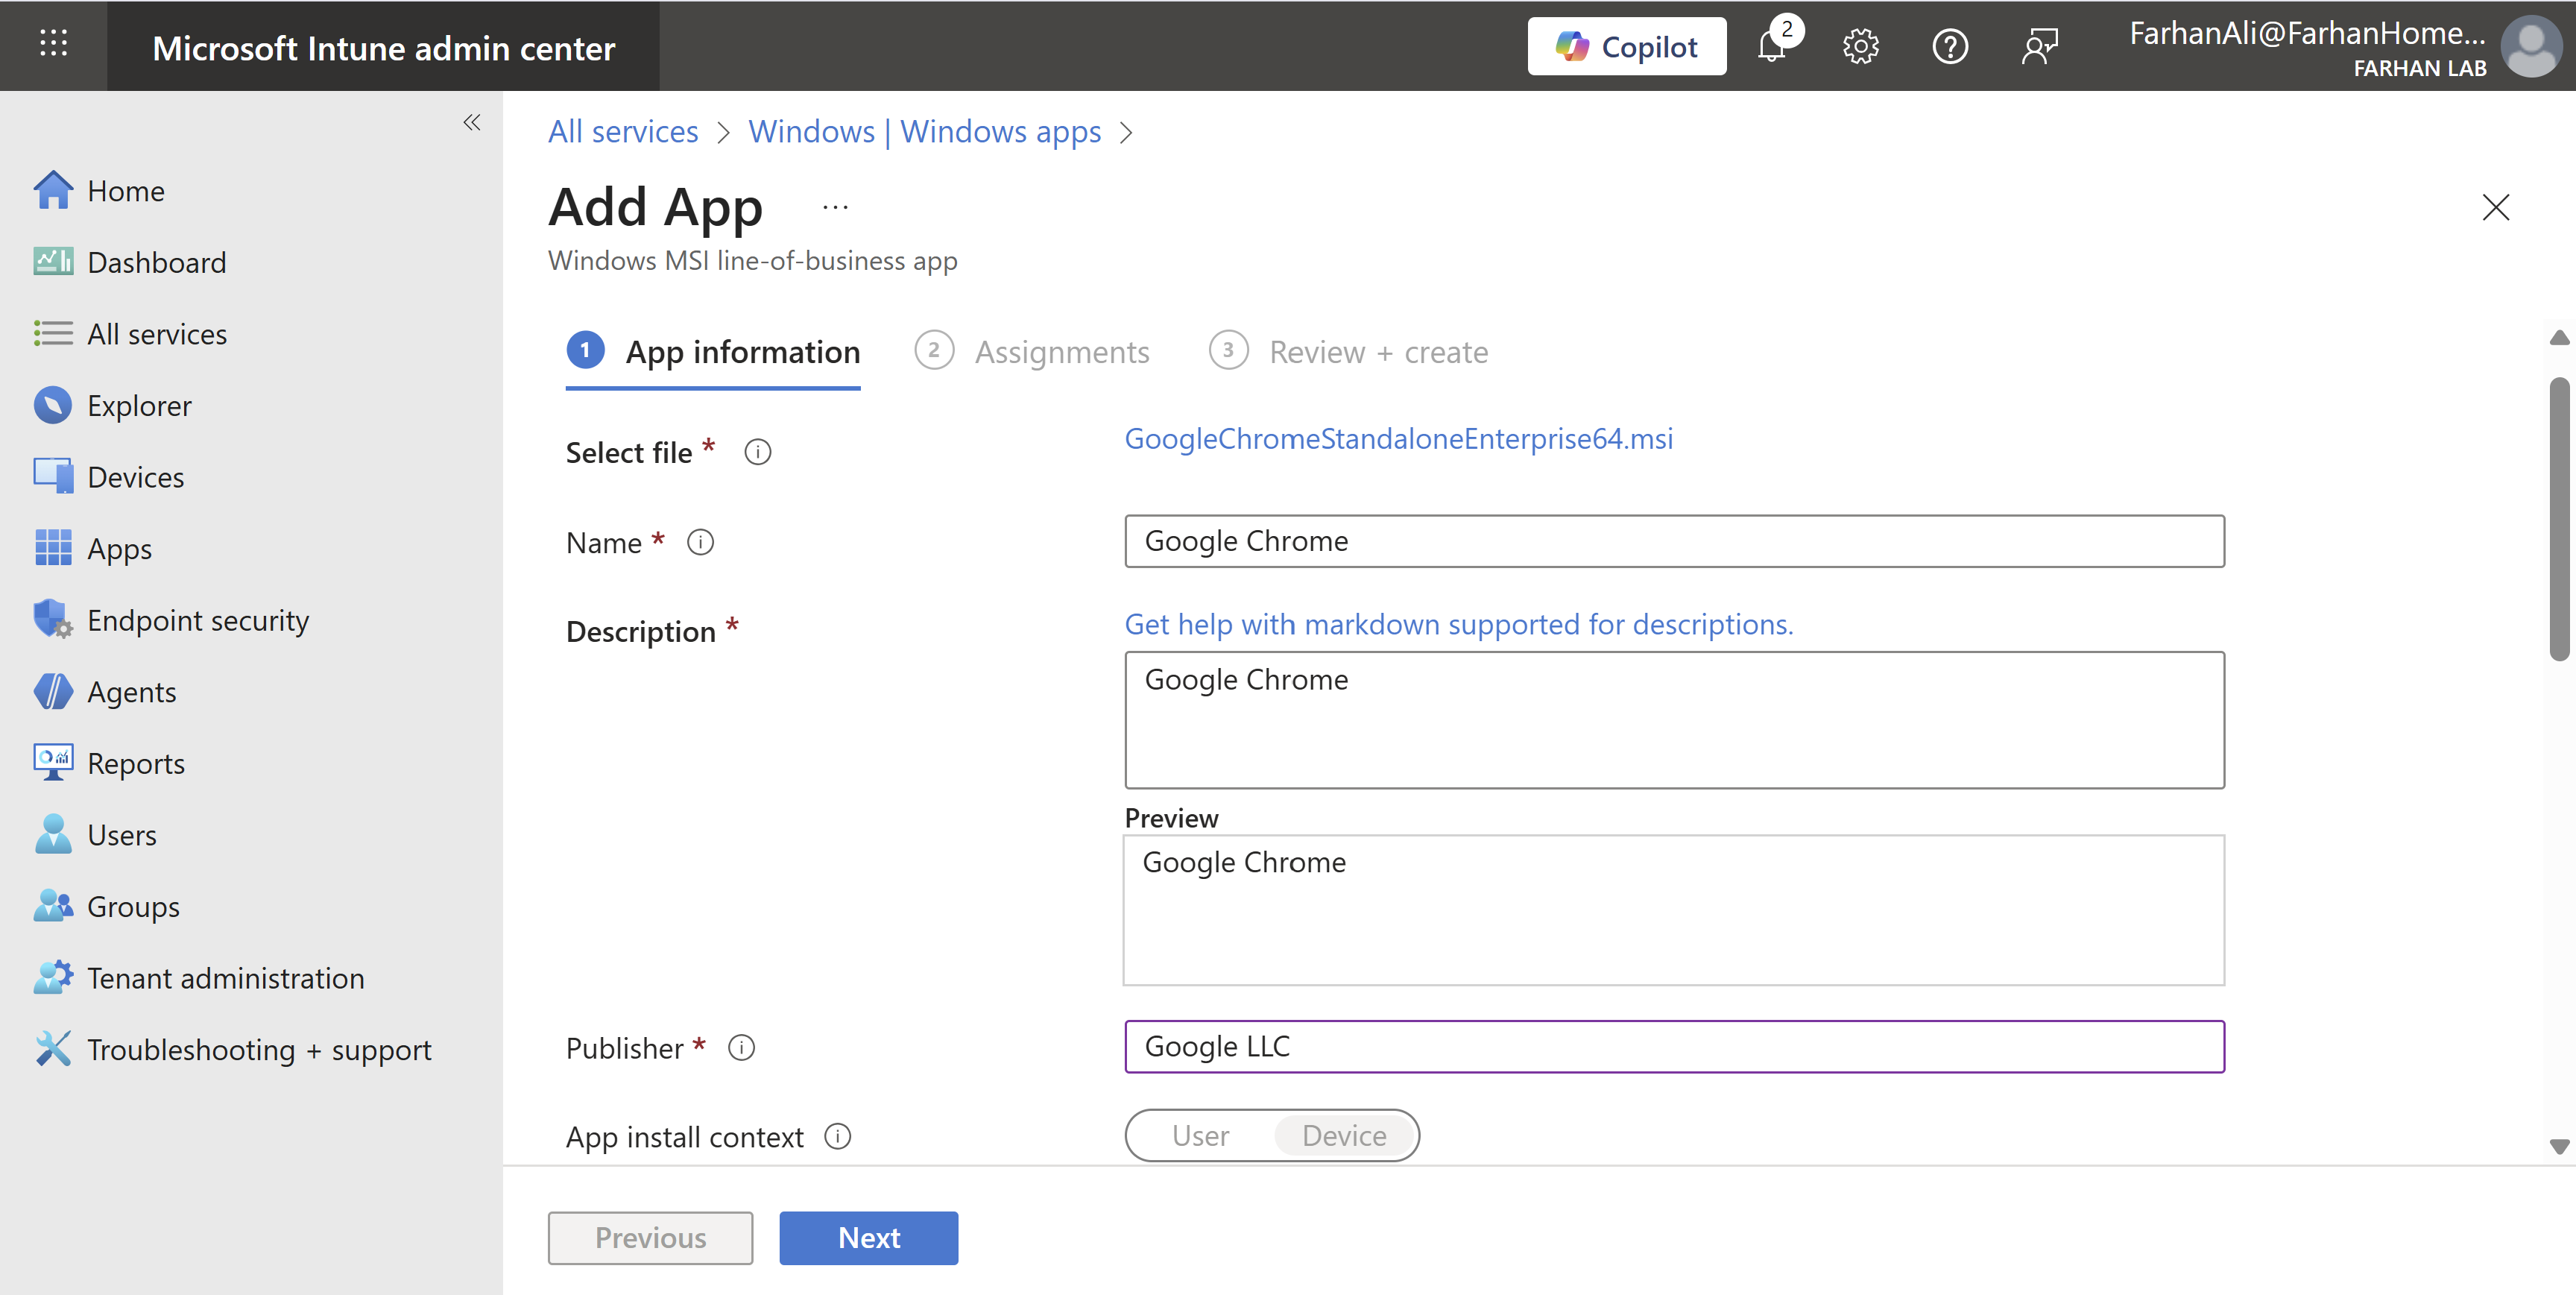
Assign it to the All Windows 11 Devices group under “Required” which will ensure that it’s automatically installed on enrolled devices.
Other options are:
- Available for enrolled devices: apps are displayed in the Company Portal app and website for users to optionally install.
- Uninstall: Apps with this assignment are uninstalled from managed devices in the selected groups.
Verify app creation and add additional apps using the same method. I added FileZilla which is a Win32 app so I had to convert the installation file into .intunewin format using Microsoft Win32 Content Prep Tool before uploading it to intune.
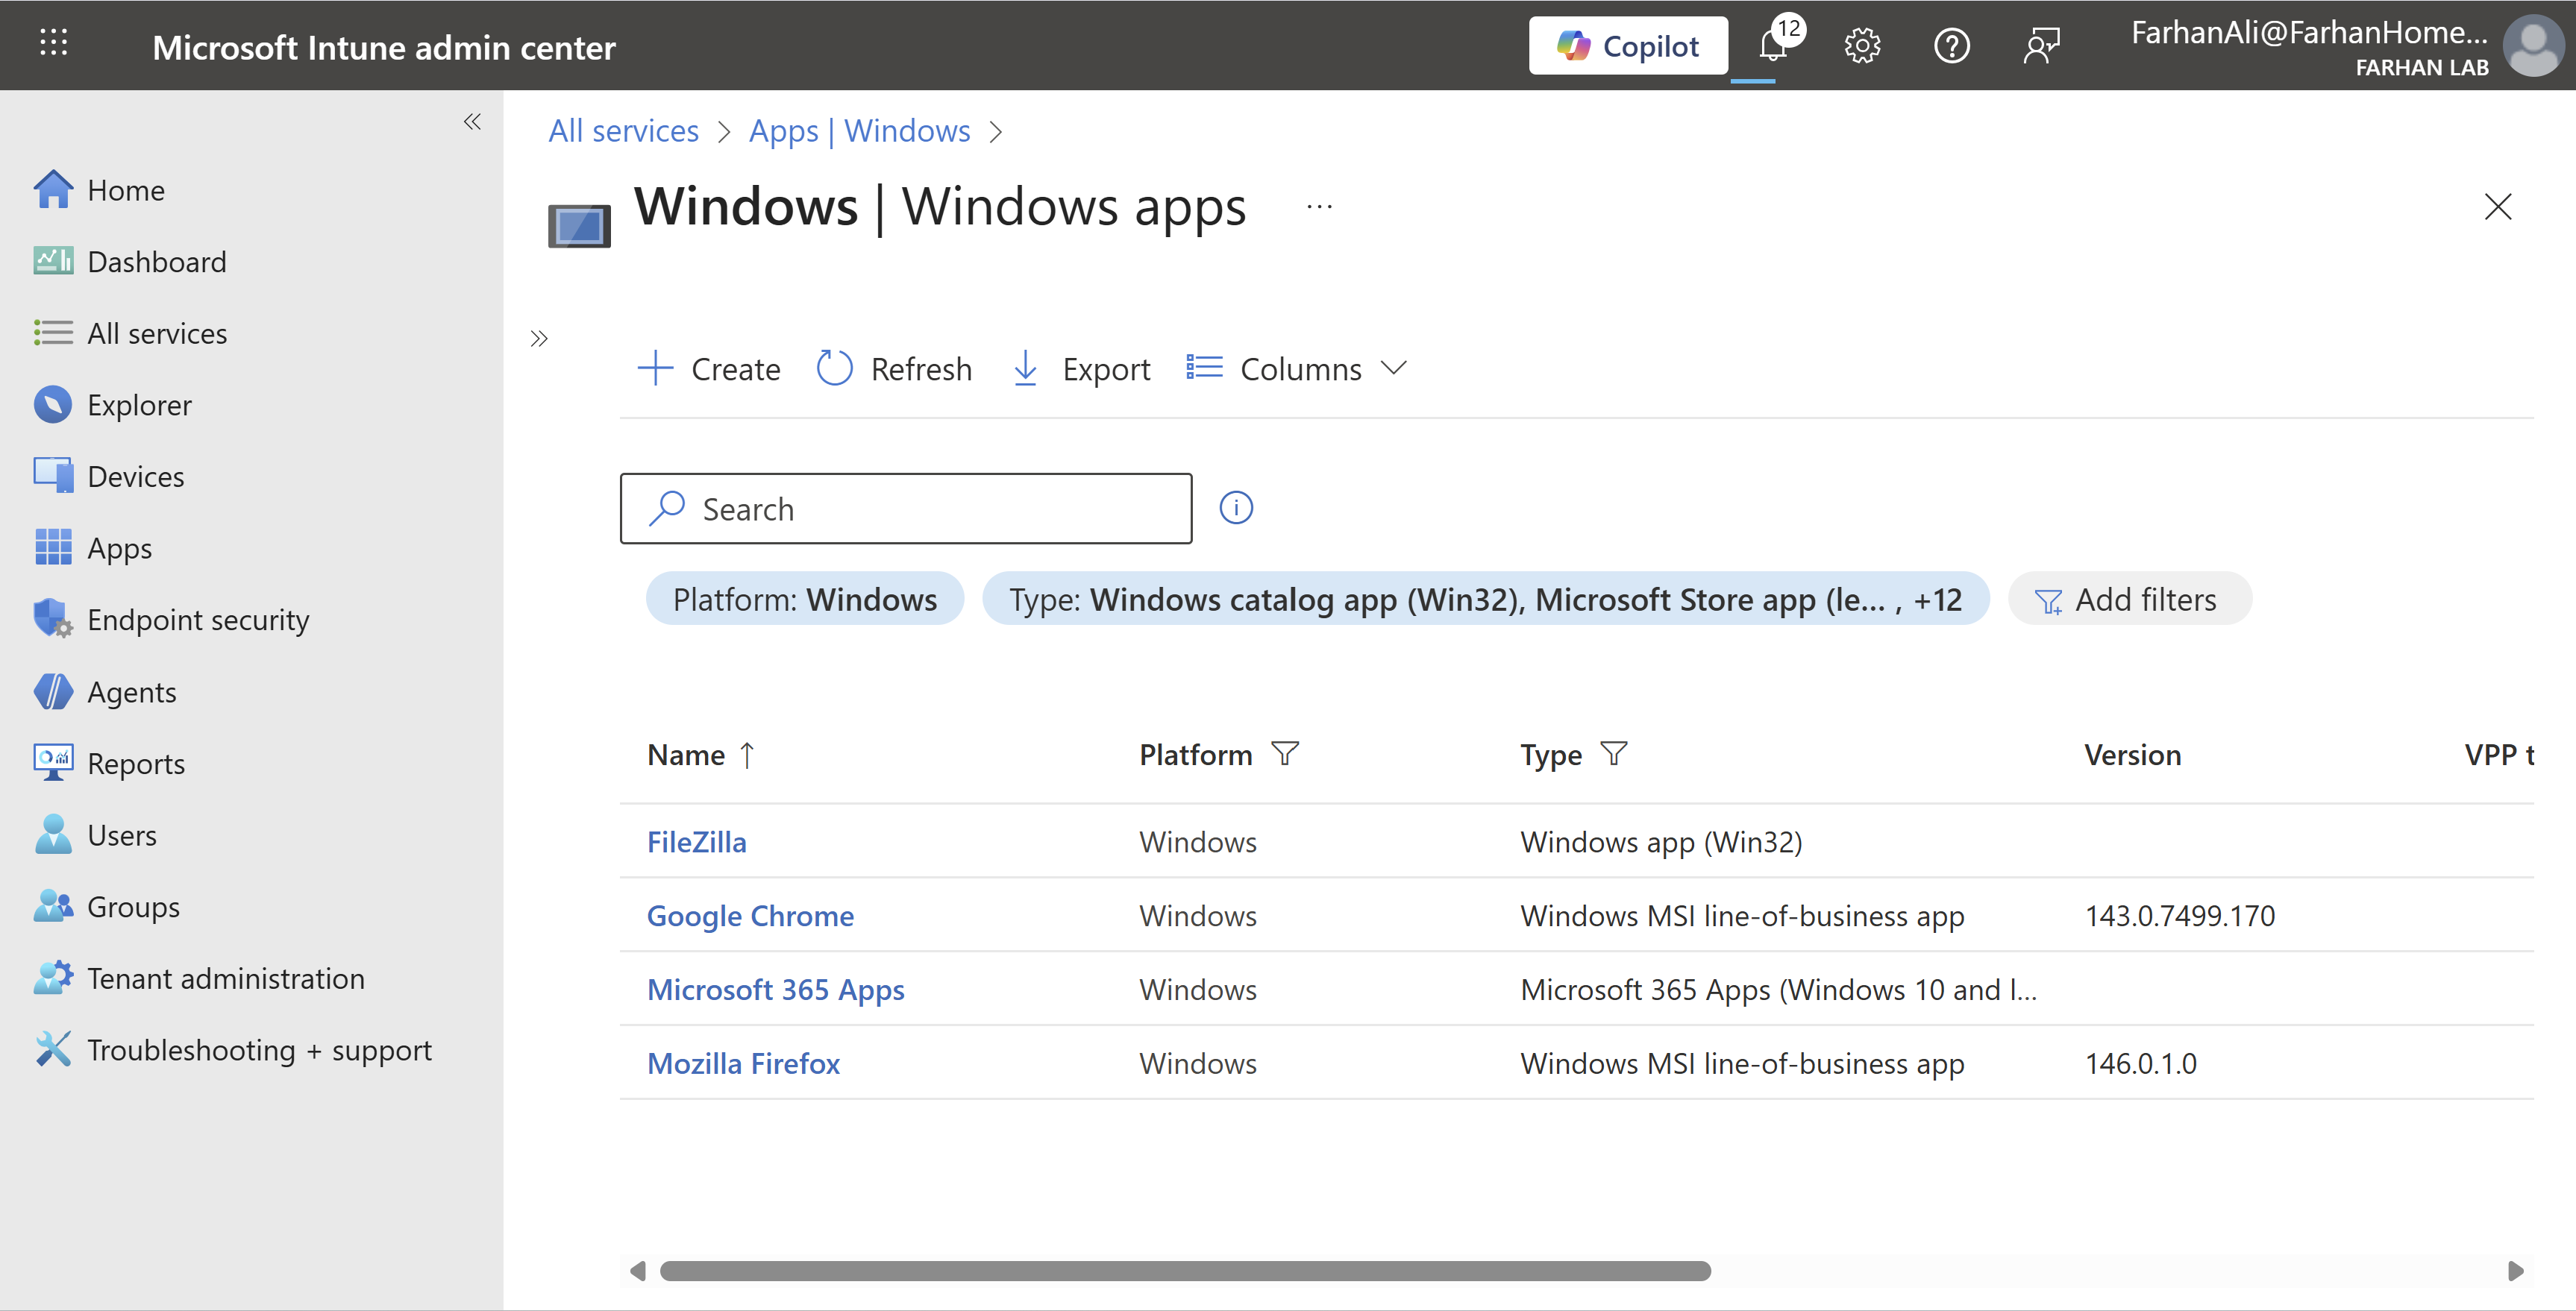
It’s important to note that you can deploy Win32 and LOB apps together in Microsoft Intune, but it’s highly discouraged during Windows Autopilot enrollment due to conflicts with the Trusted Installer service, often causing installation failures. I am deploying Google Chrome and Microsoft 365 Apps as “Required” apps and the rest as “Available for enrolled devices” so it’s fine. However, If I were to deploy both Google Chrome (LOB) and FileZilla (Win32) as “Required” apps then it can cause installation failures during Autopilot enrollment.
In that case, the recommended approach is to package MSIs as Win32 apps using the Intune Win32 Content Prep Tool.
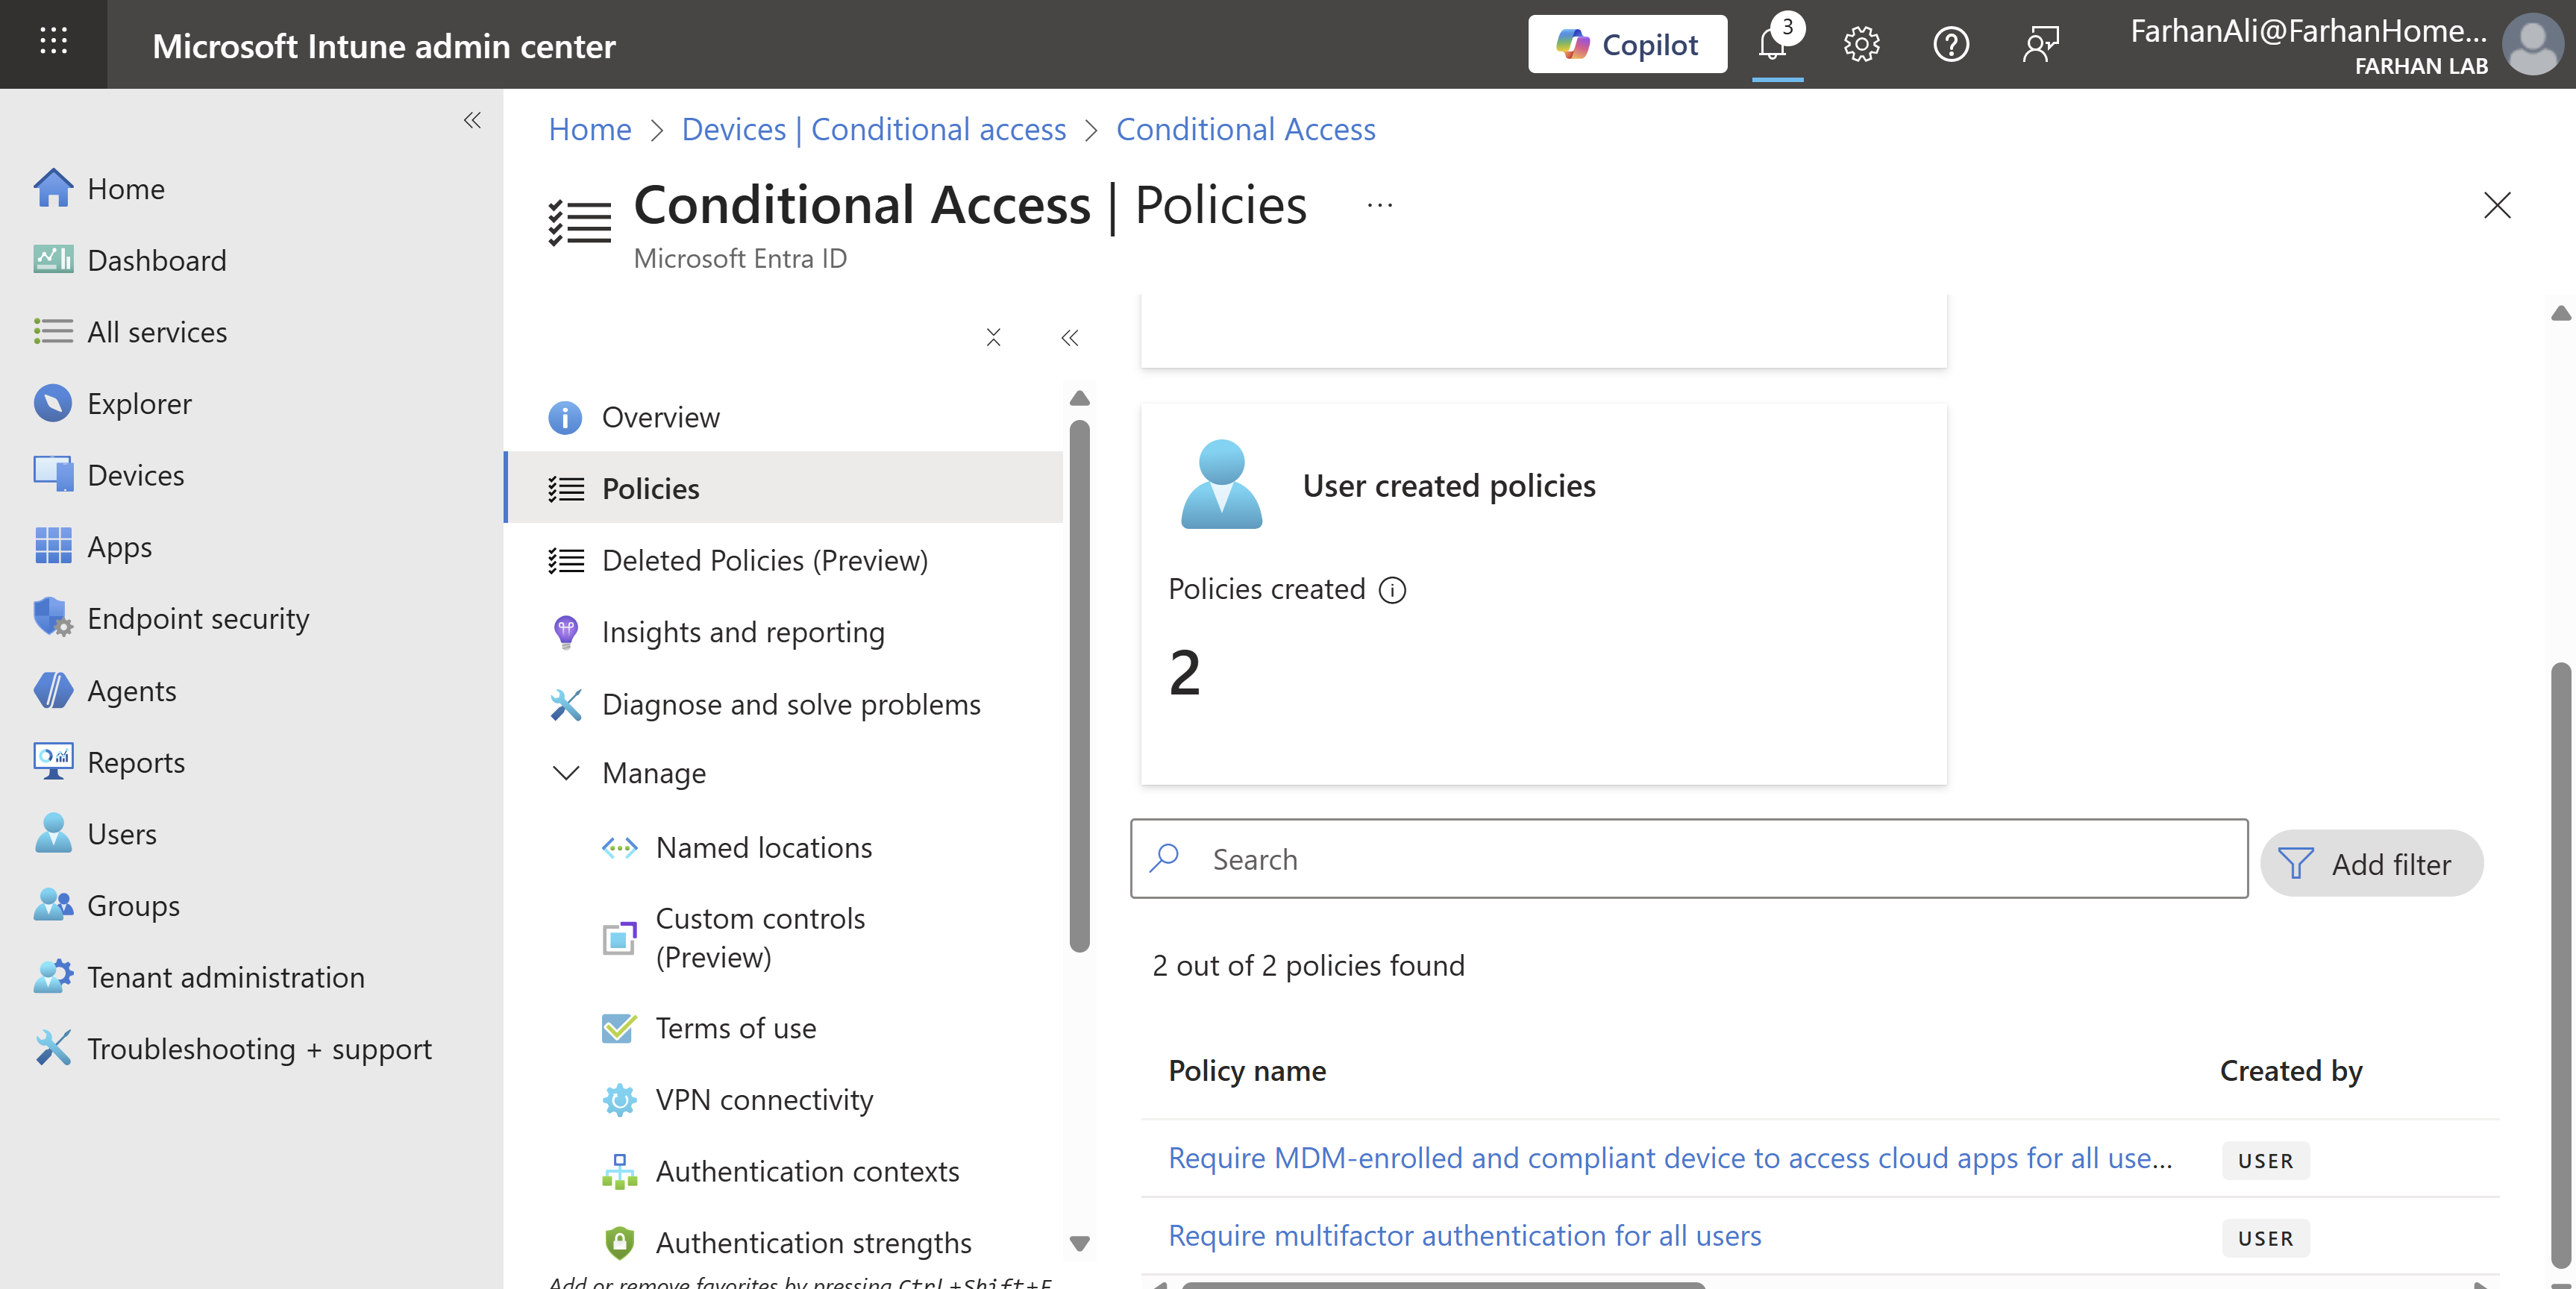
Configure Conditional Access Policies
Navigate to Microsoft Intune admin center → Devices → Conditional Access → Policies
Select New policy from template

Select Require multifactor authentication for all users
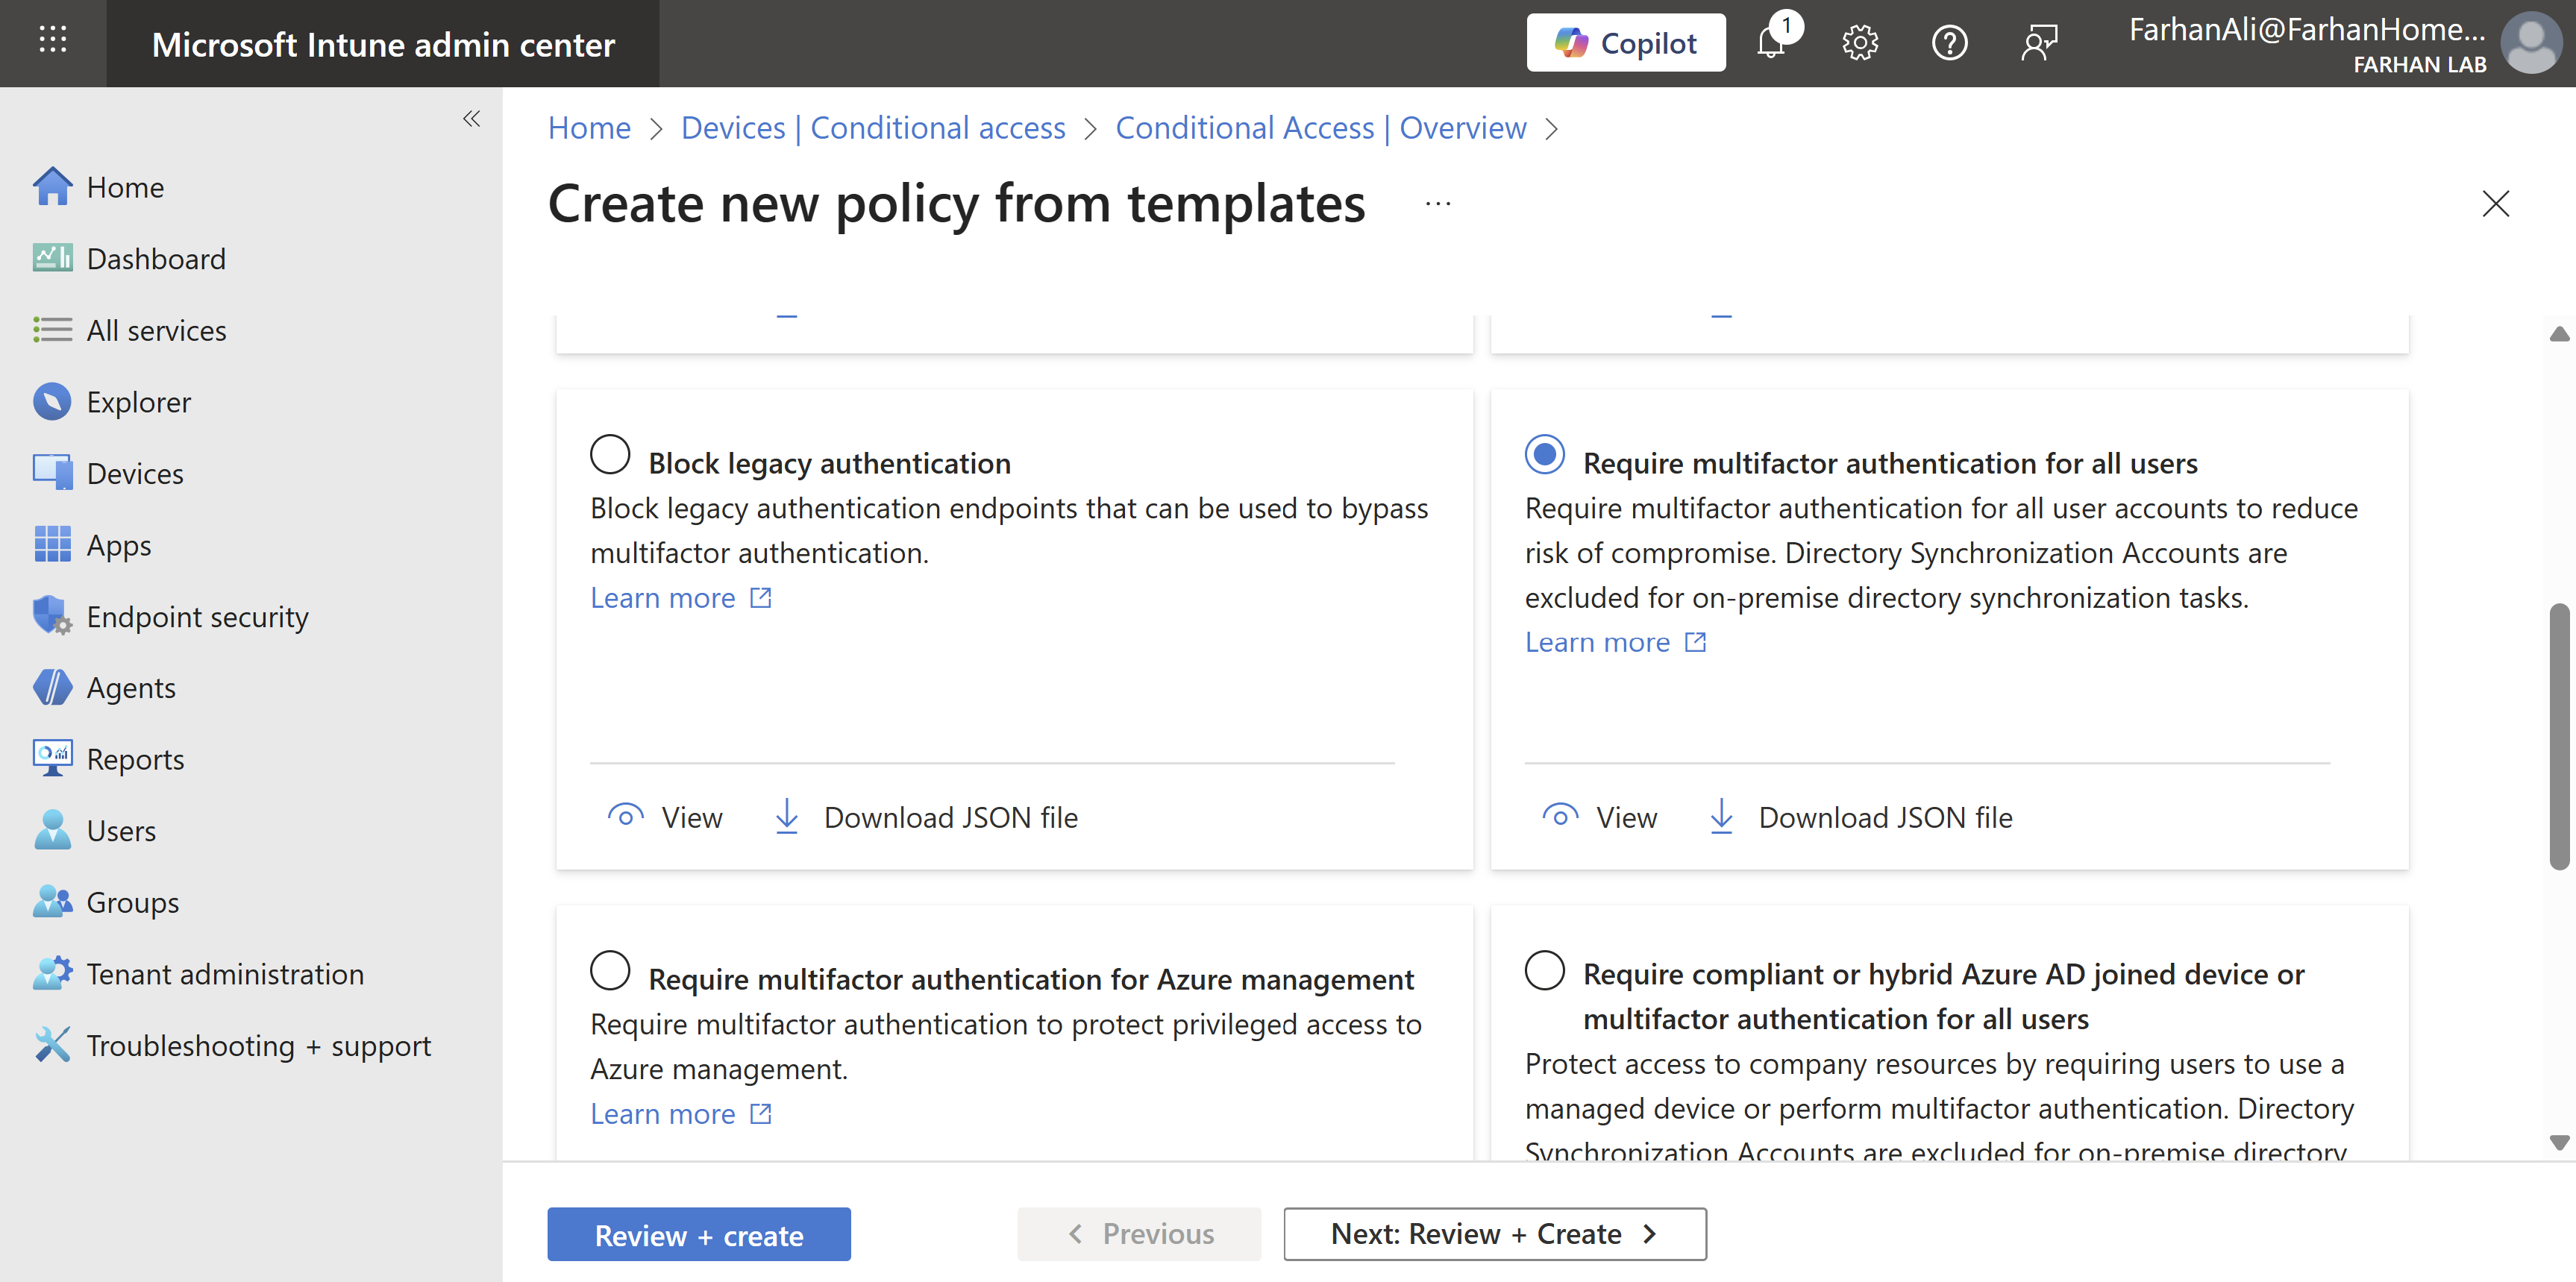
Select Report only
It’s recommended that you test your new policies without enforcing rules first to prevent business disruption in case of wrong configuration.
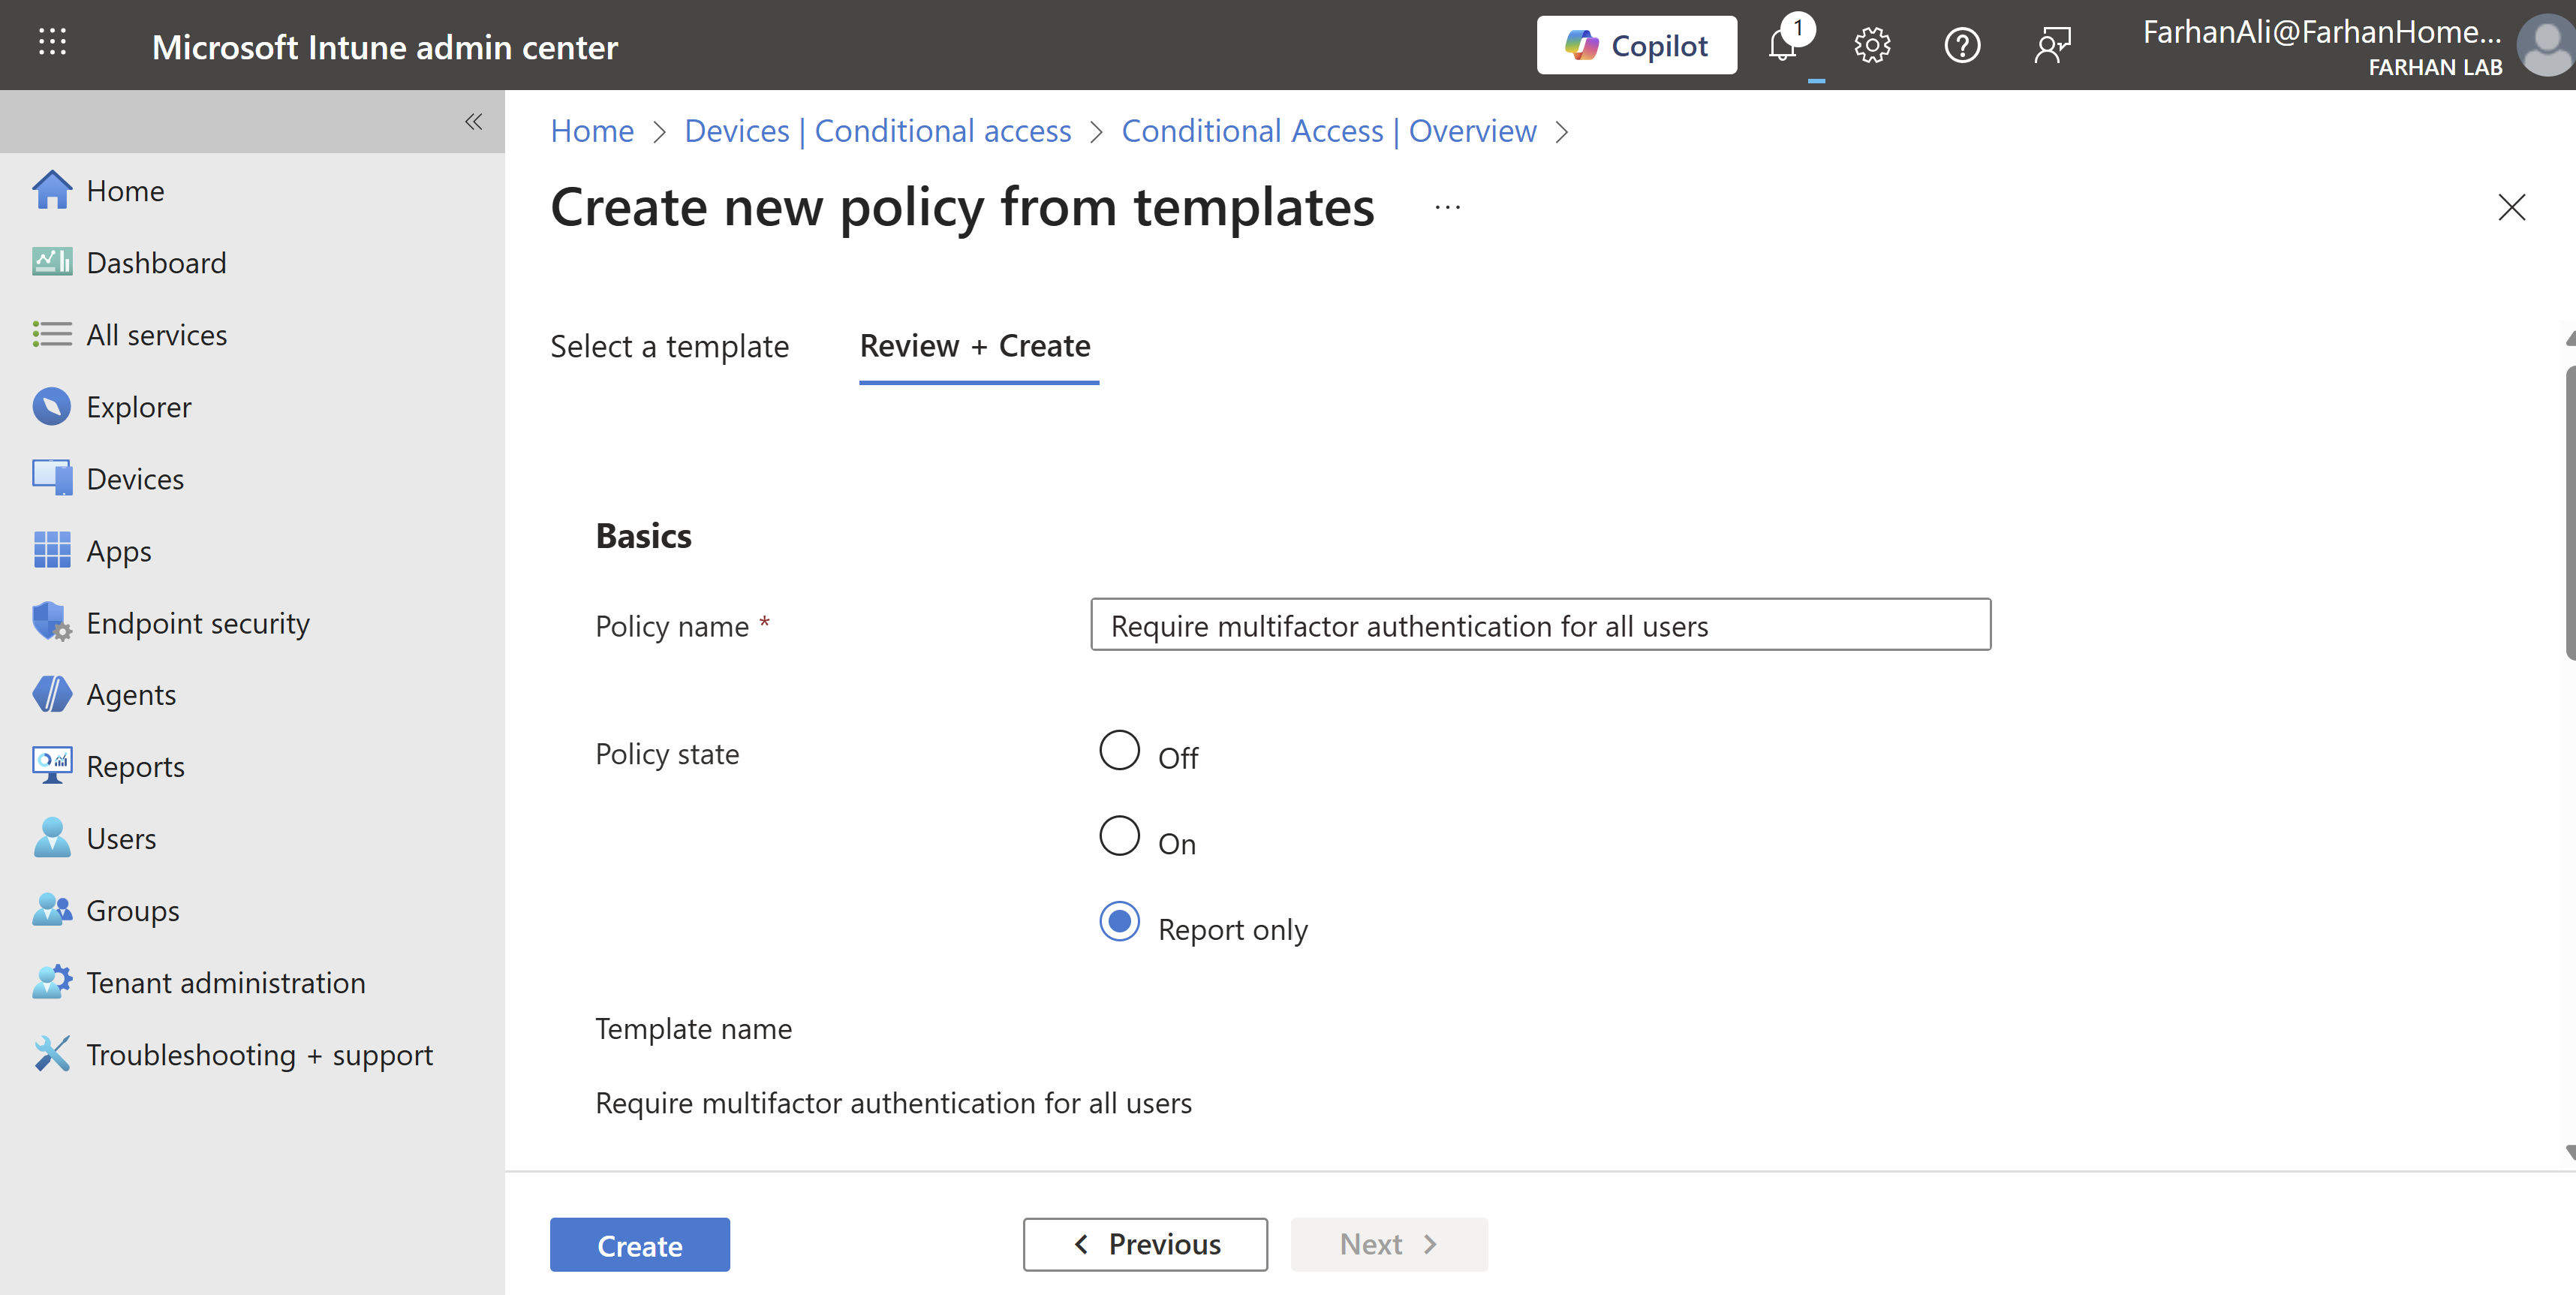
Verify policy creation. I created some additional policies using the same method.
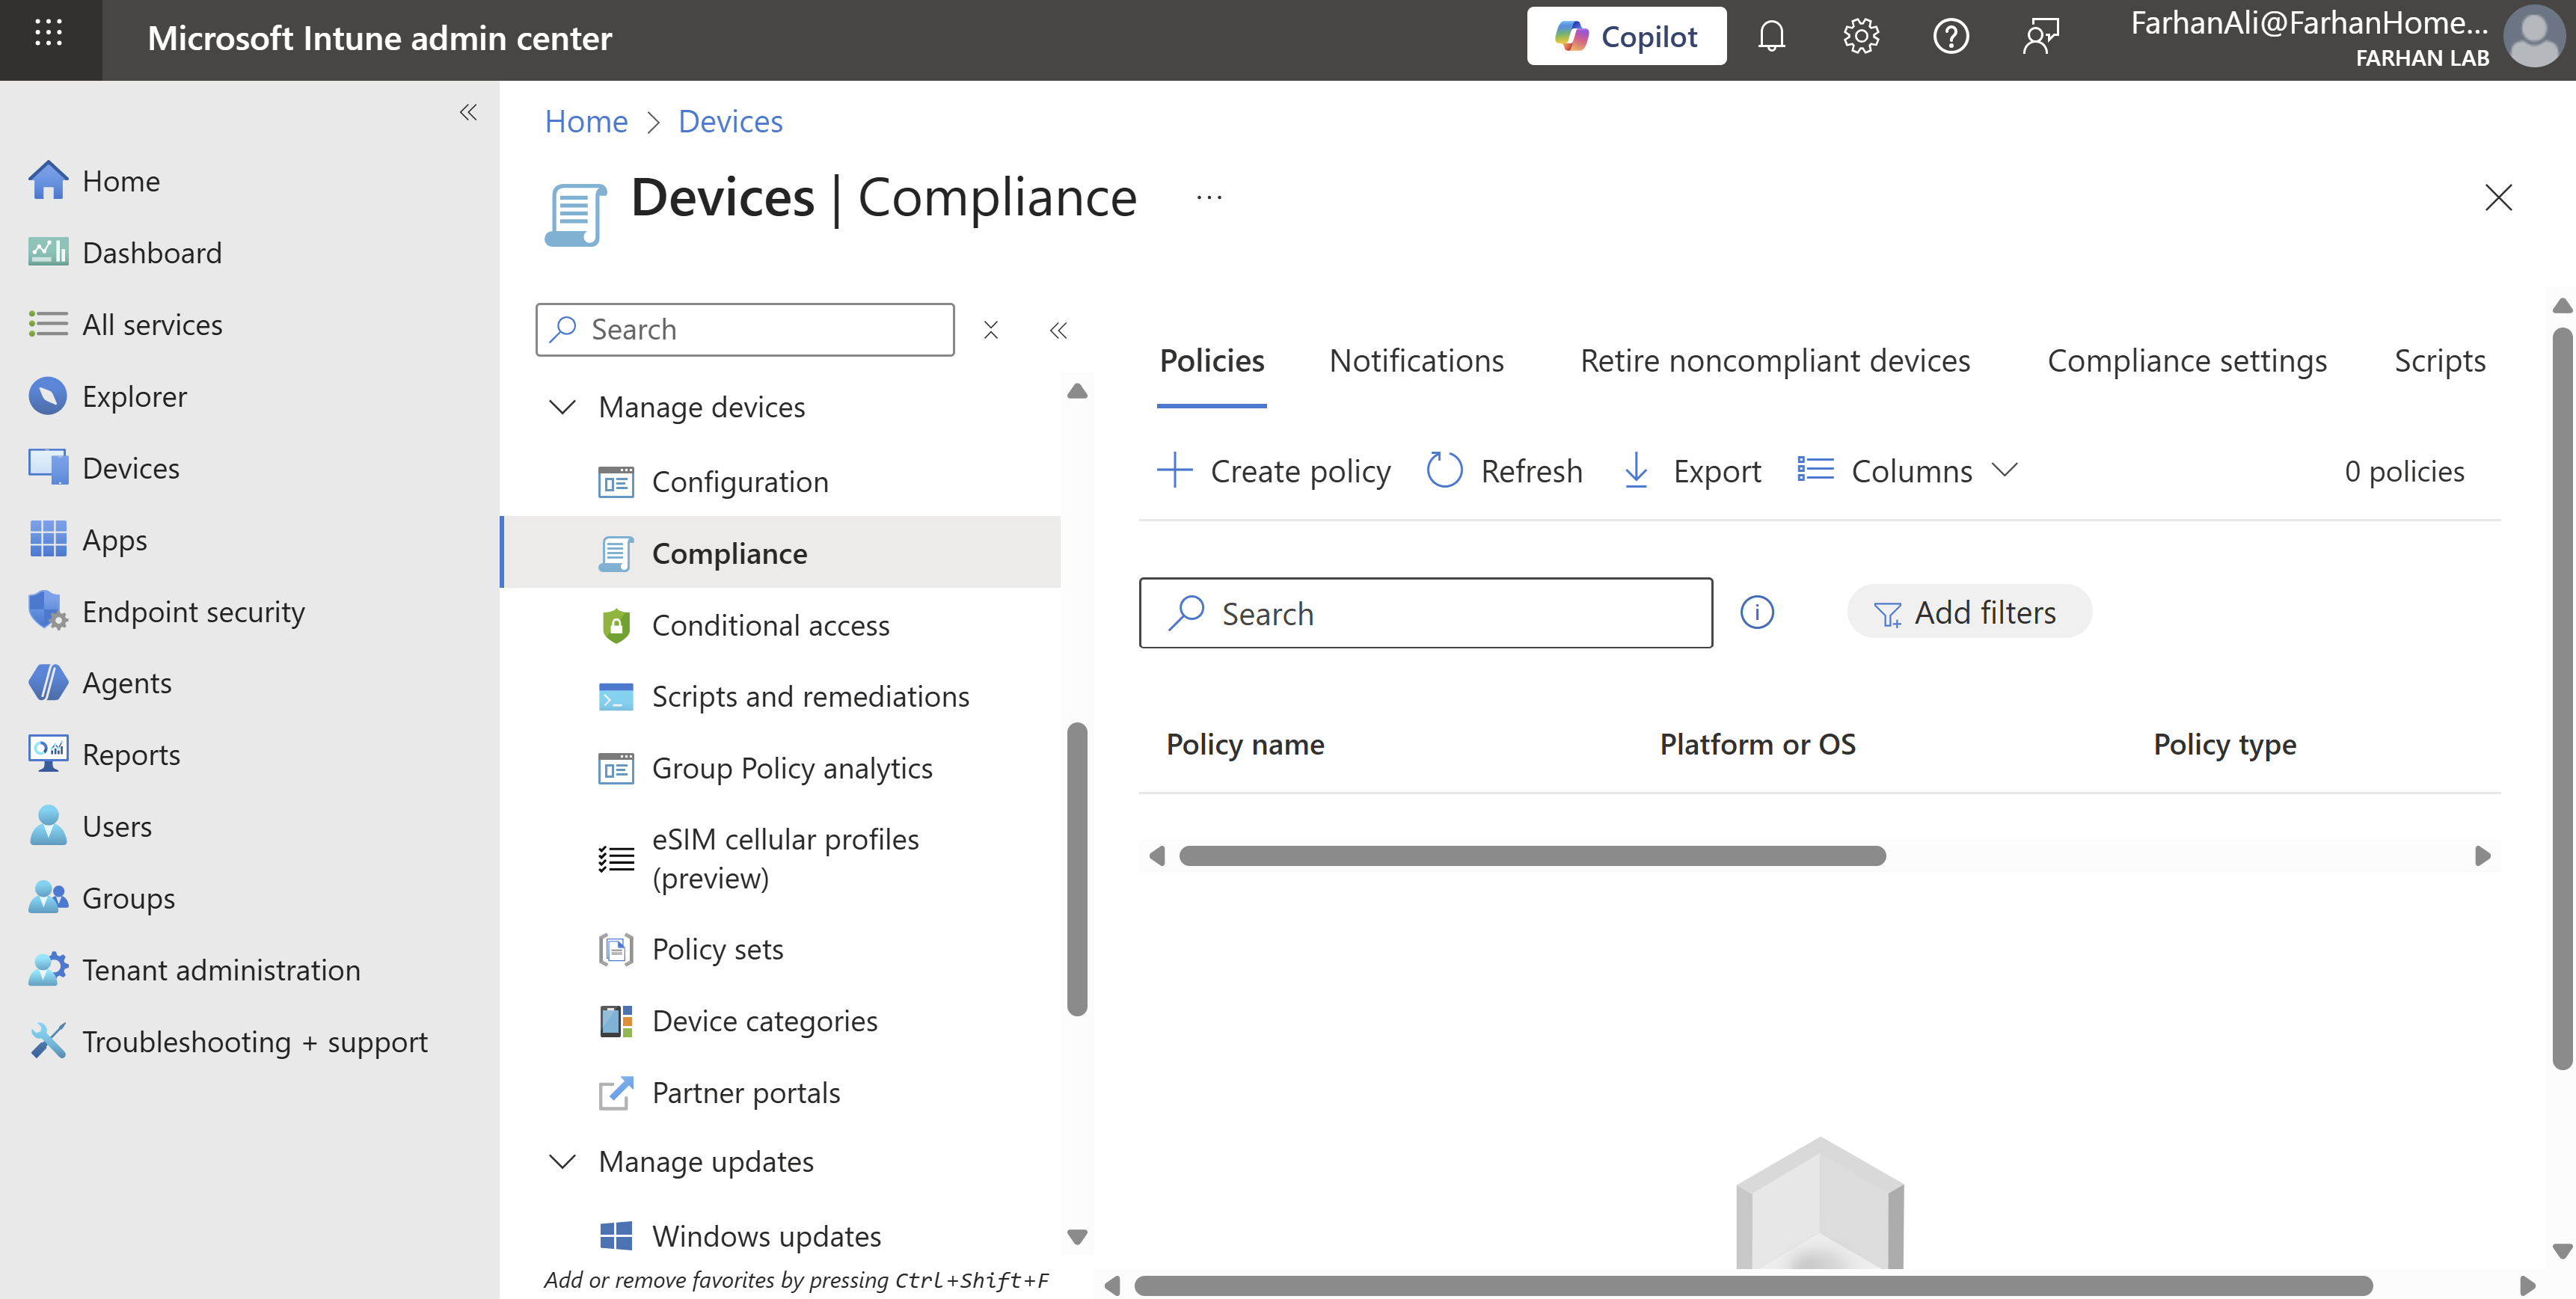
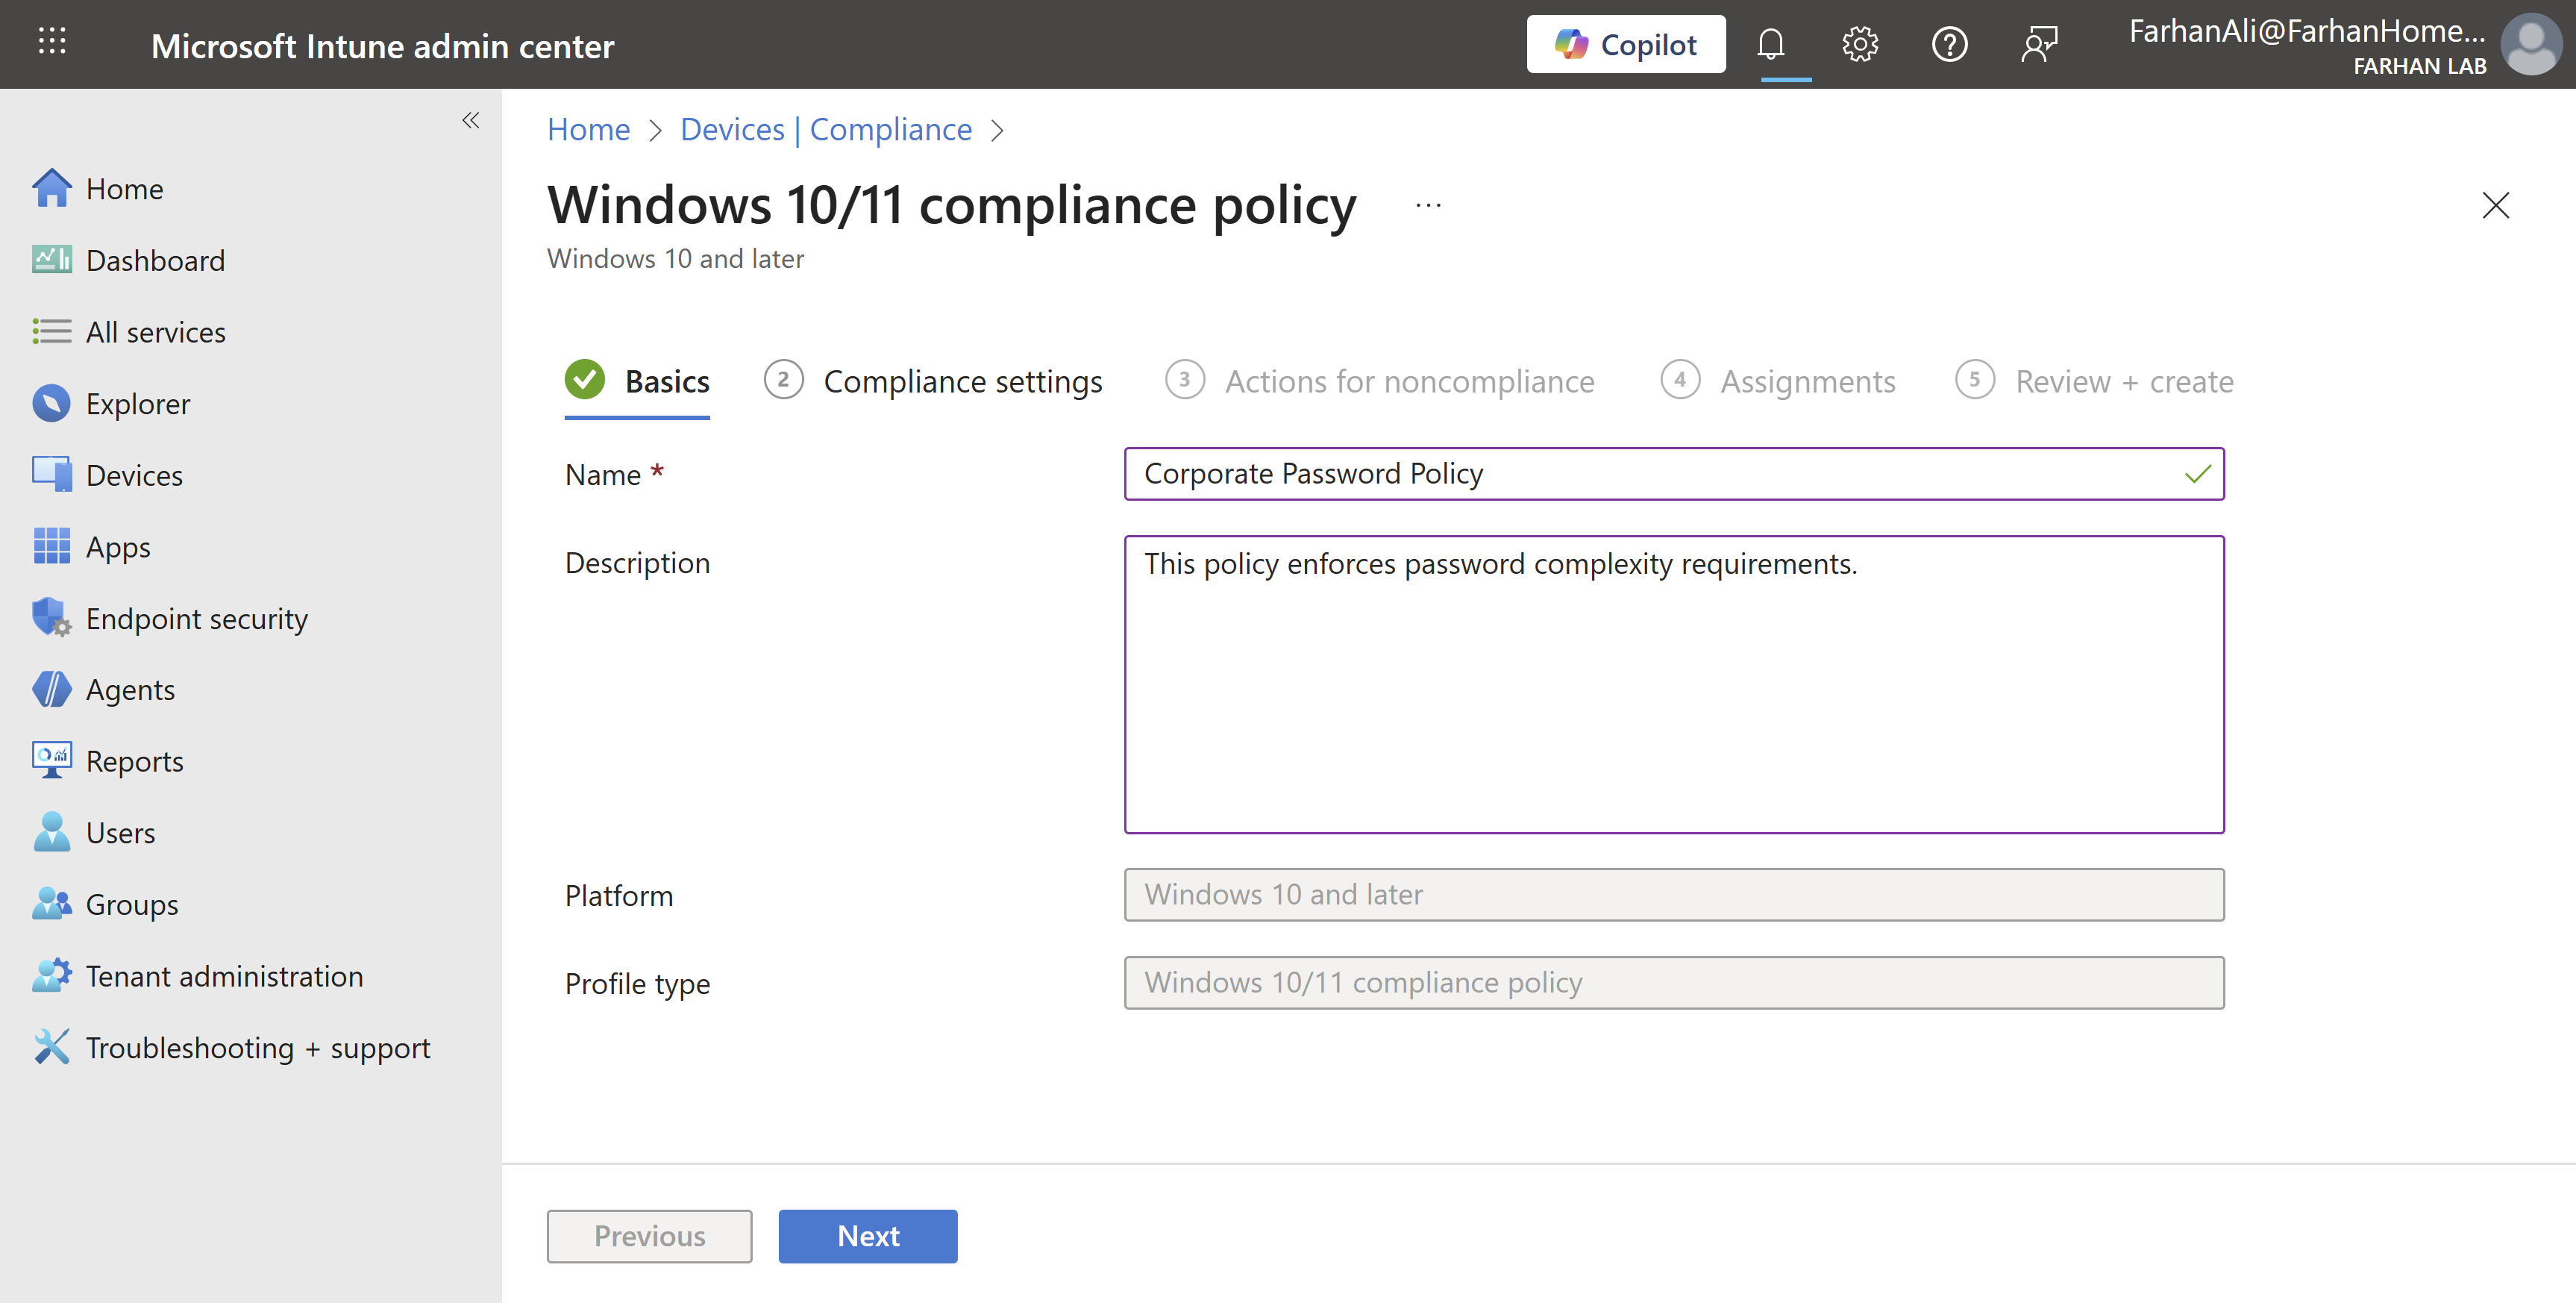
Configure Compliance Policies
Navigate to Microsoft Intune admin center → Devices → Compliance → Create Policy
Platform: Windows 10 and later
Profile Type: Windows 10/11 compliance policy
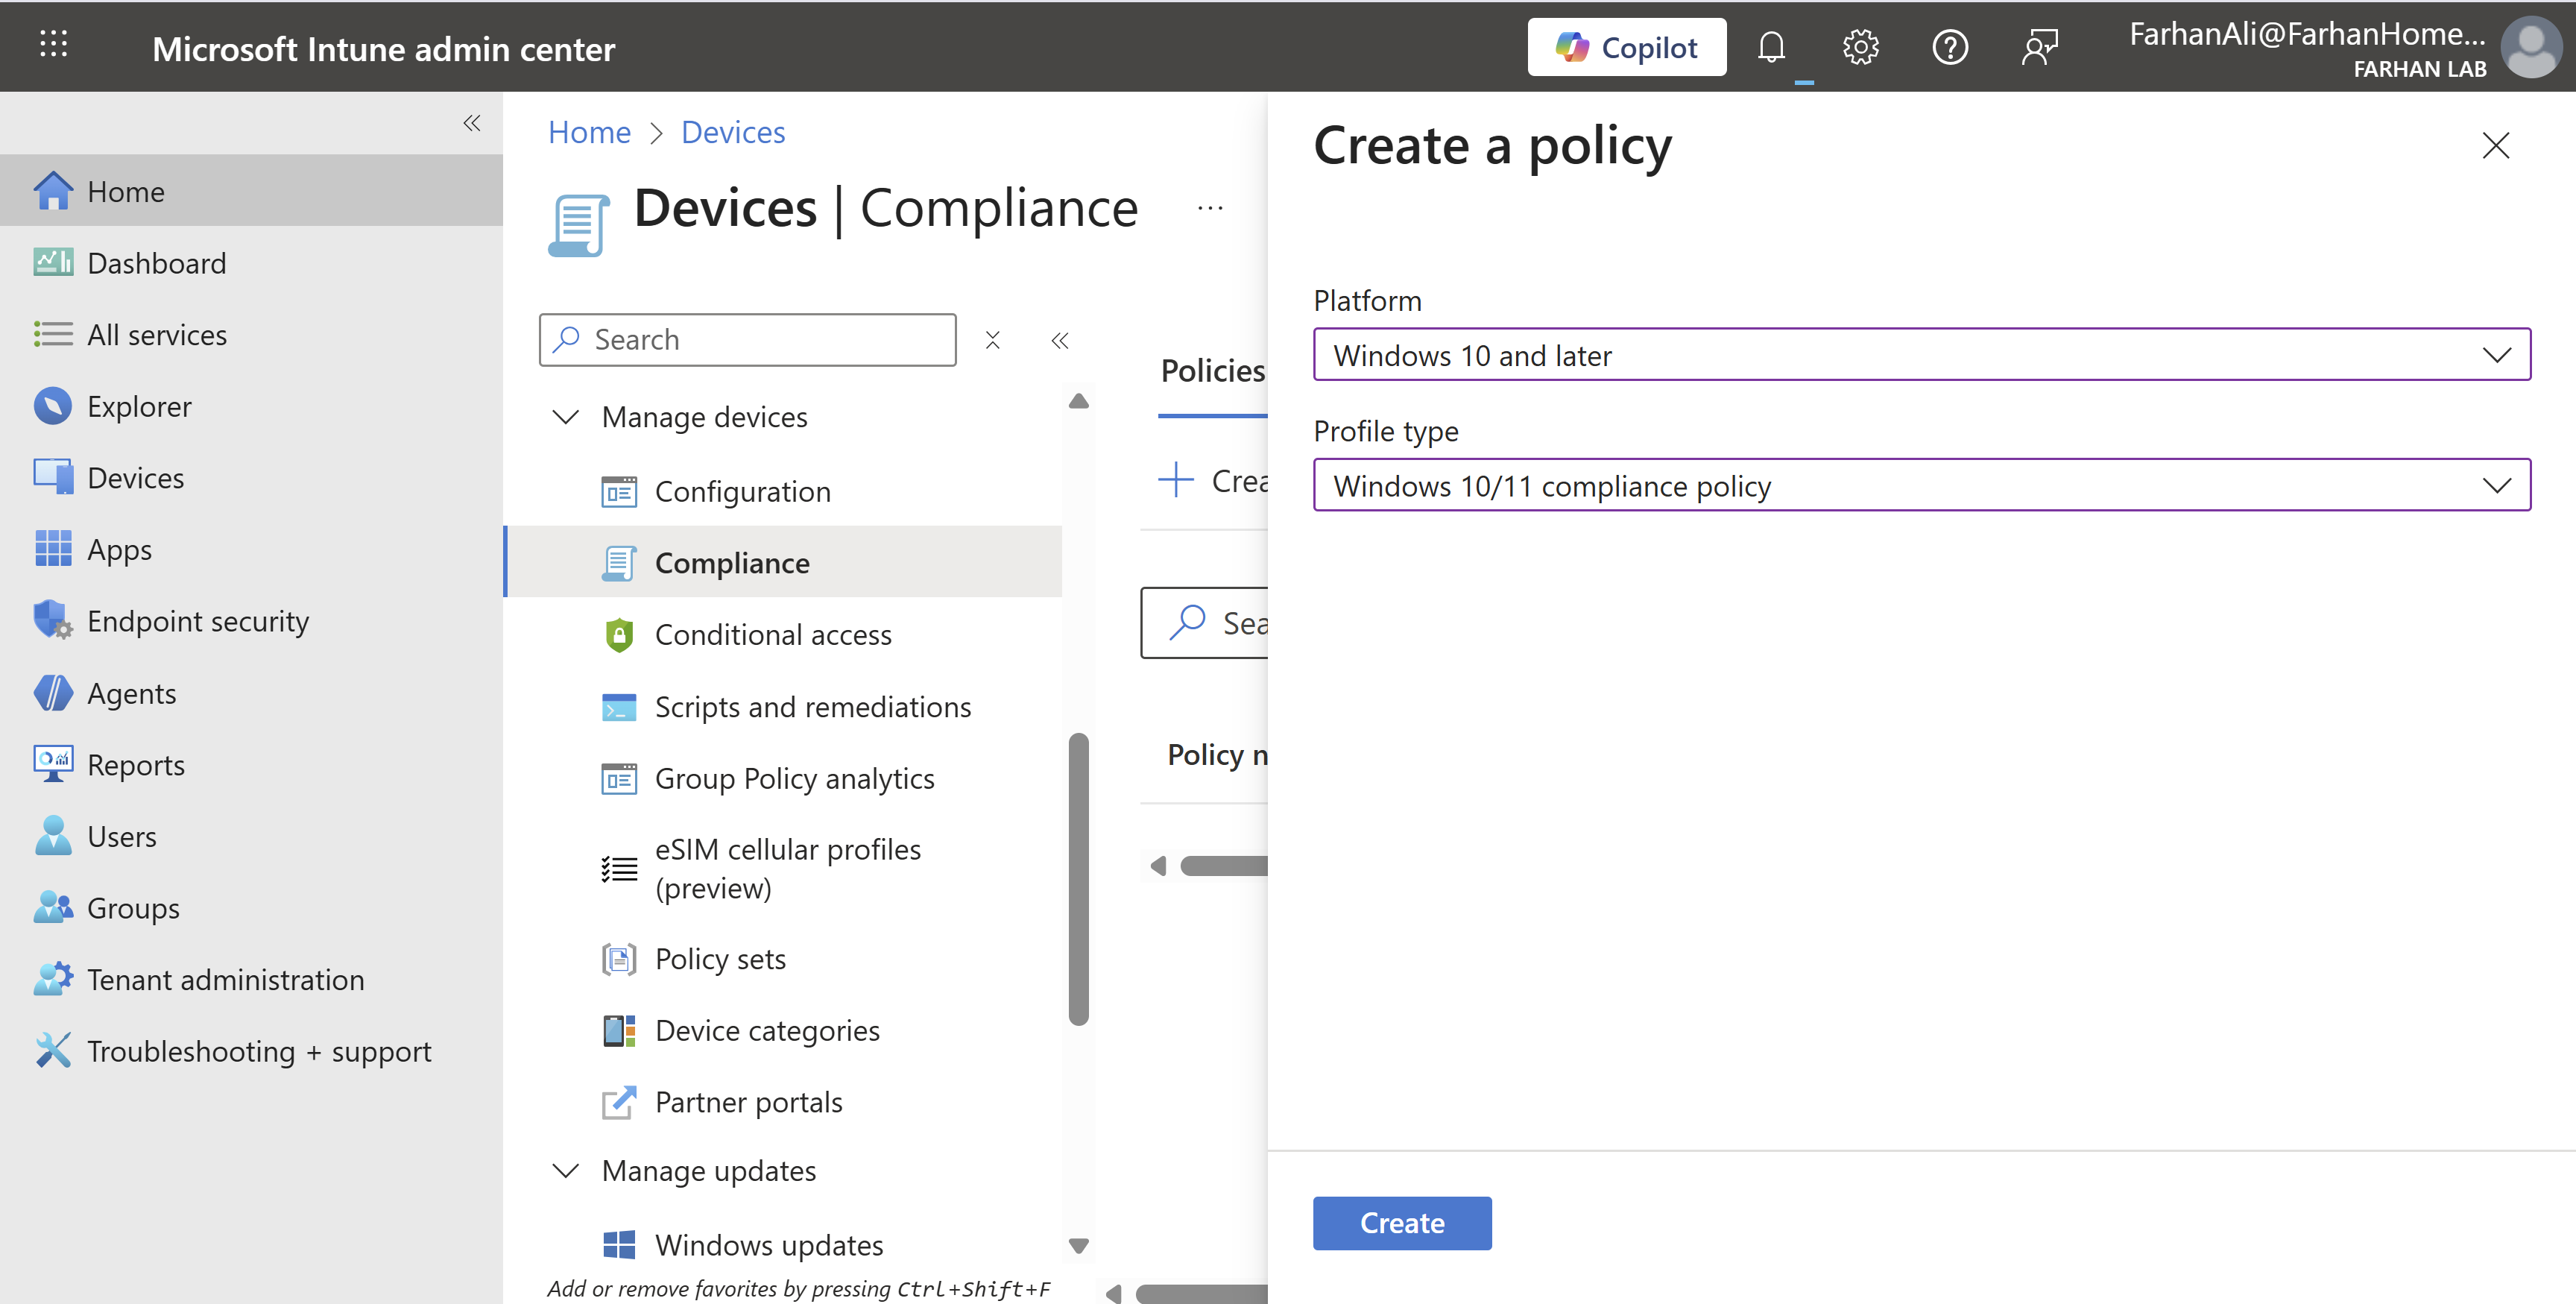
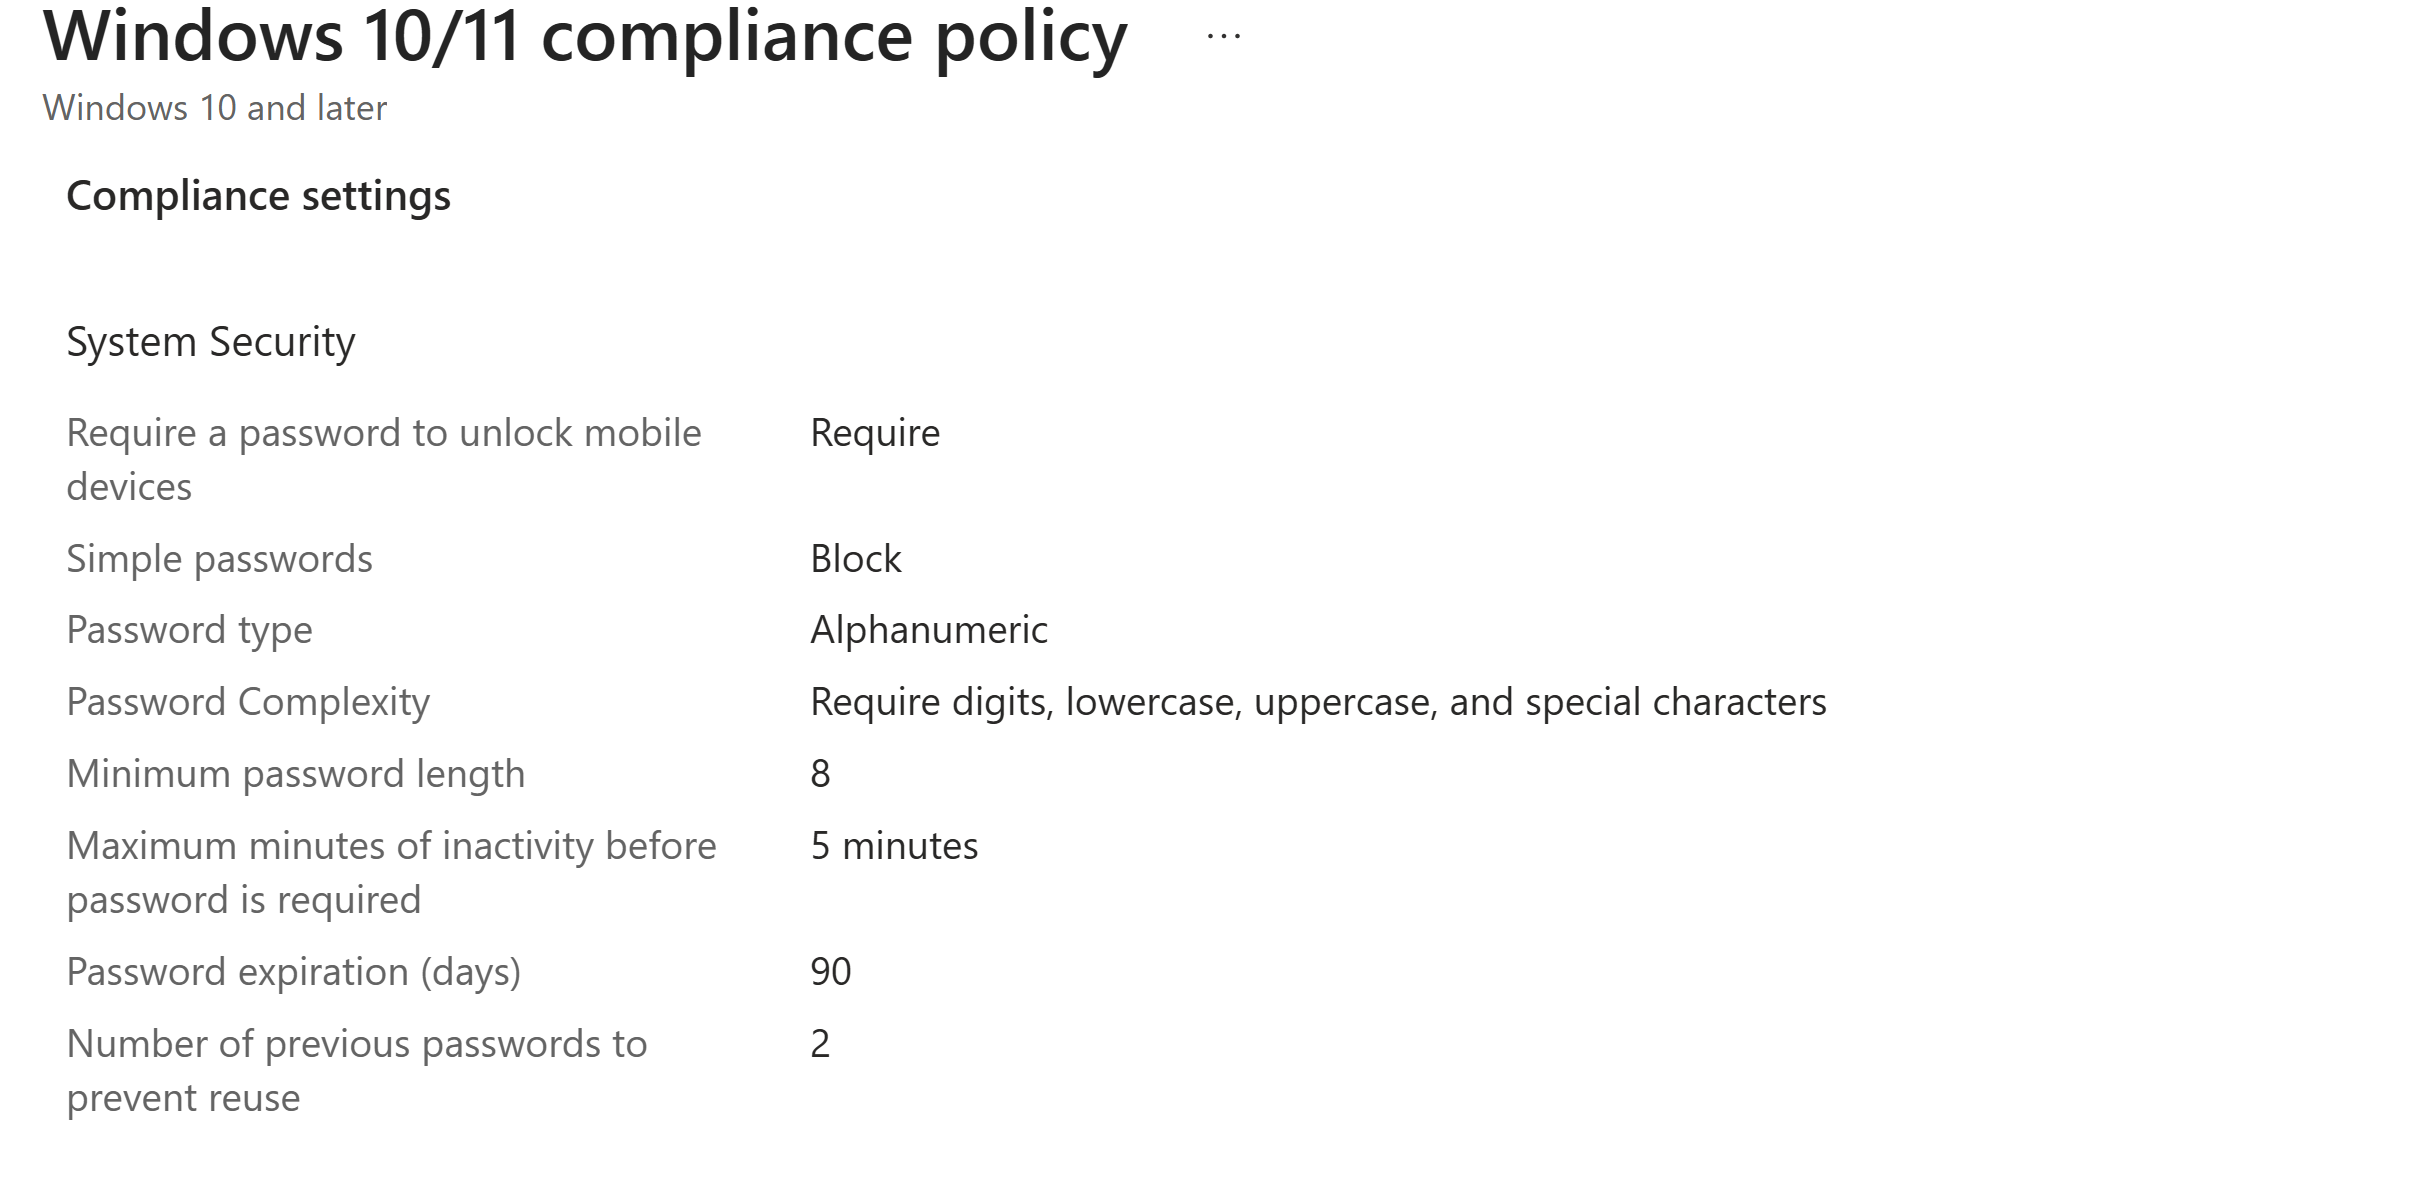
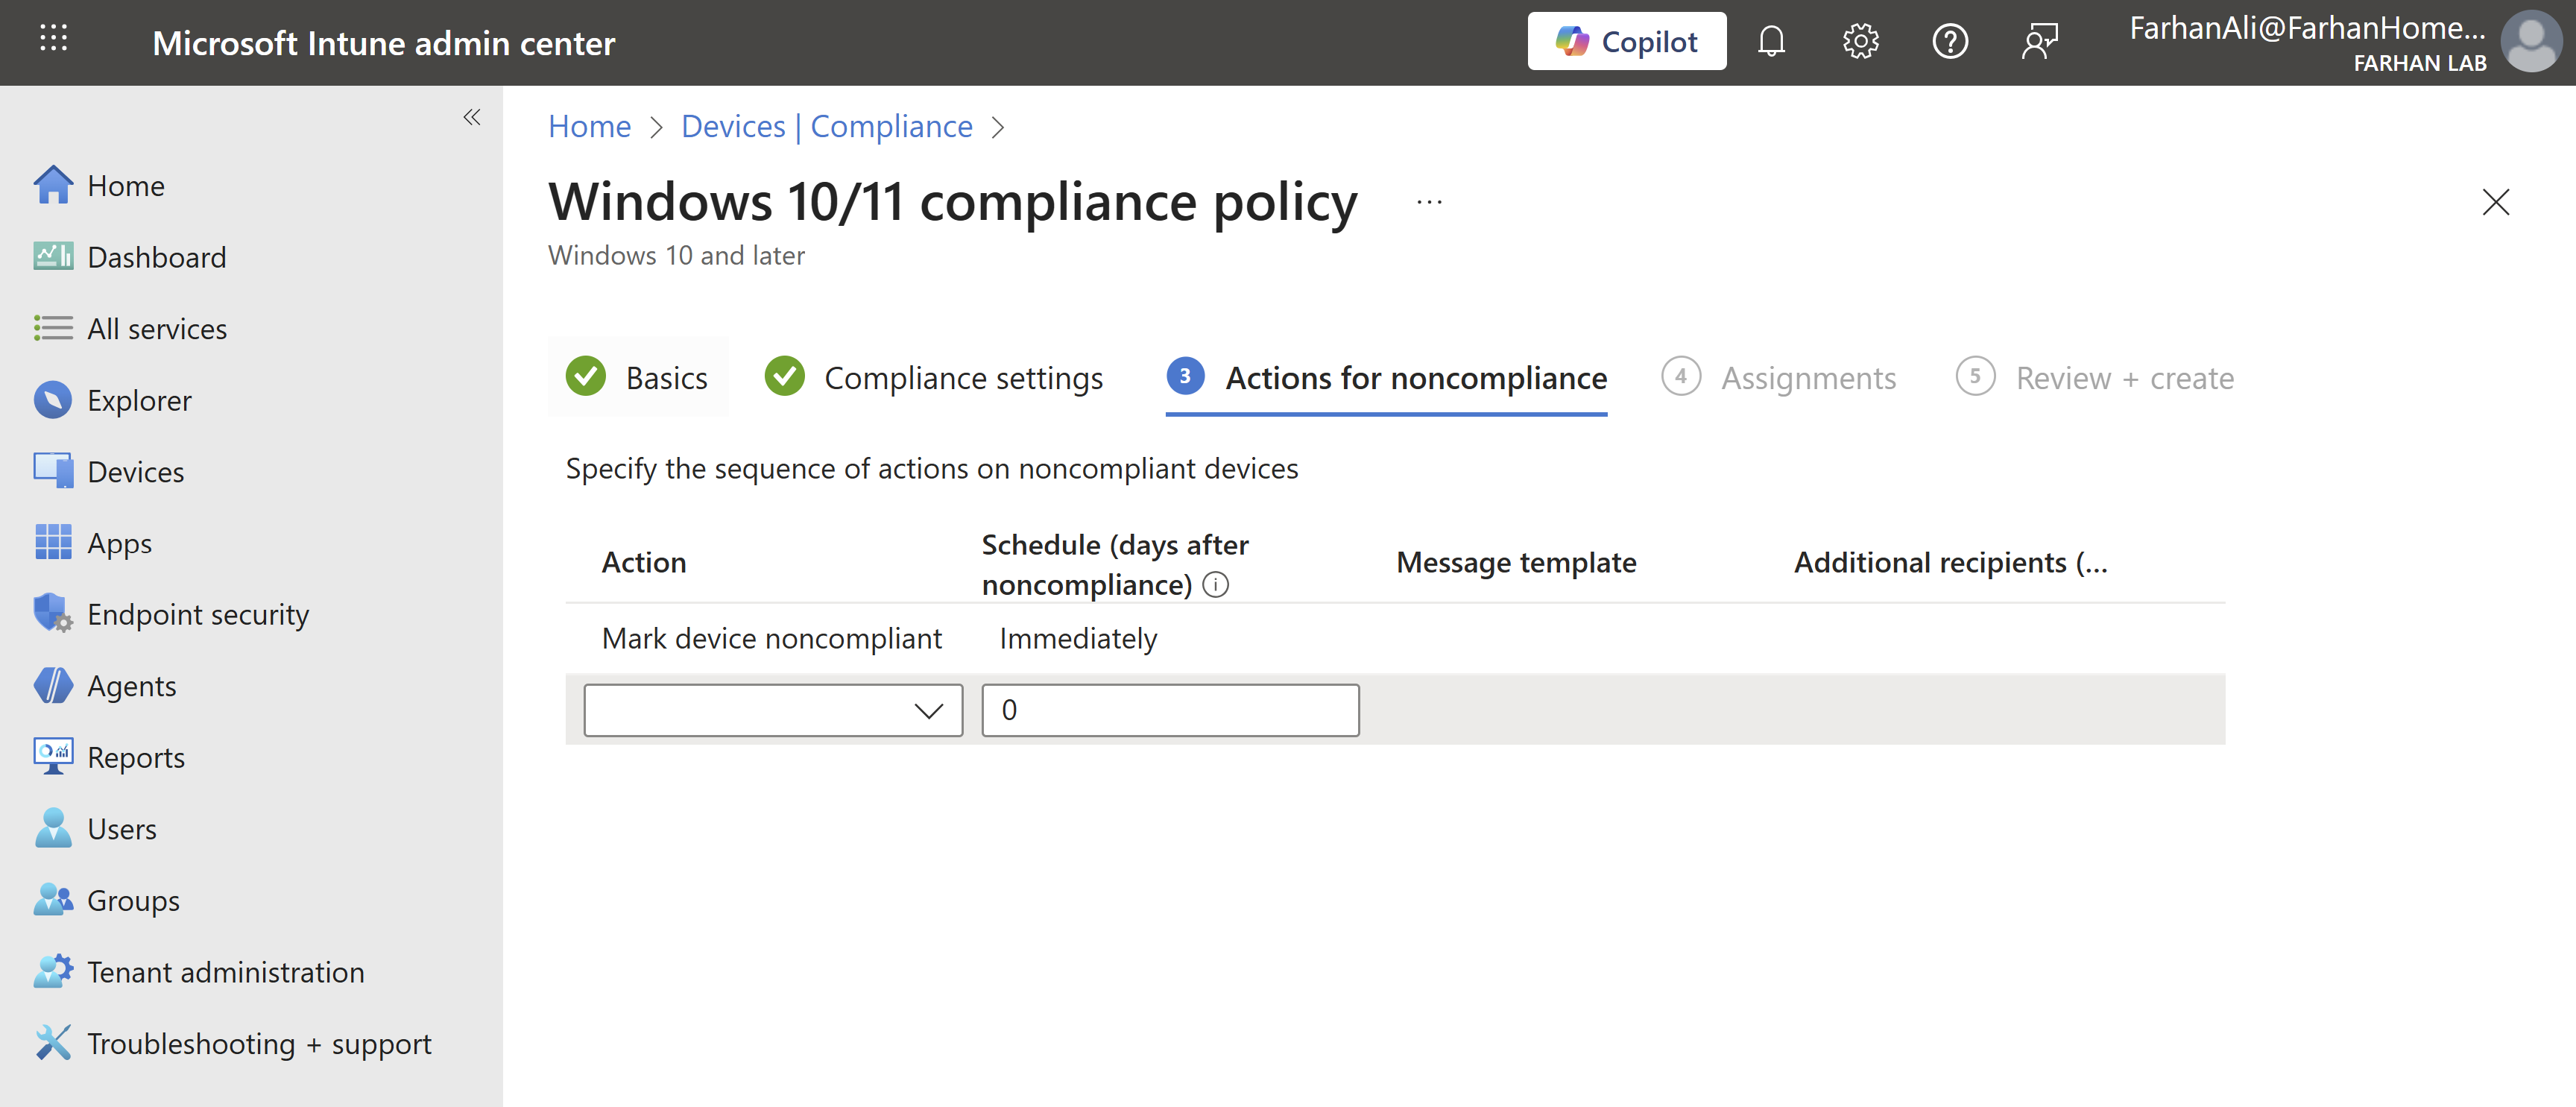
Named it Corporate Password Policy
Selected action to “Mark device noncompliant”
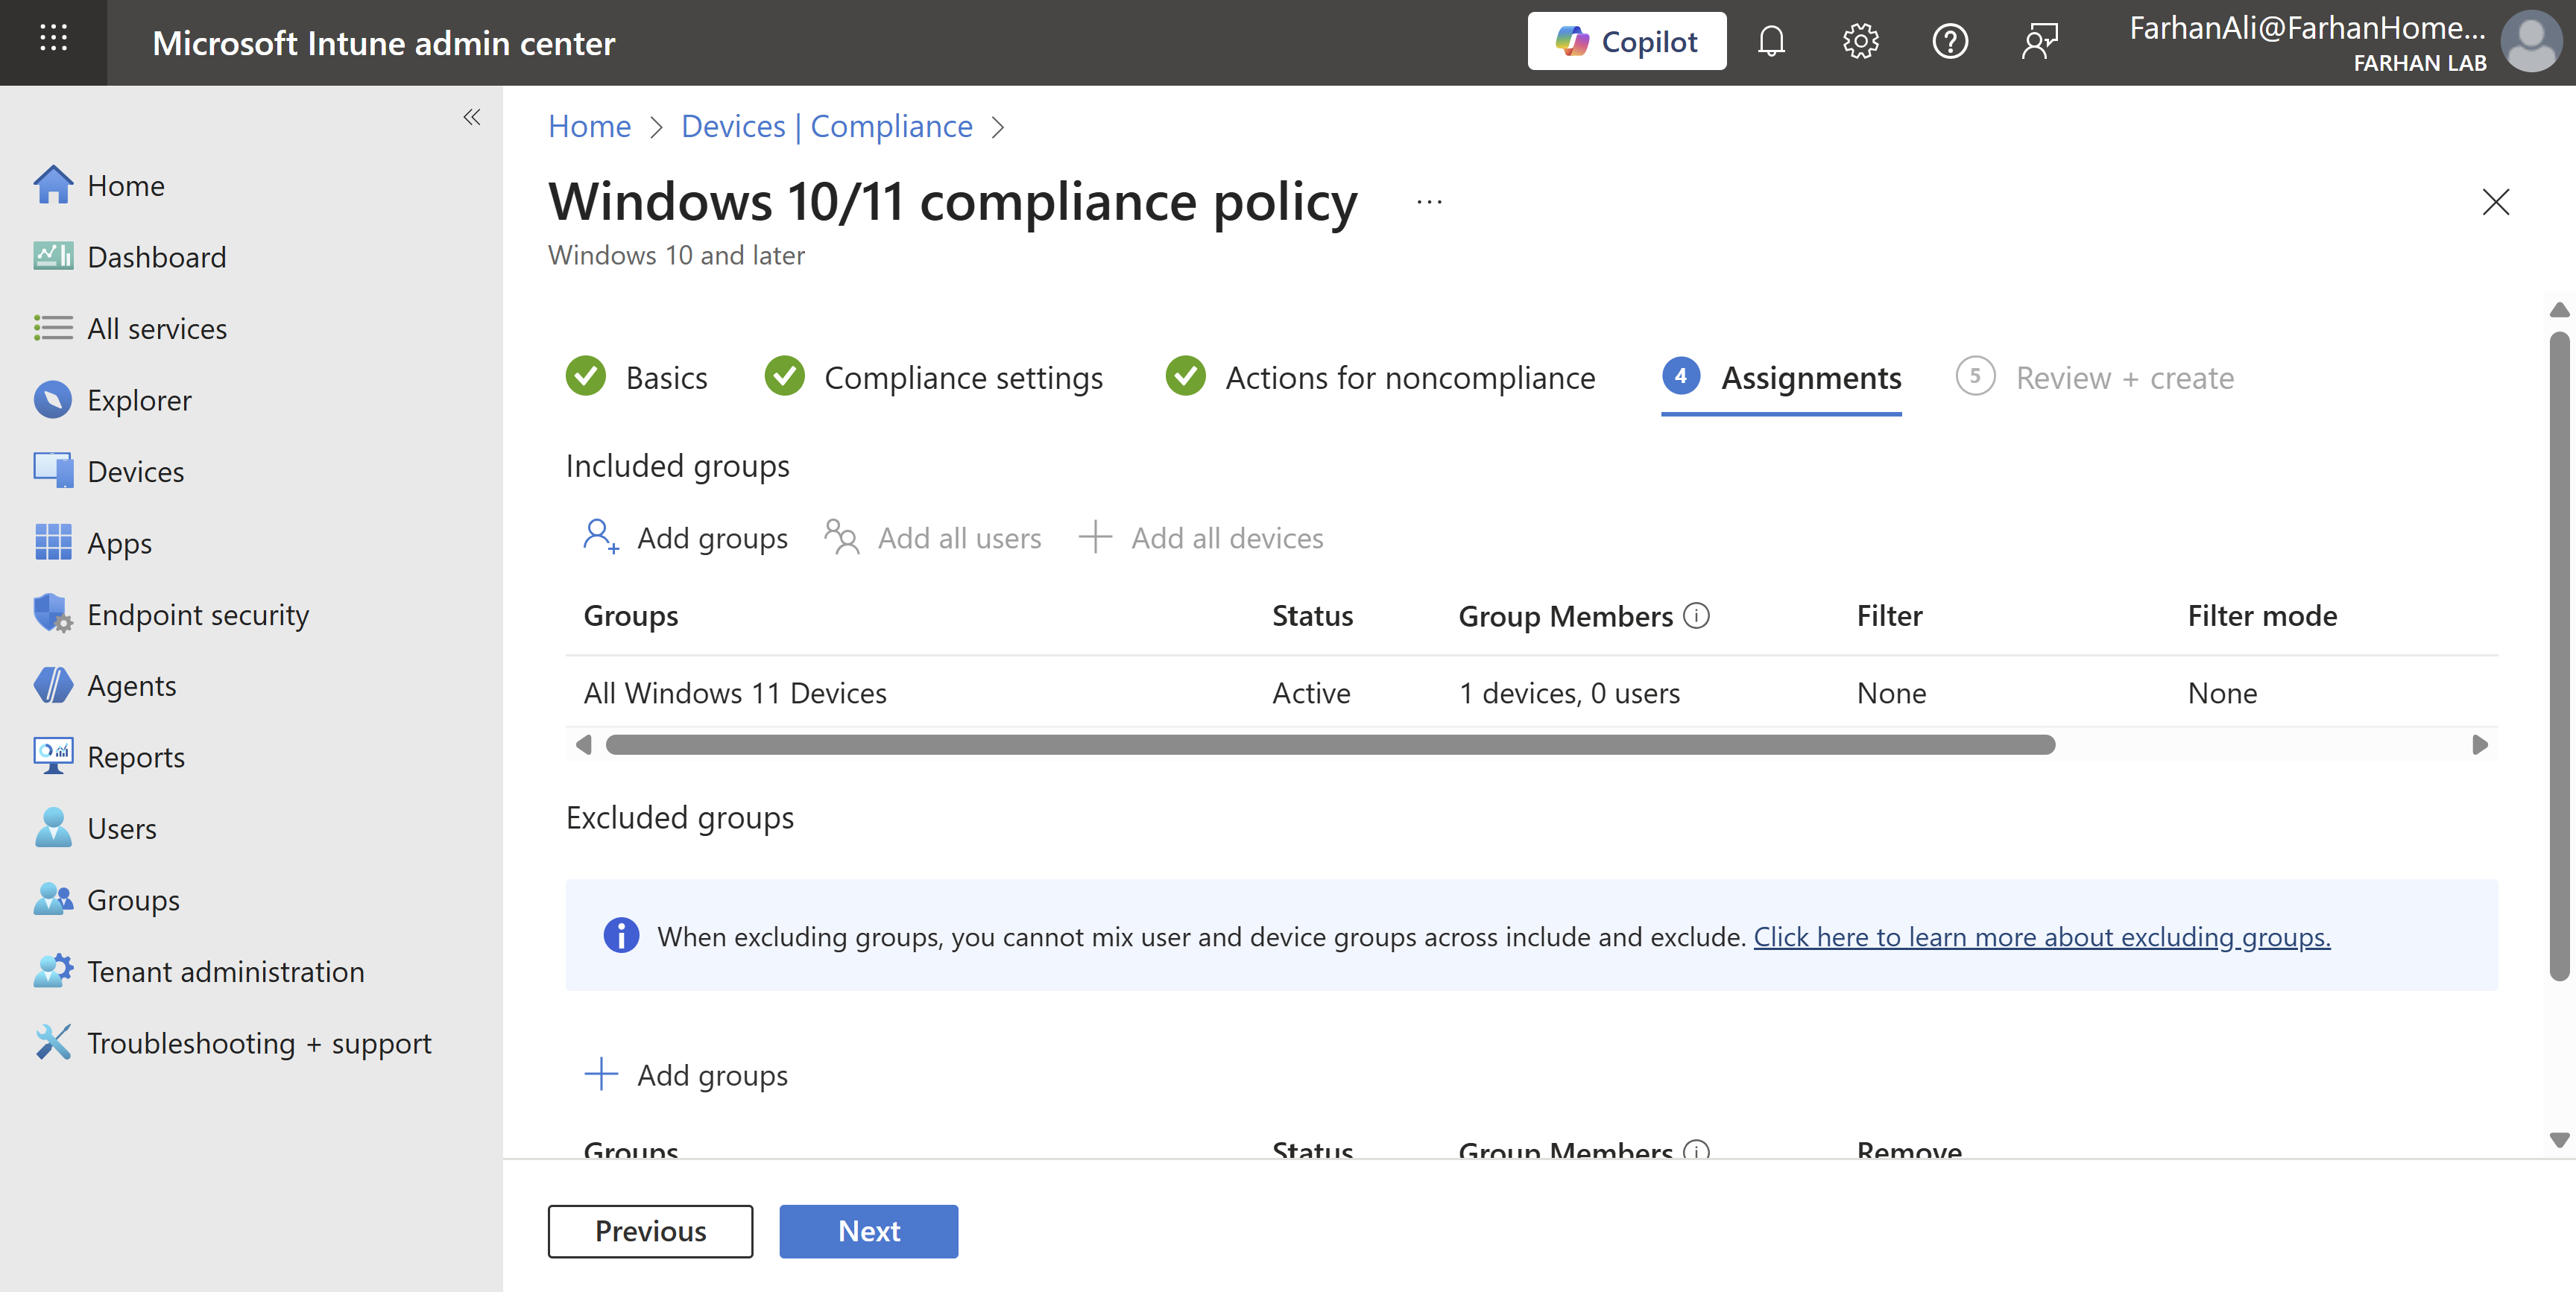
Assigned it to All Windows 11 Devices group
I created some additional policies using the same method.

It’s important to note that I configured basic compliance and Conditional Access policies to validate Windows Autopilot functionality.
While this works in a lab environment, it’s important to recognize that in an enterprise environment, compliance and Conditional Access policies are foundational to security and must be designed, tested, and validated meticulously.
Configure Update Rings
Windows Update Rings are staged deployment groups that control when and how devices receive Windows quality and feature updates.
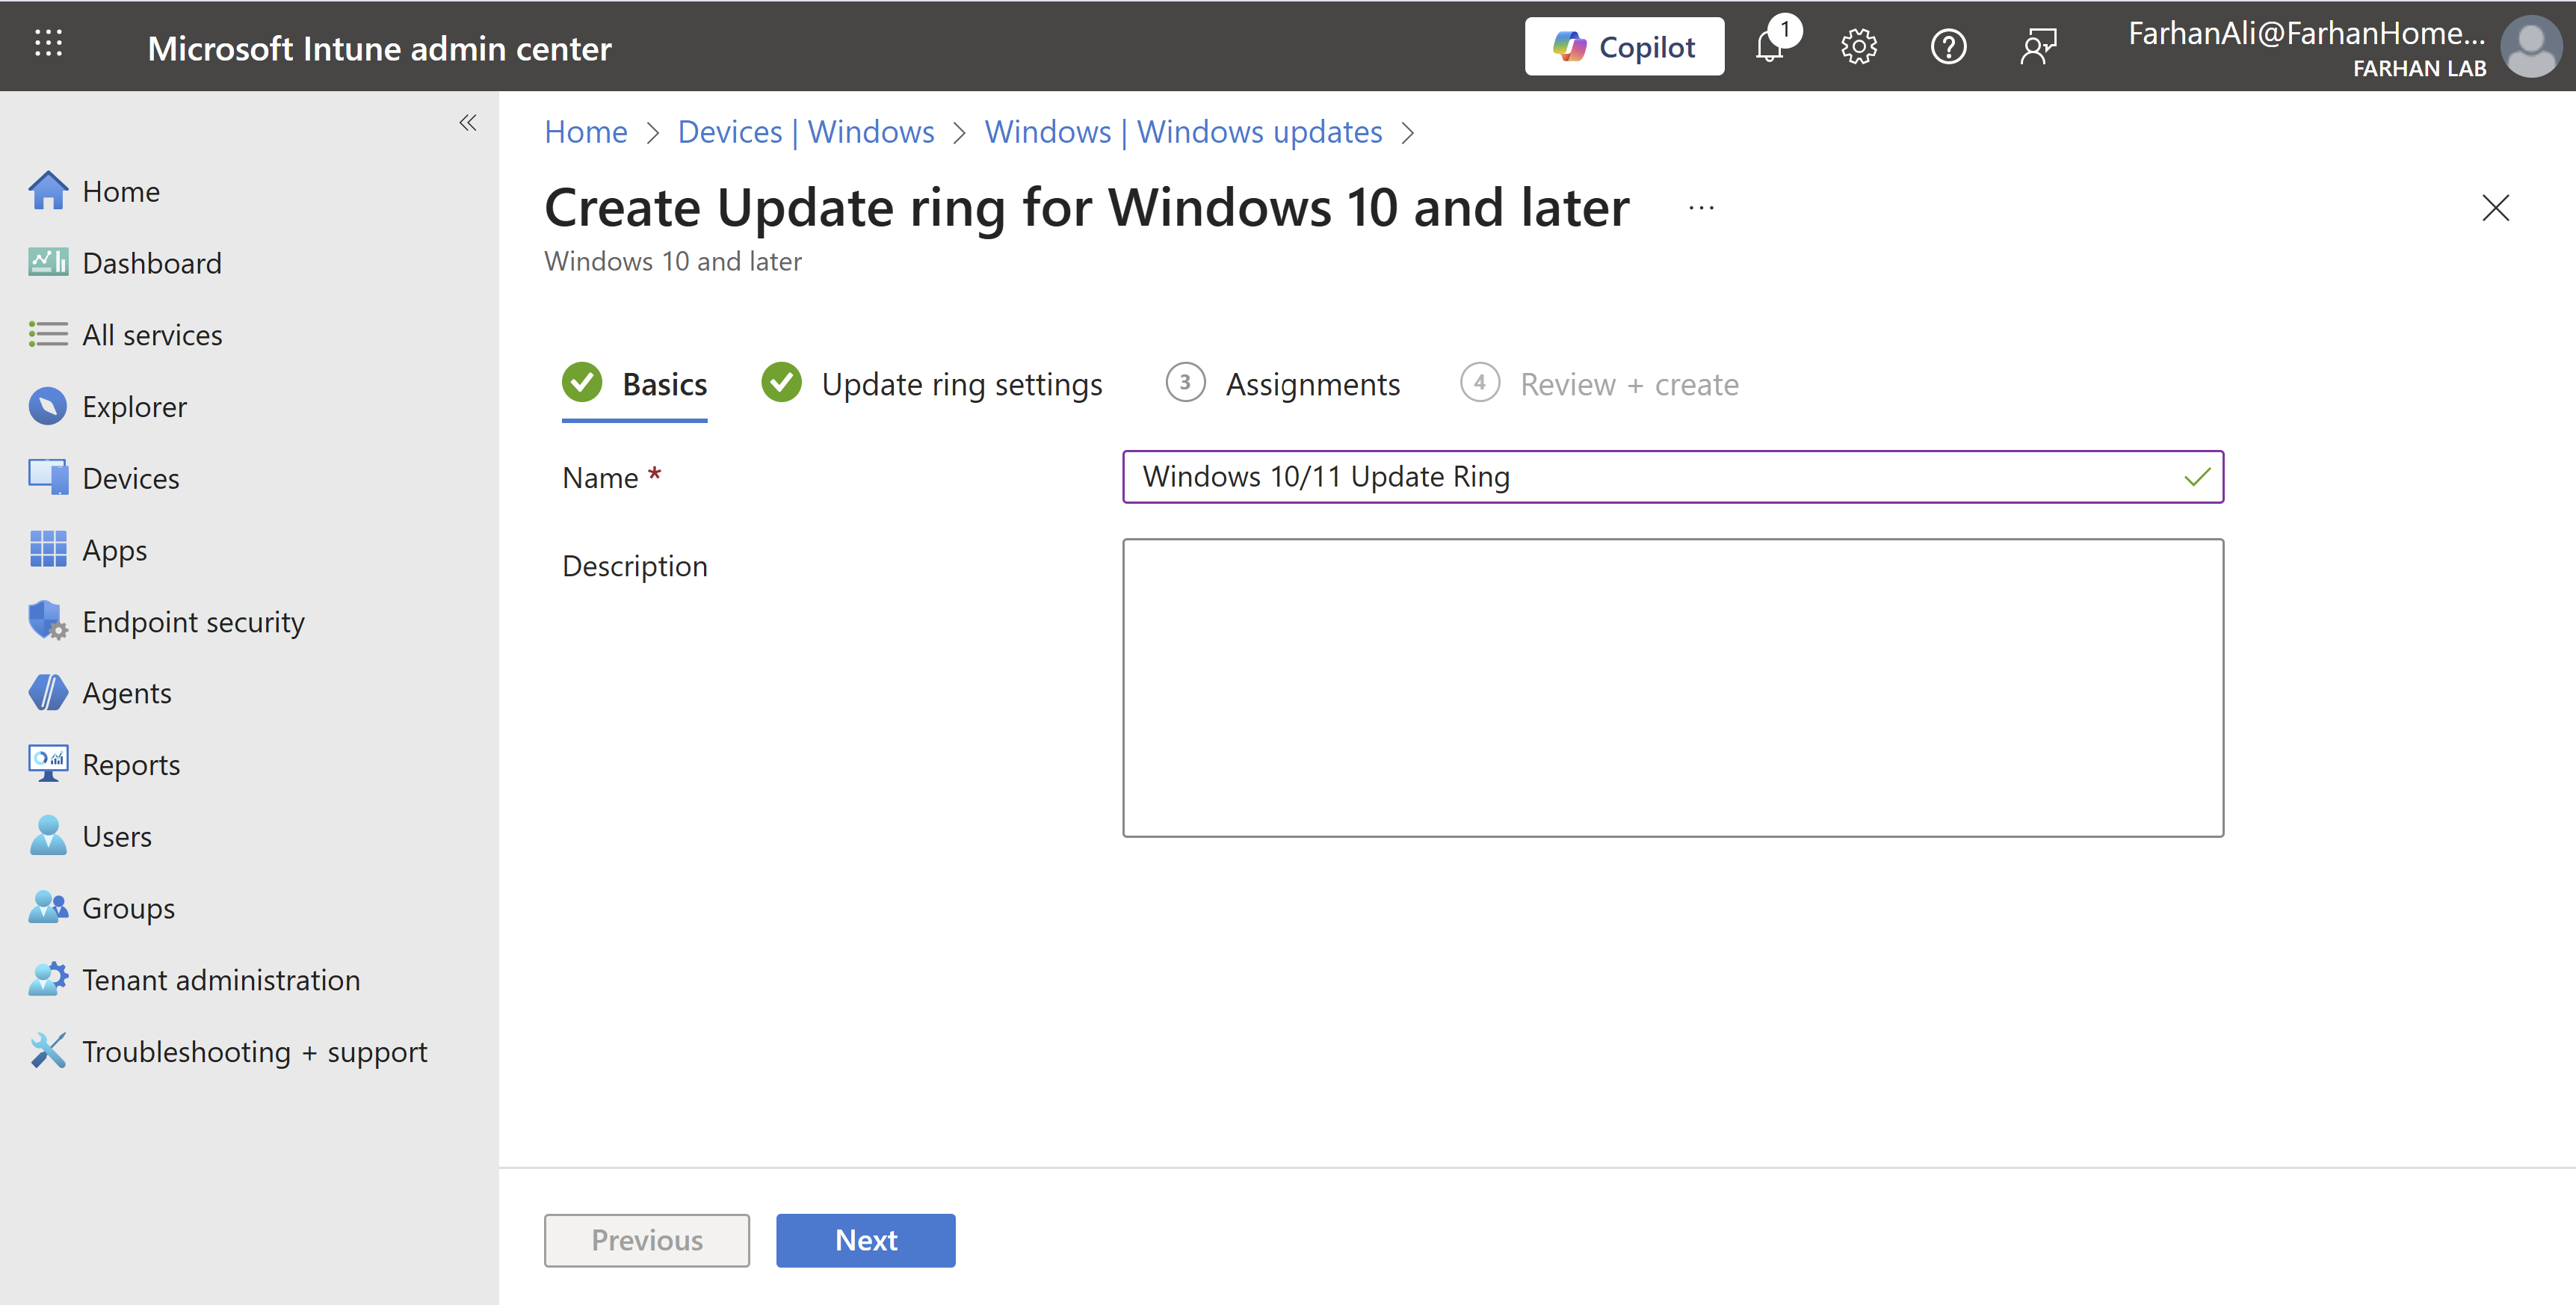
Navigate to Microsoft Intune admin center -> Devices -> Windows -> Windows updates -> Update rings
Created an update ring profile and named it Windows 10/11 Update Ring
Set the quality update deferral period to 6 days, and the feature update deferral period to 0 days (immediate).
In an enterprise environment, best practice is to implement multiple Windows update rings, typically including:
Pilot update ring: Assigned to a small group of test users or IT staff. Feature and quality updates are deployed immediately to validate updates before production rollout.
Production update ring: Assigned to the majority of users. Updates are deferred for a longer period and are only deployed once validated through the devices in the pilot update ring.
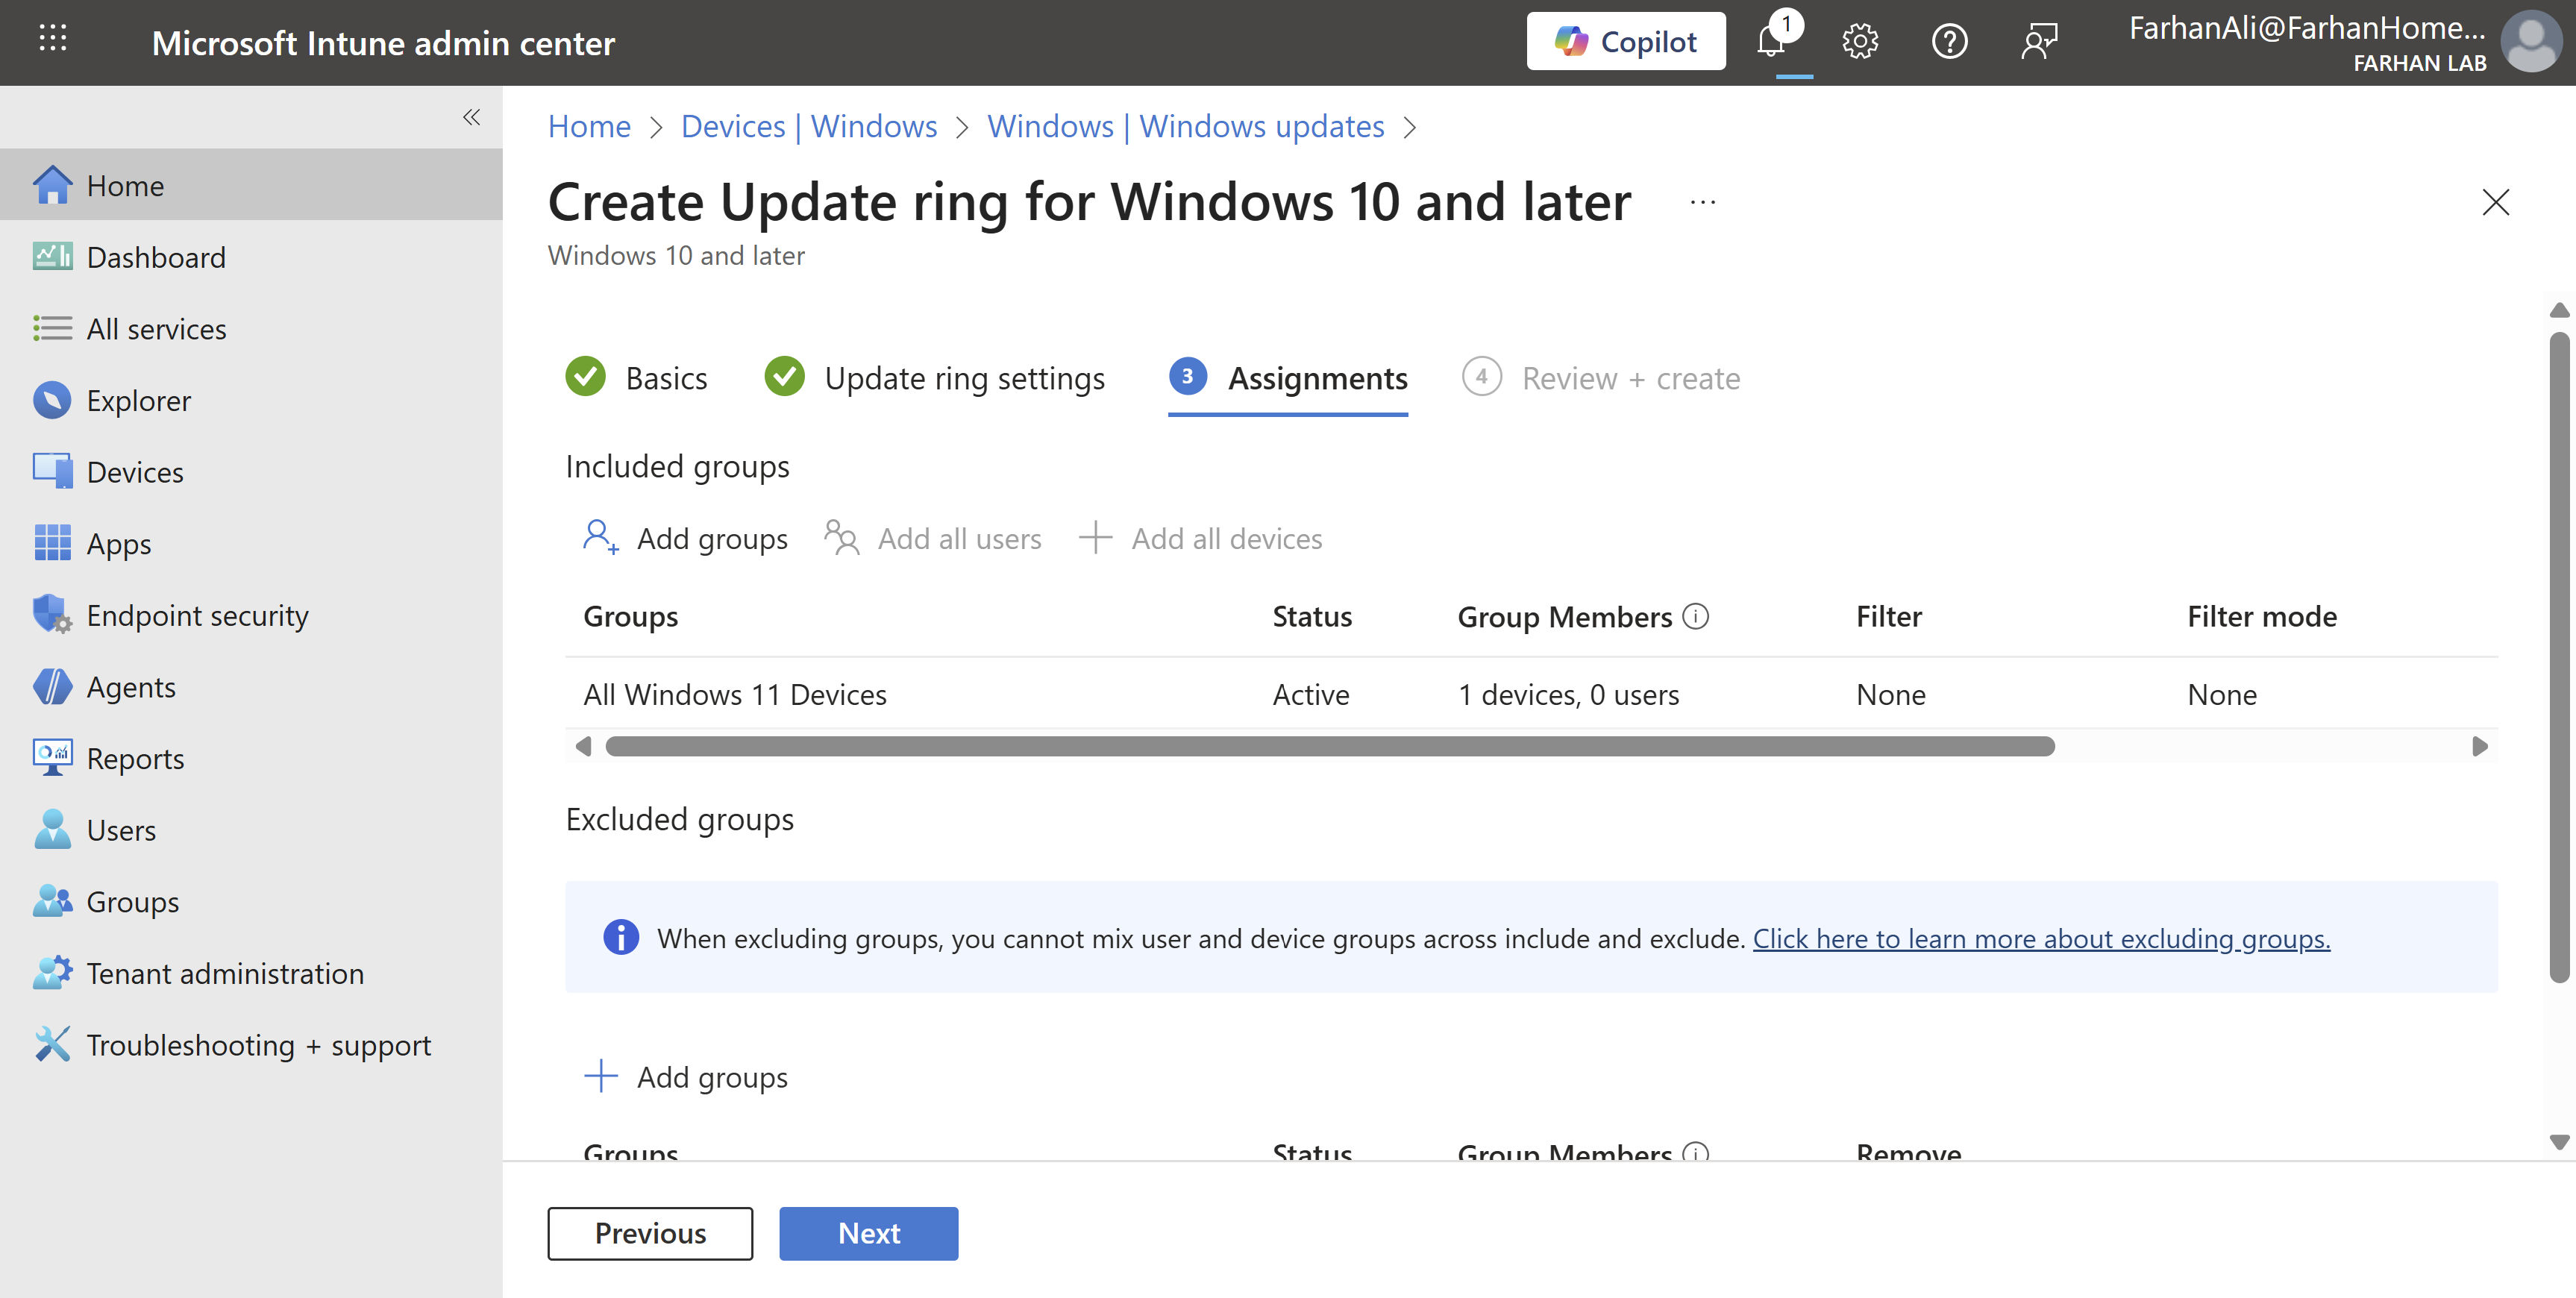
Assigned it to the All Windows 11 Devices group

Phase 5: Register Device with Autopilot
Before devices can be deployed using Windows Autopilot, they must be registered with the Autopilot service. Before the device registration process, ensure the following:
- Device has supported Windows version
- TPM 2.0 / UEFI is enabled
- Device must be new/clean (OOBE) or reset for Autopilot onboarding
Decide registration method(s):
-
OEM / vendor upload: Hardware hash is uploaded by the device vendor before shipment. This is the best method for enterprise production deployments.
-
Manual CSV: Hardware hash is exported to a CSV file and uploaded manually. It requires booting into the device to retrieve the hardware so it’s mostly used in test environments.
-
Hash via PowerShell: Hardware hash is collected and uploaded using a PowerShell script. I will use this method in this lab.
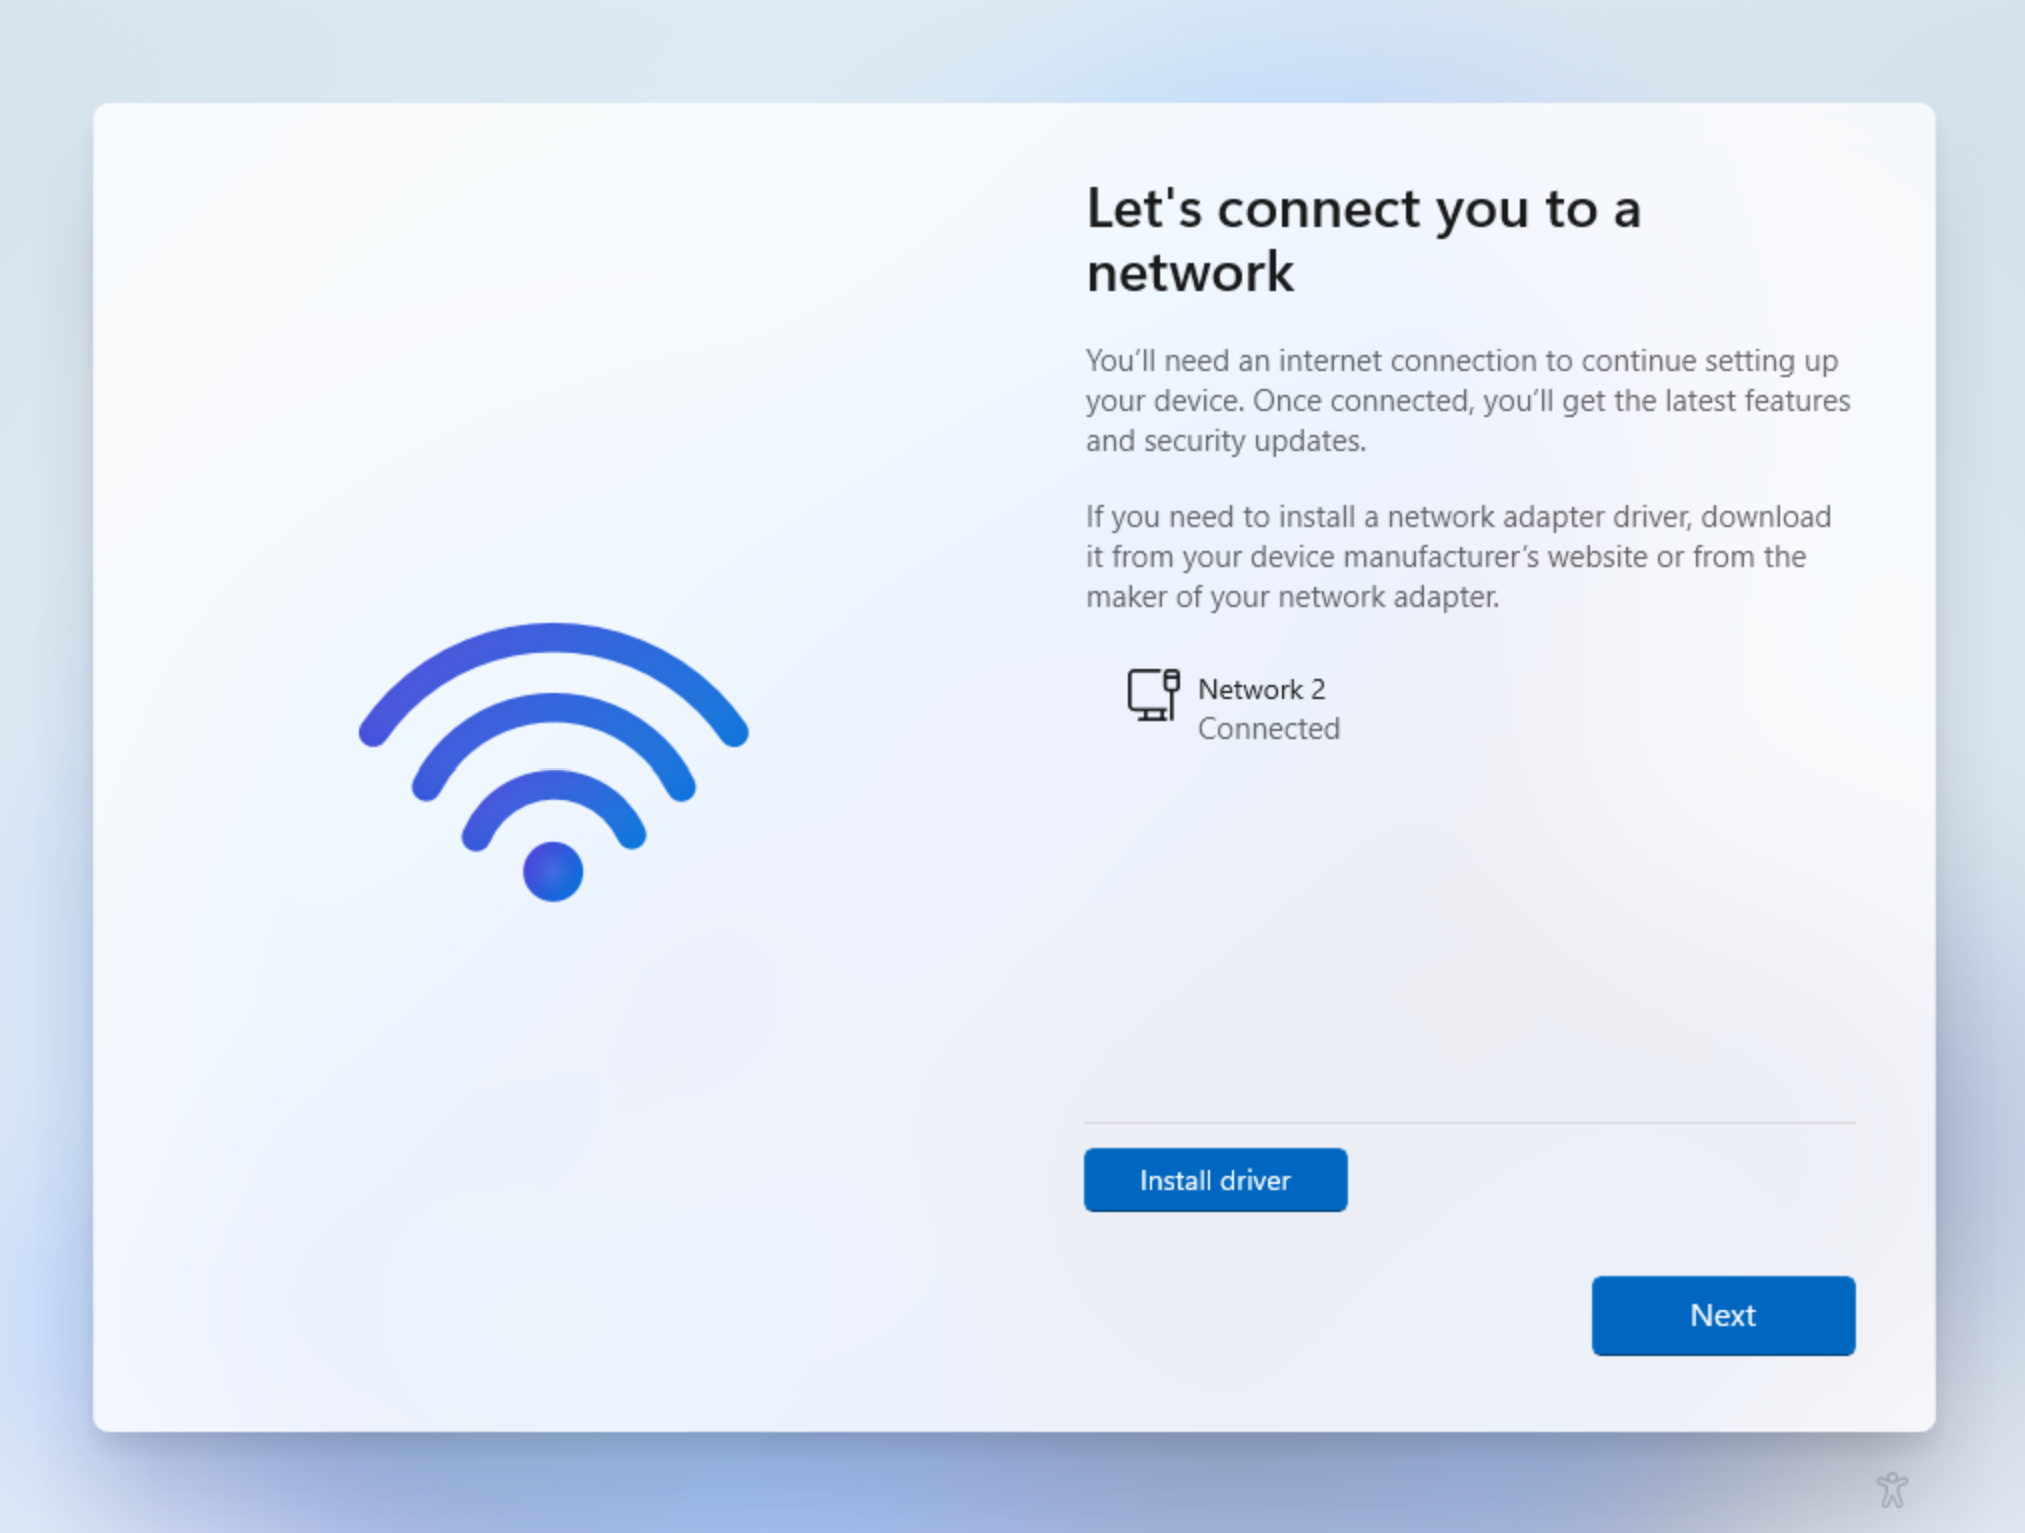
I am using a new Windows 11 VM for Autopilot registration and validation.
Ensure the device is connected to the internet.
Open command prompt using CMD+SHIFT+F10 keys on the OOBE screen then change it to powershell using powershell.exe command.
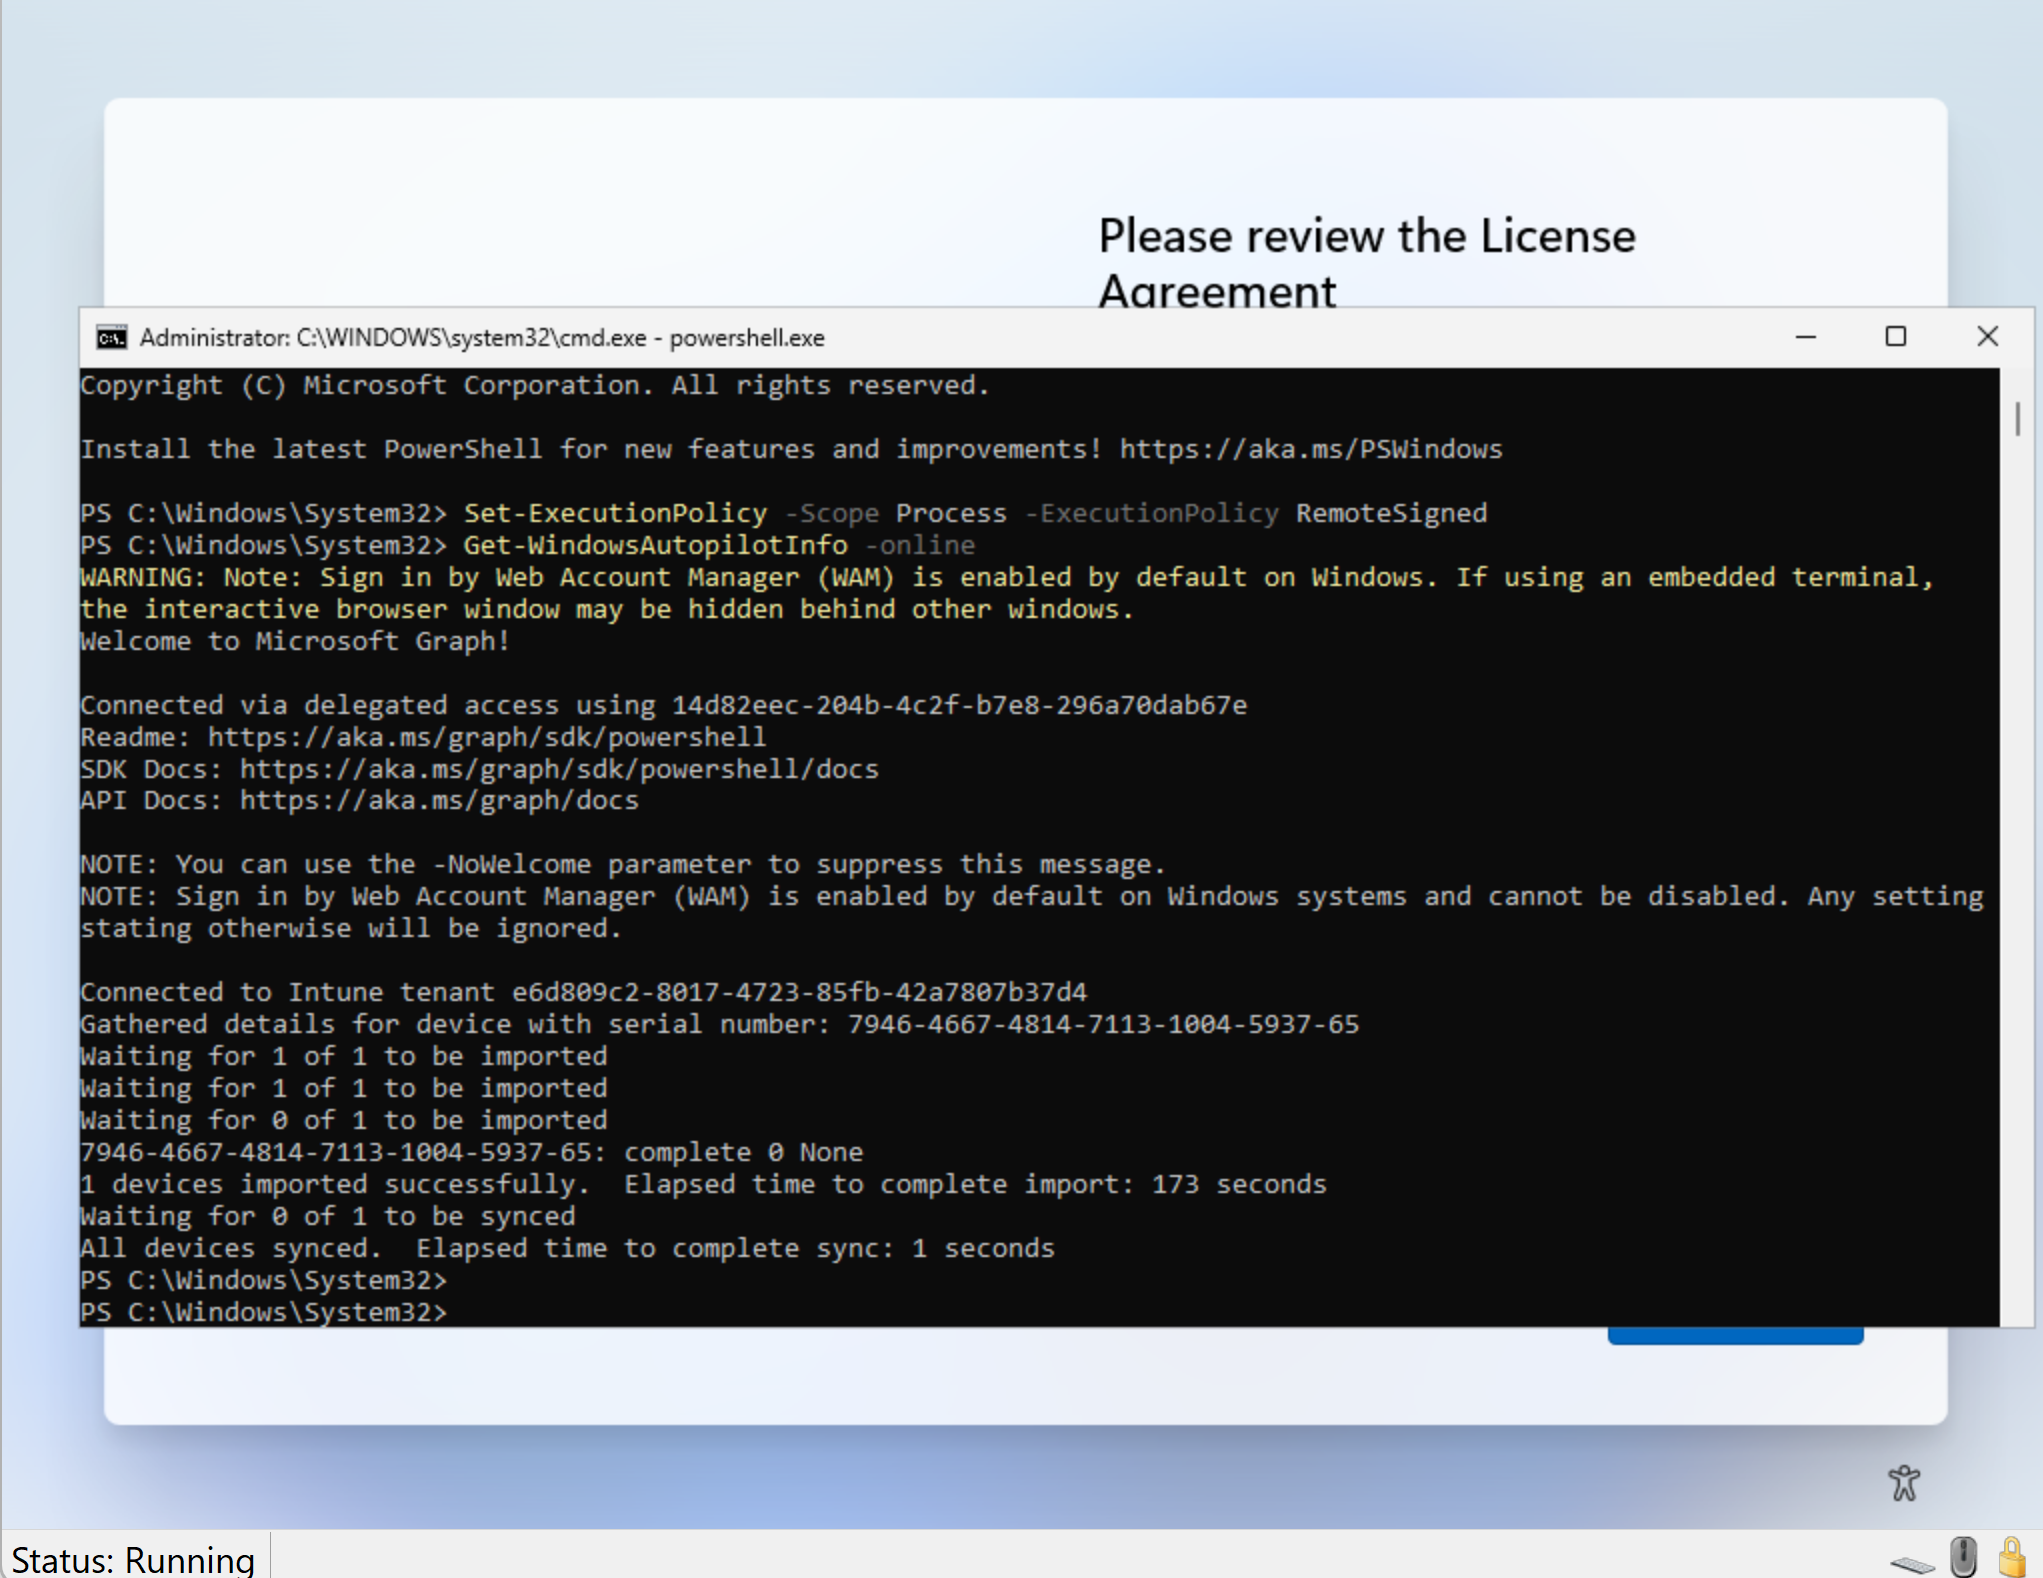
Execute the following commands to download WindowsAutopilotinfo script to upload the device hash to Intune.
Set-ExecutionPolicy -Scope Process -ExecutionPolicy RemoteSigned
Install-Script -Name Get-WindowsAutopilotInfo -Force
Get-WindowsAutopilotInfo -Online
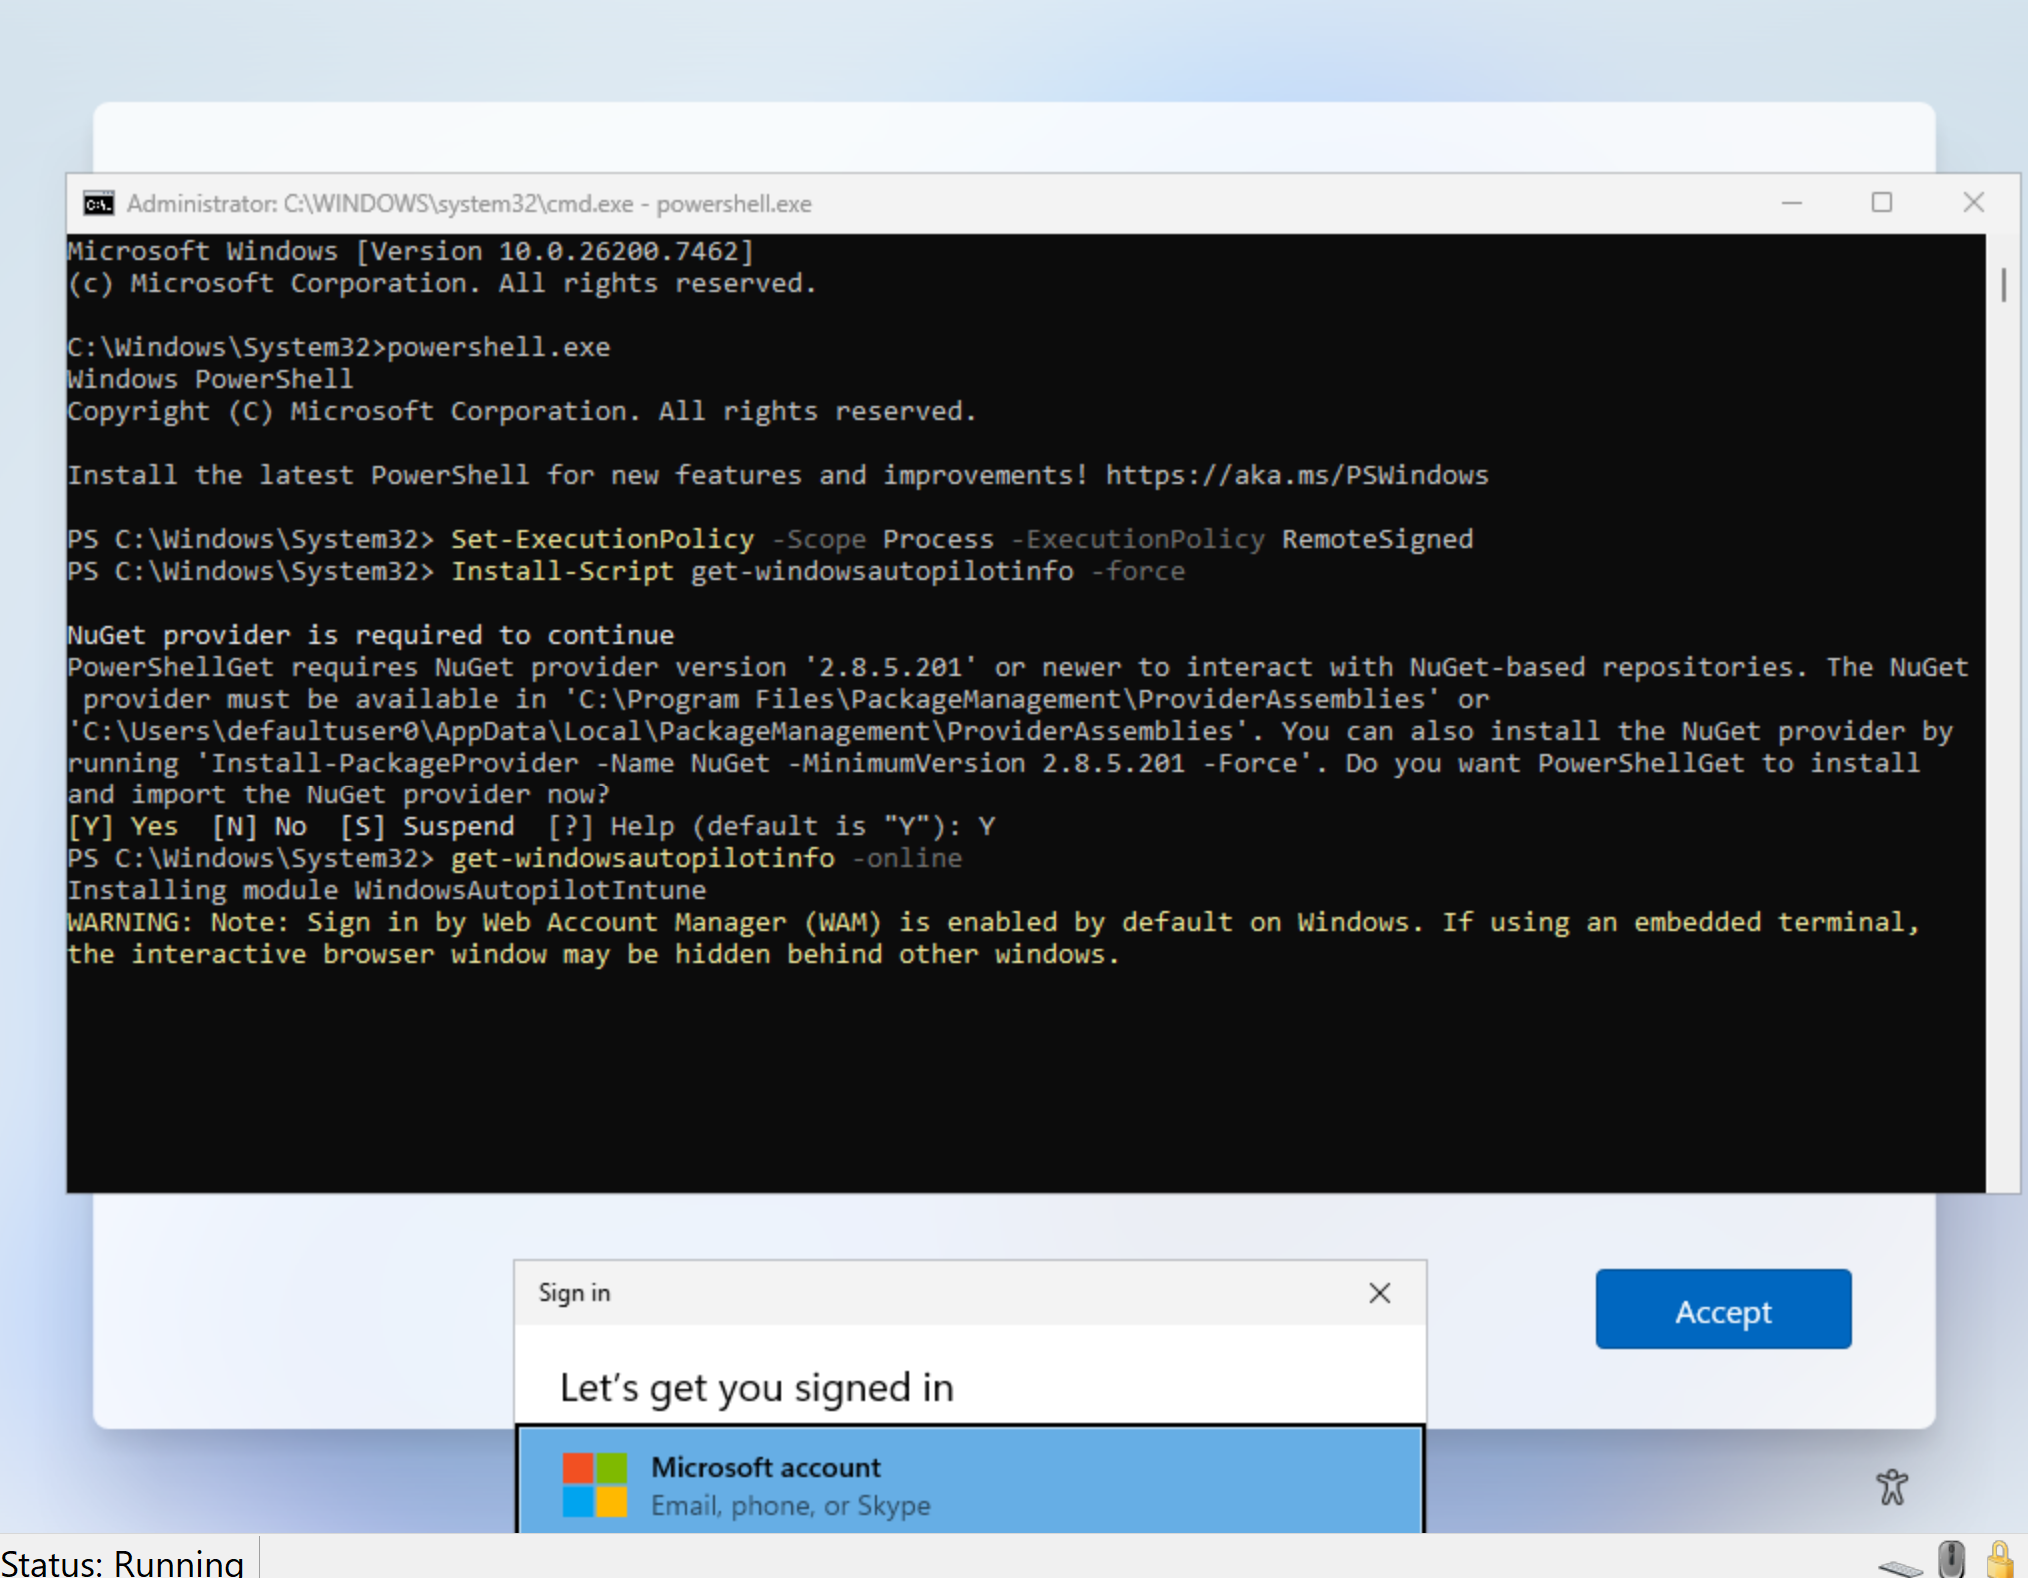
Select Work or school account
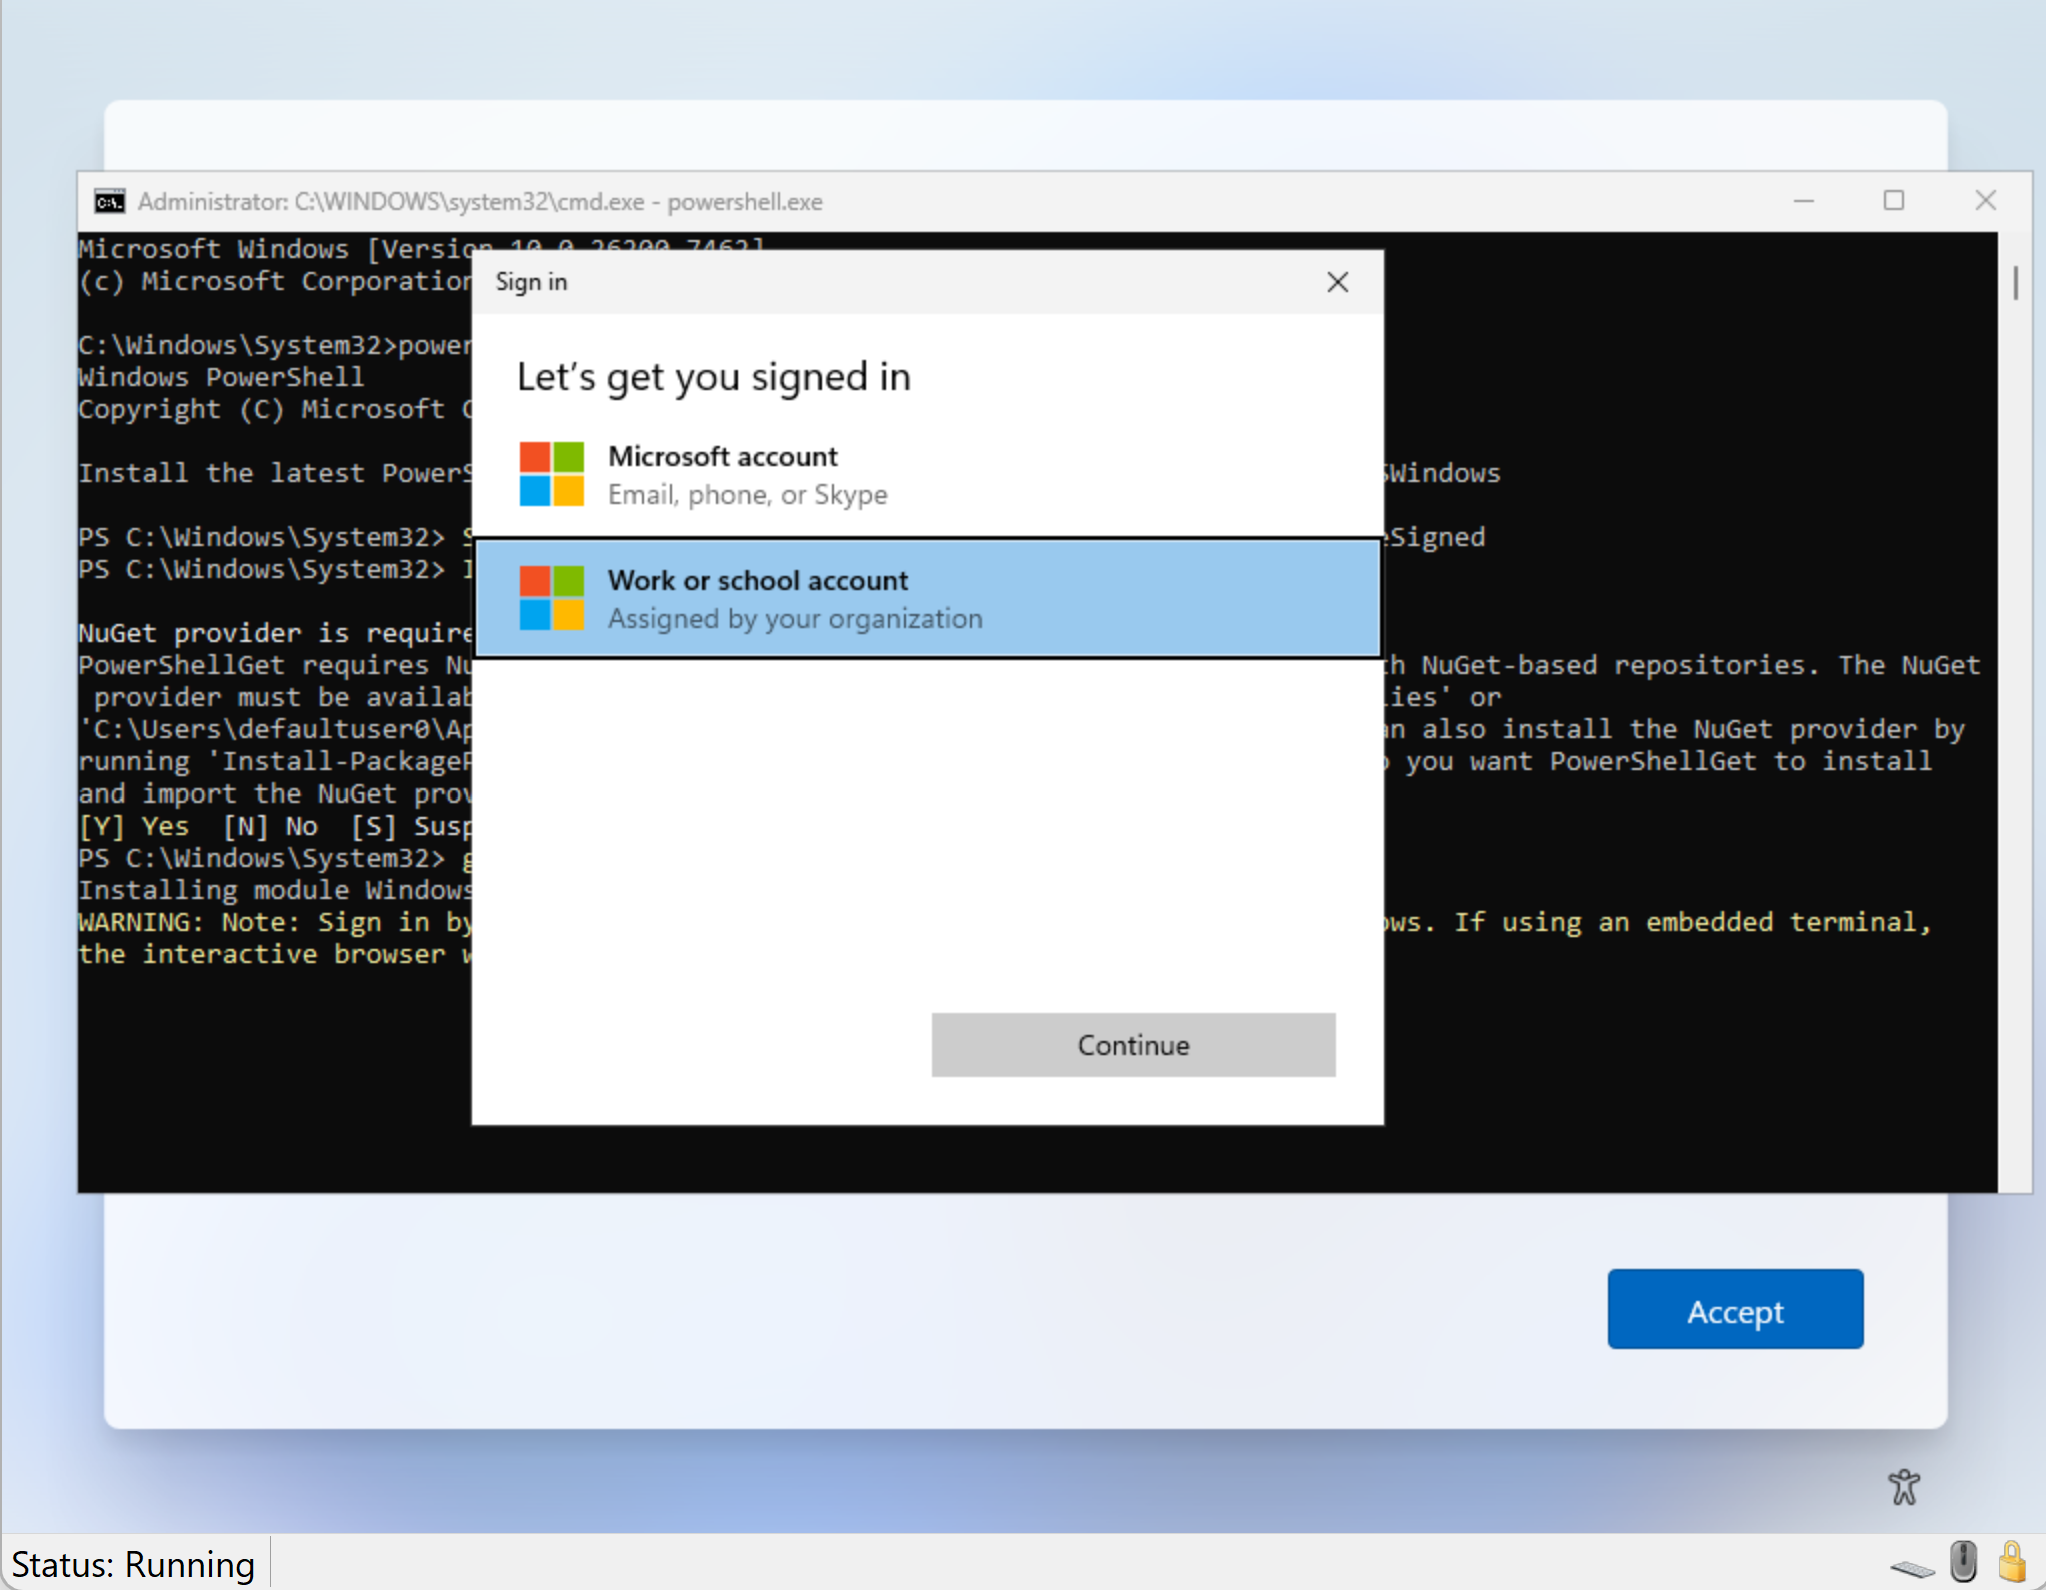
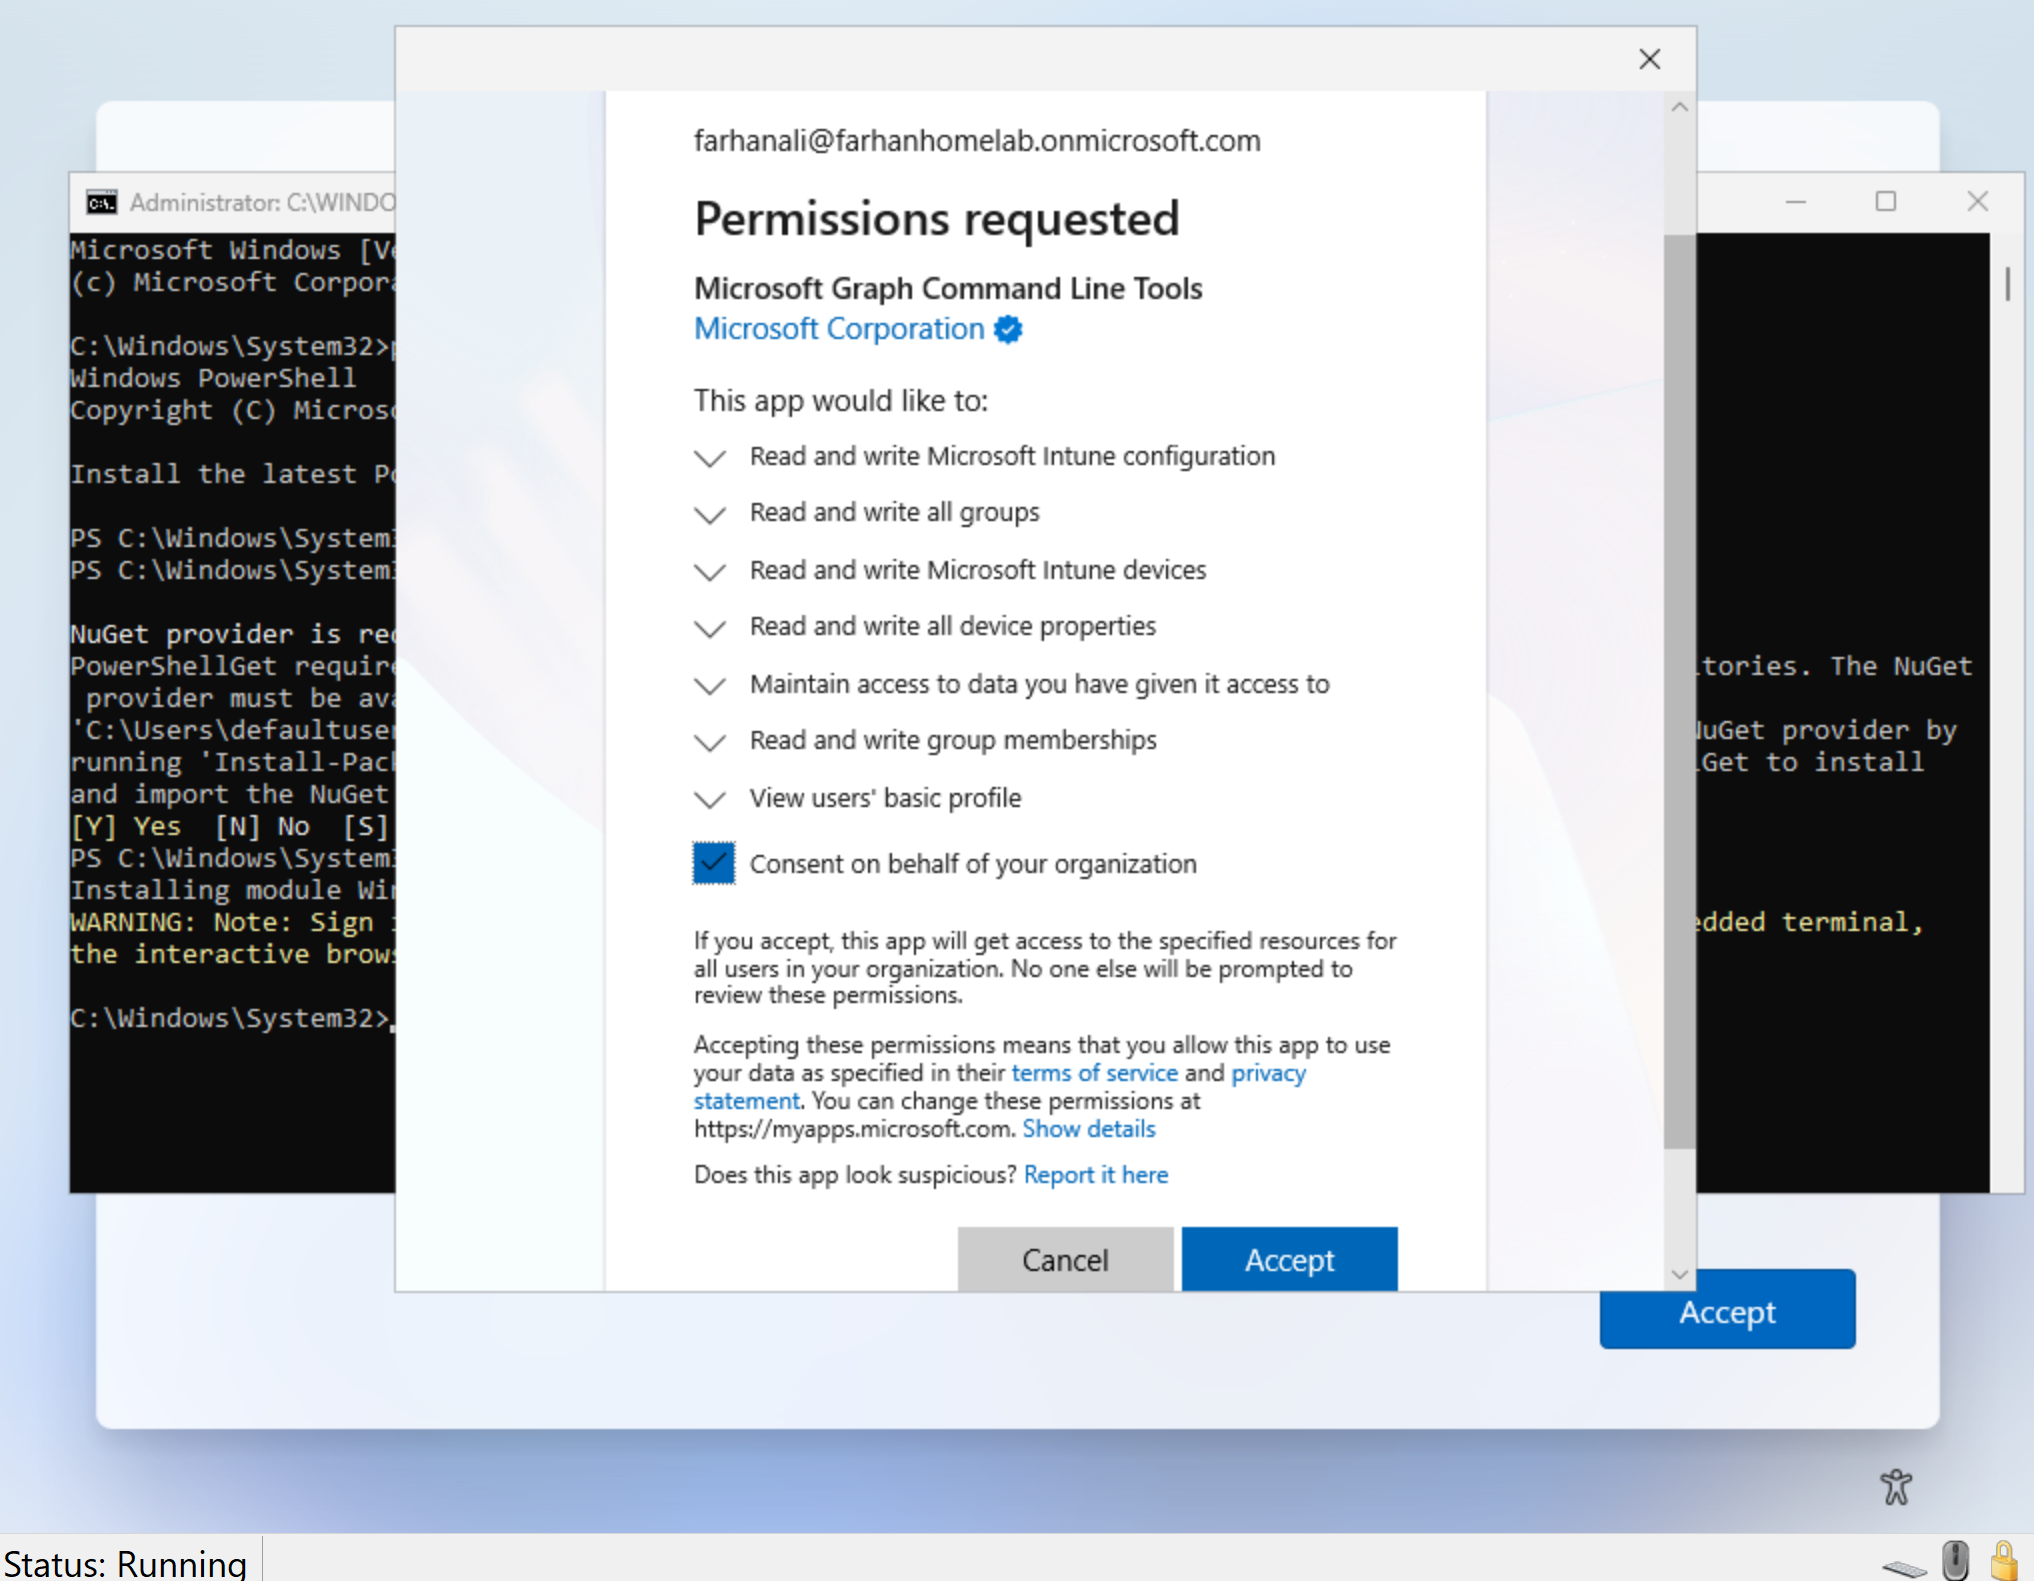
Since this is the first device registration using the PowerShell method, the Microsoft Graph will prompt for consent to the required permissions. Provide consent by clicking Accept so that the Microsoft Graph command-line tools and scripts can interact with the Autopilot service.
This consent prompt appears only the first time the Graph-based tools are used in the tenant.
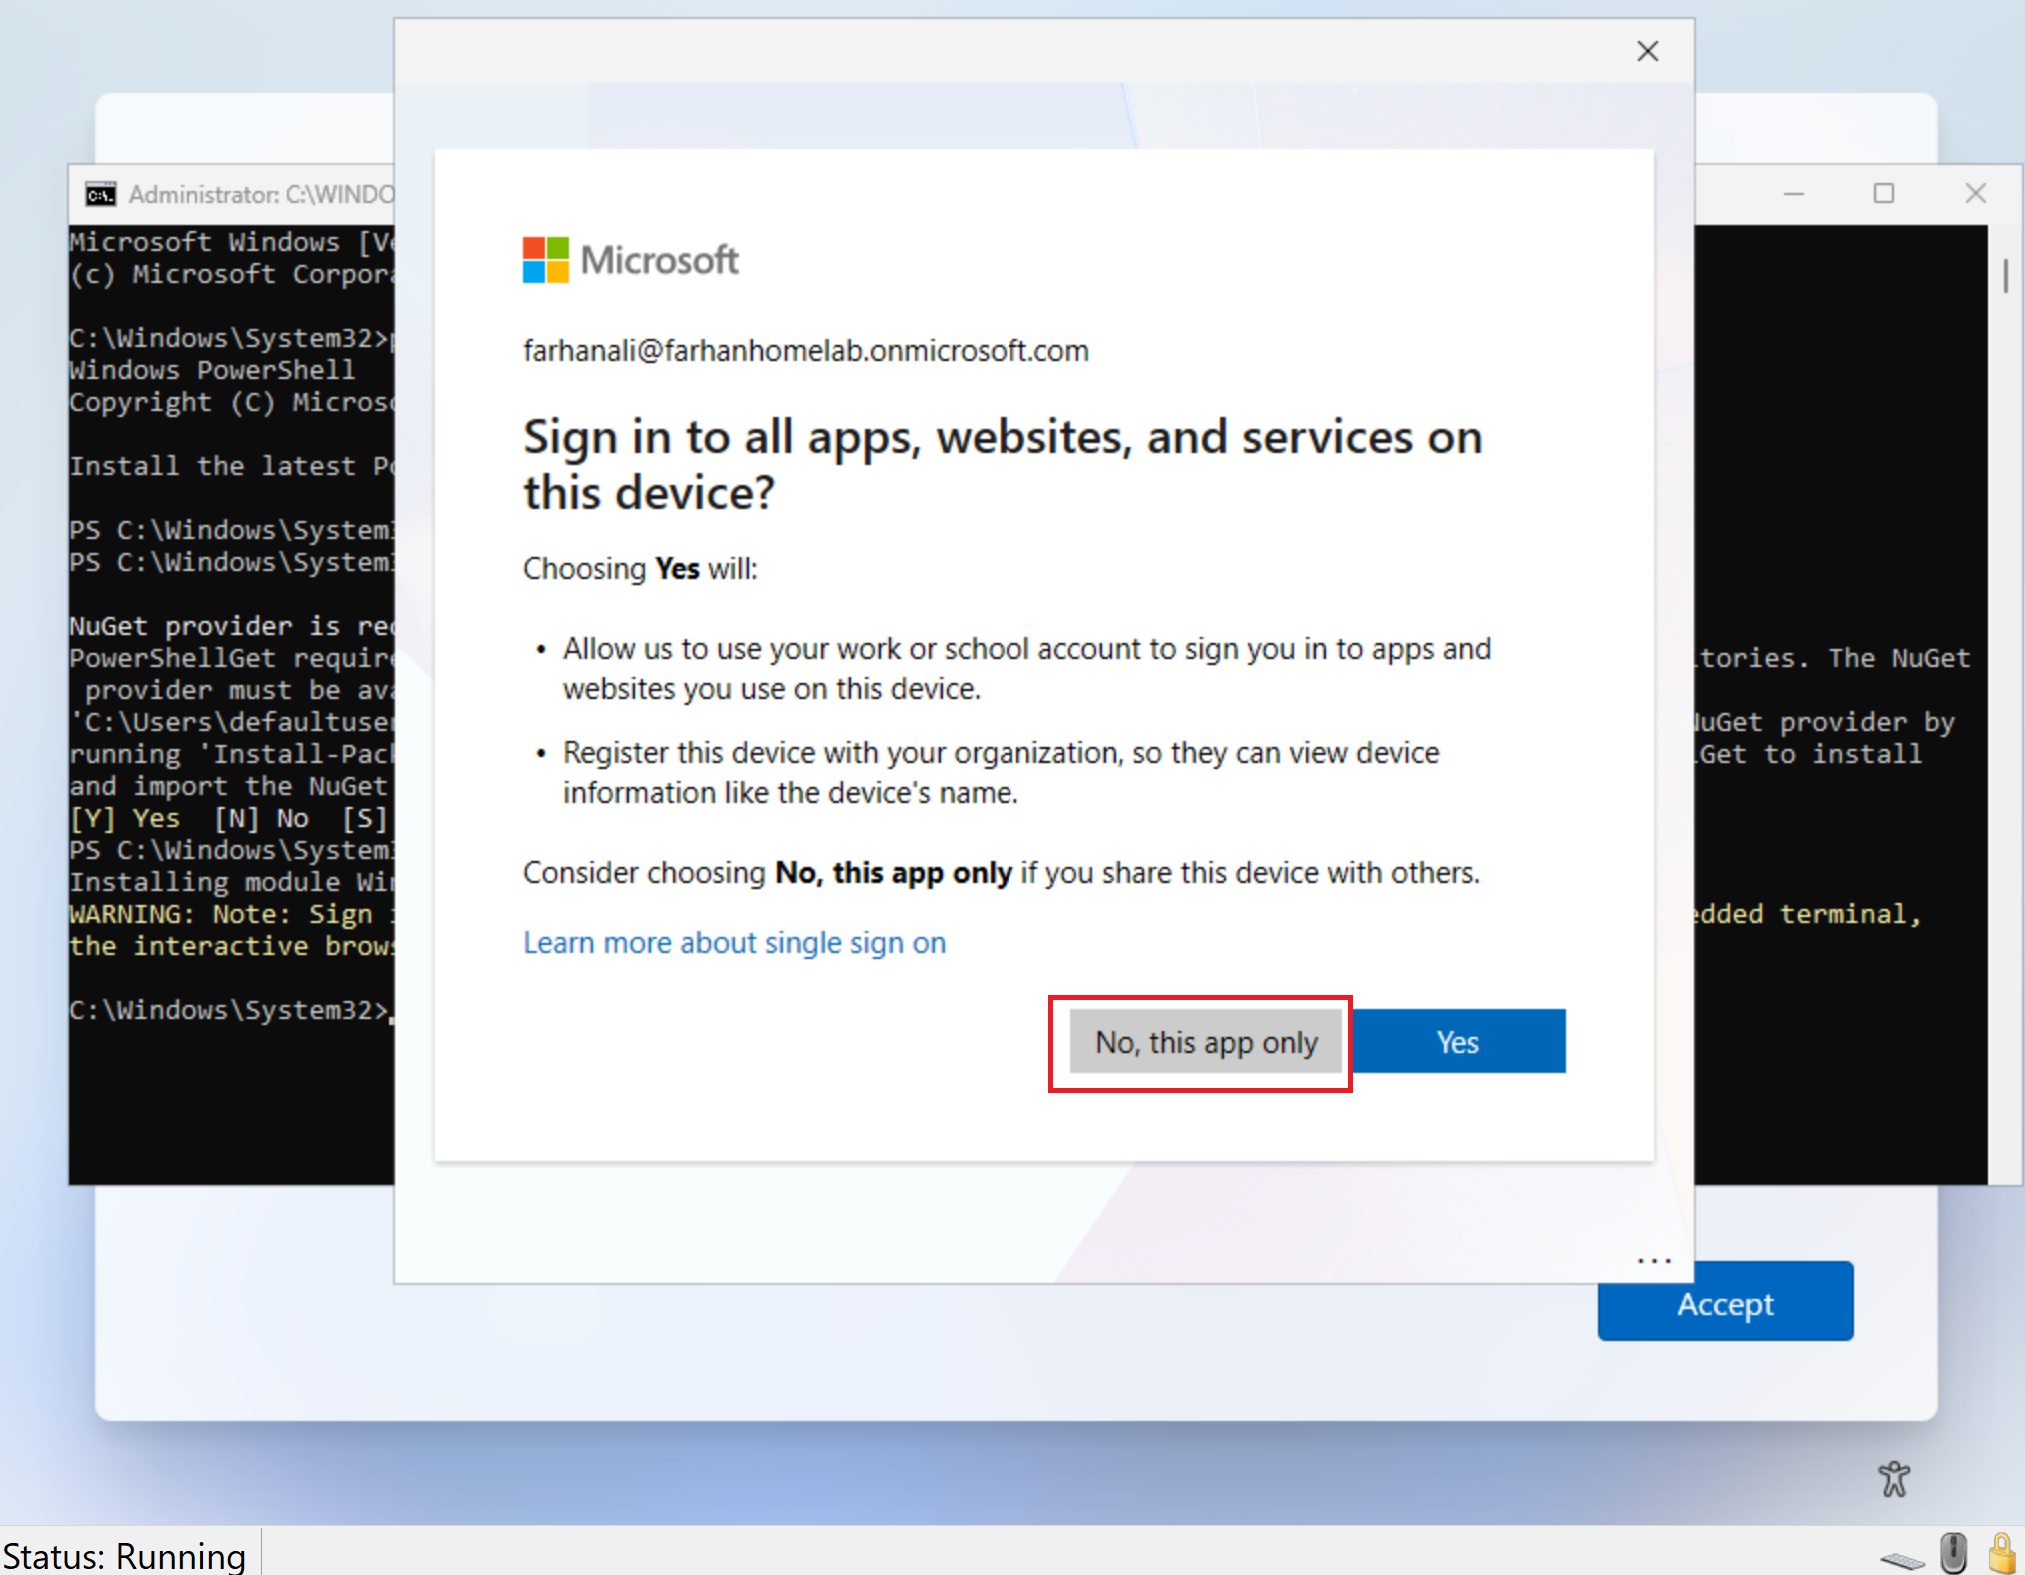
When prompted with “Sign in to all apps, websites, and services on this device”, select “No, this app only.”
This prevents the device from being registered or joined to Microsoft Entra ID outside of the Autopilot workflow.
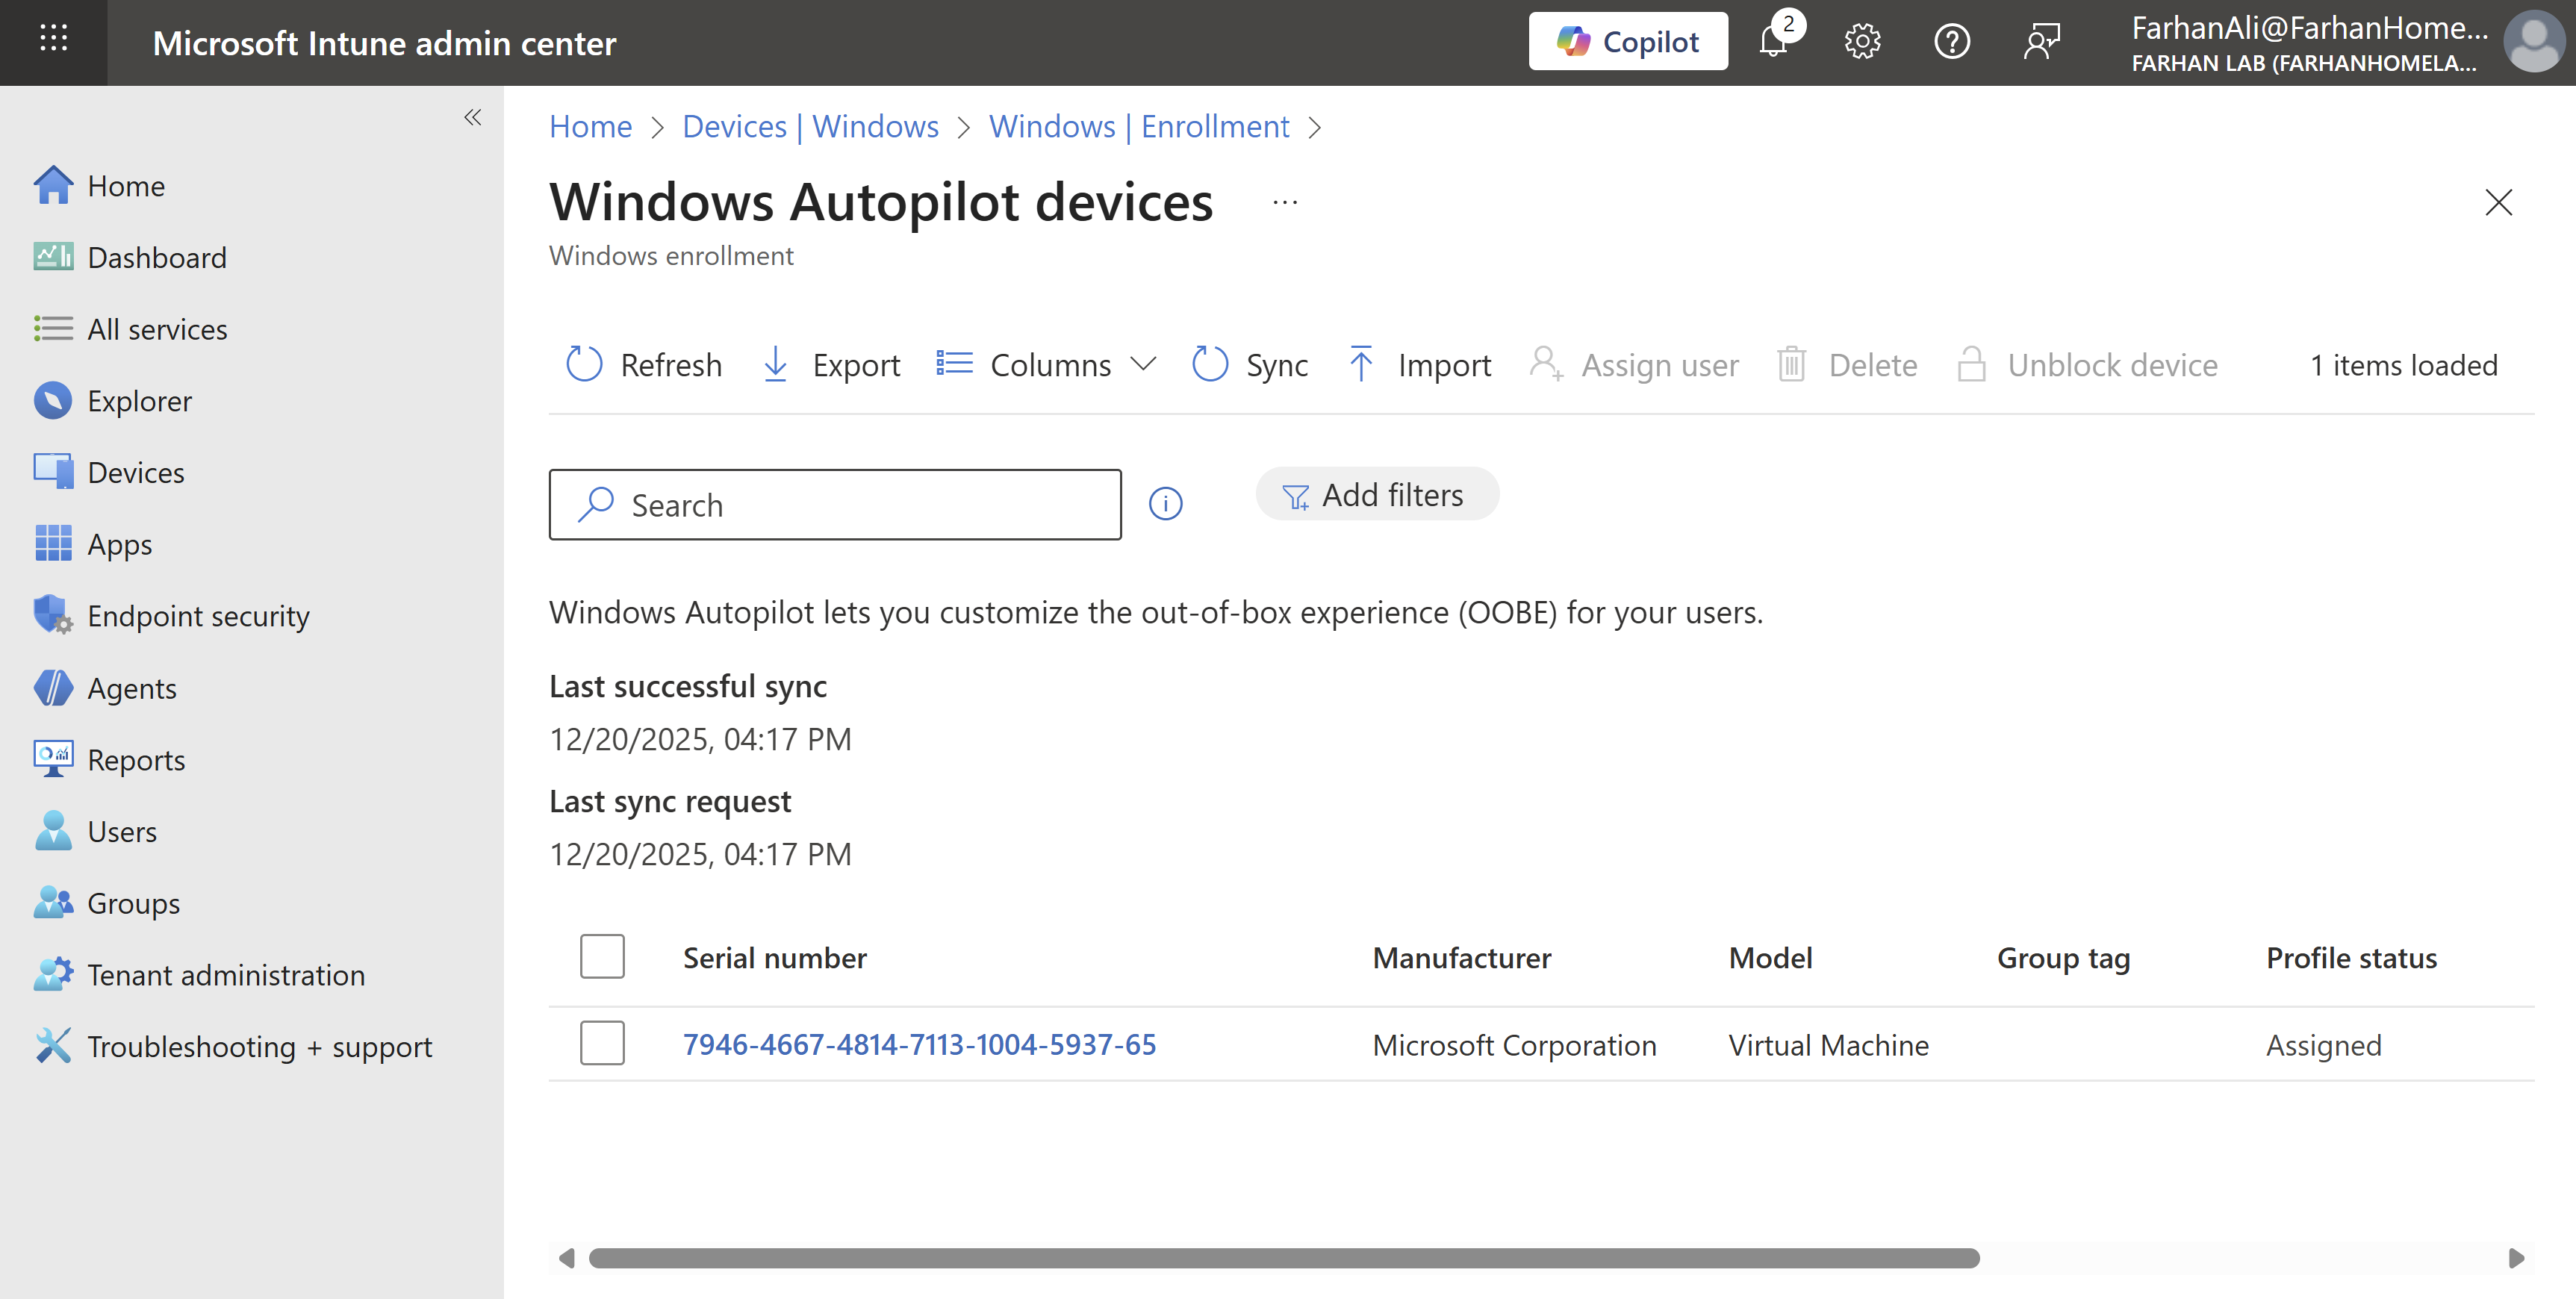
After uploading the hash, navigate to Microsoft Intune admin center -> Devices -> Windows -> Enrollment -> Devices under Windows Autopilot to verify deployment profile assignment.
Phase 6: Test and Validate Autopilot Enrollment
Test OOBE lifecycle
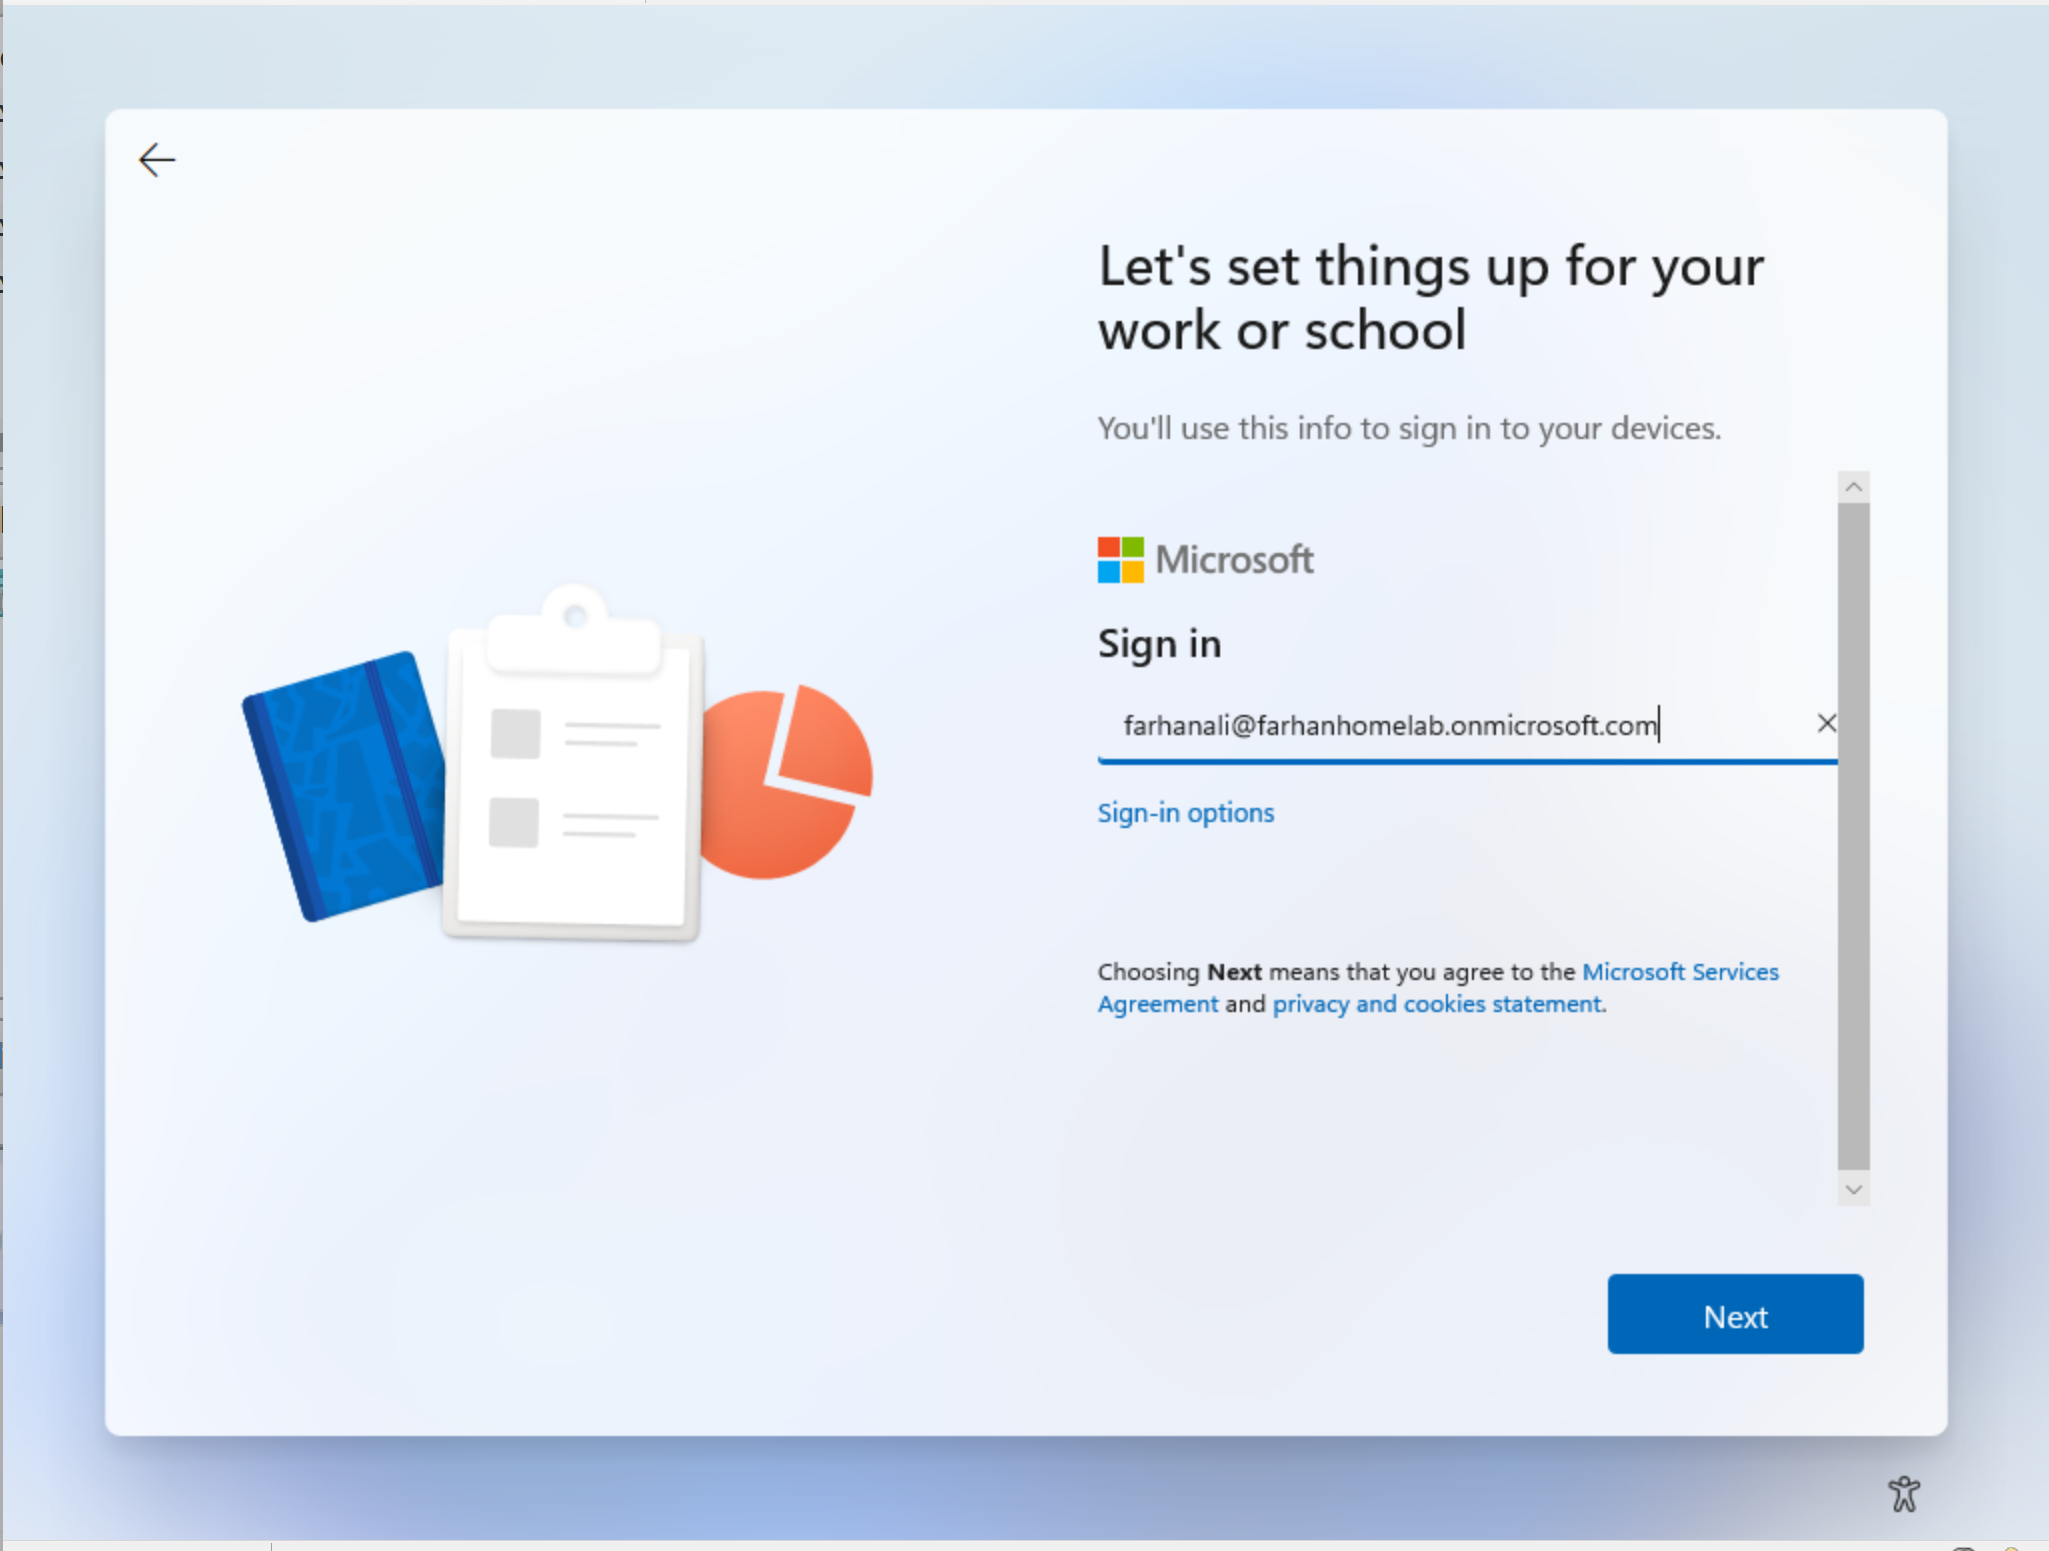
After verifying that the Autopilot profile was successfully assigned in Intune, I rebooted the device. Below is the Out-of-Box Experience (OOBE) lifecycle observed during enrollment.
Signed in using my work account
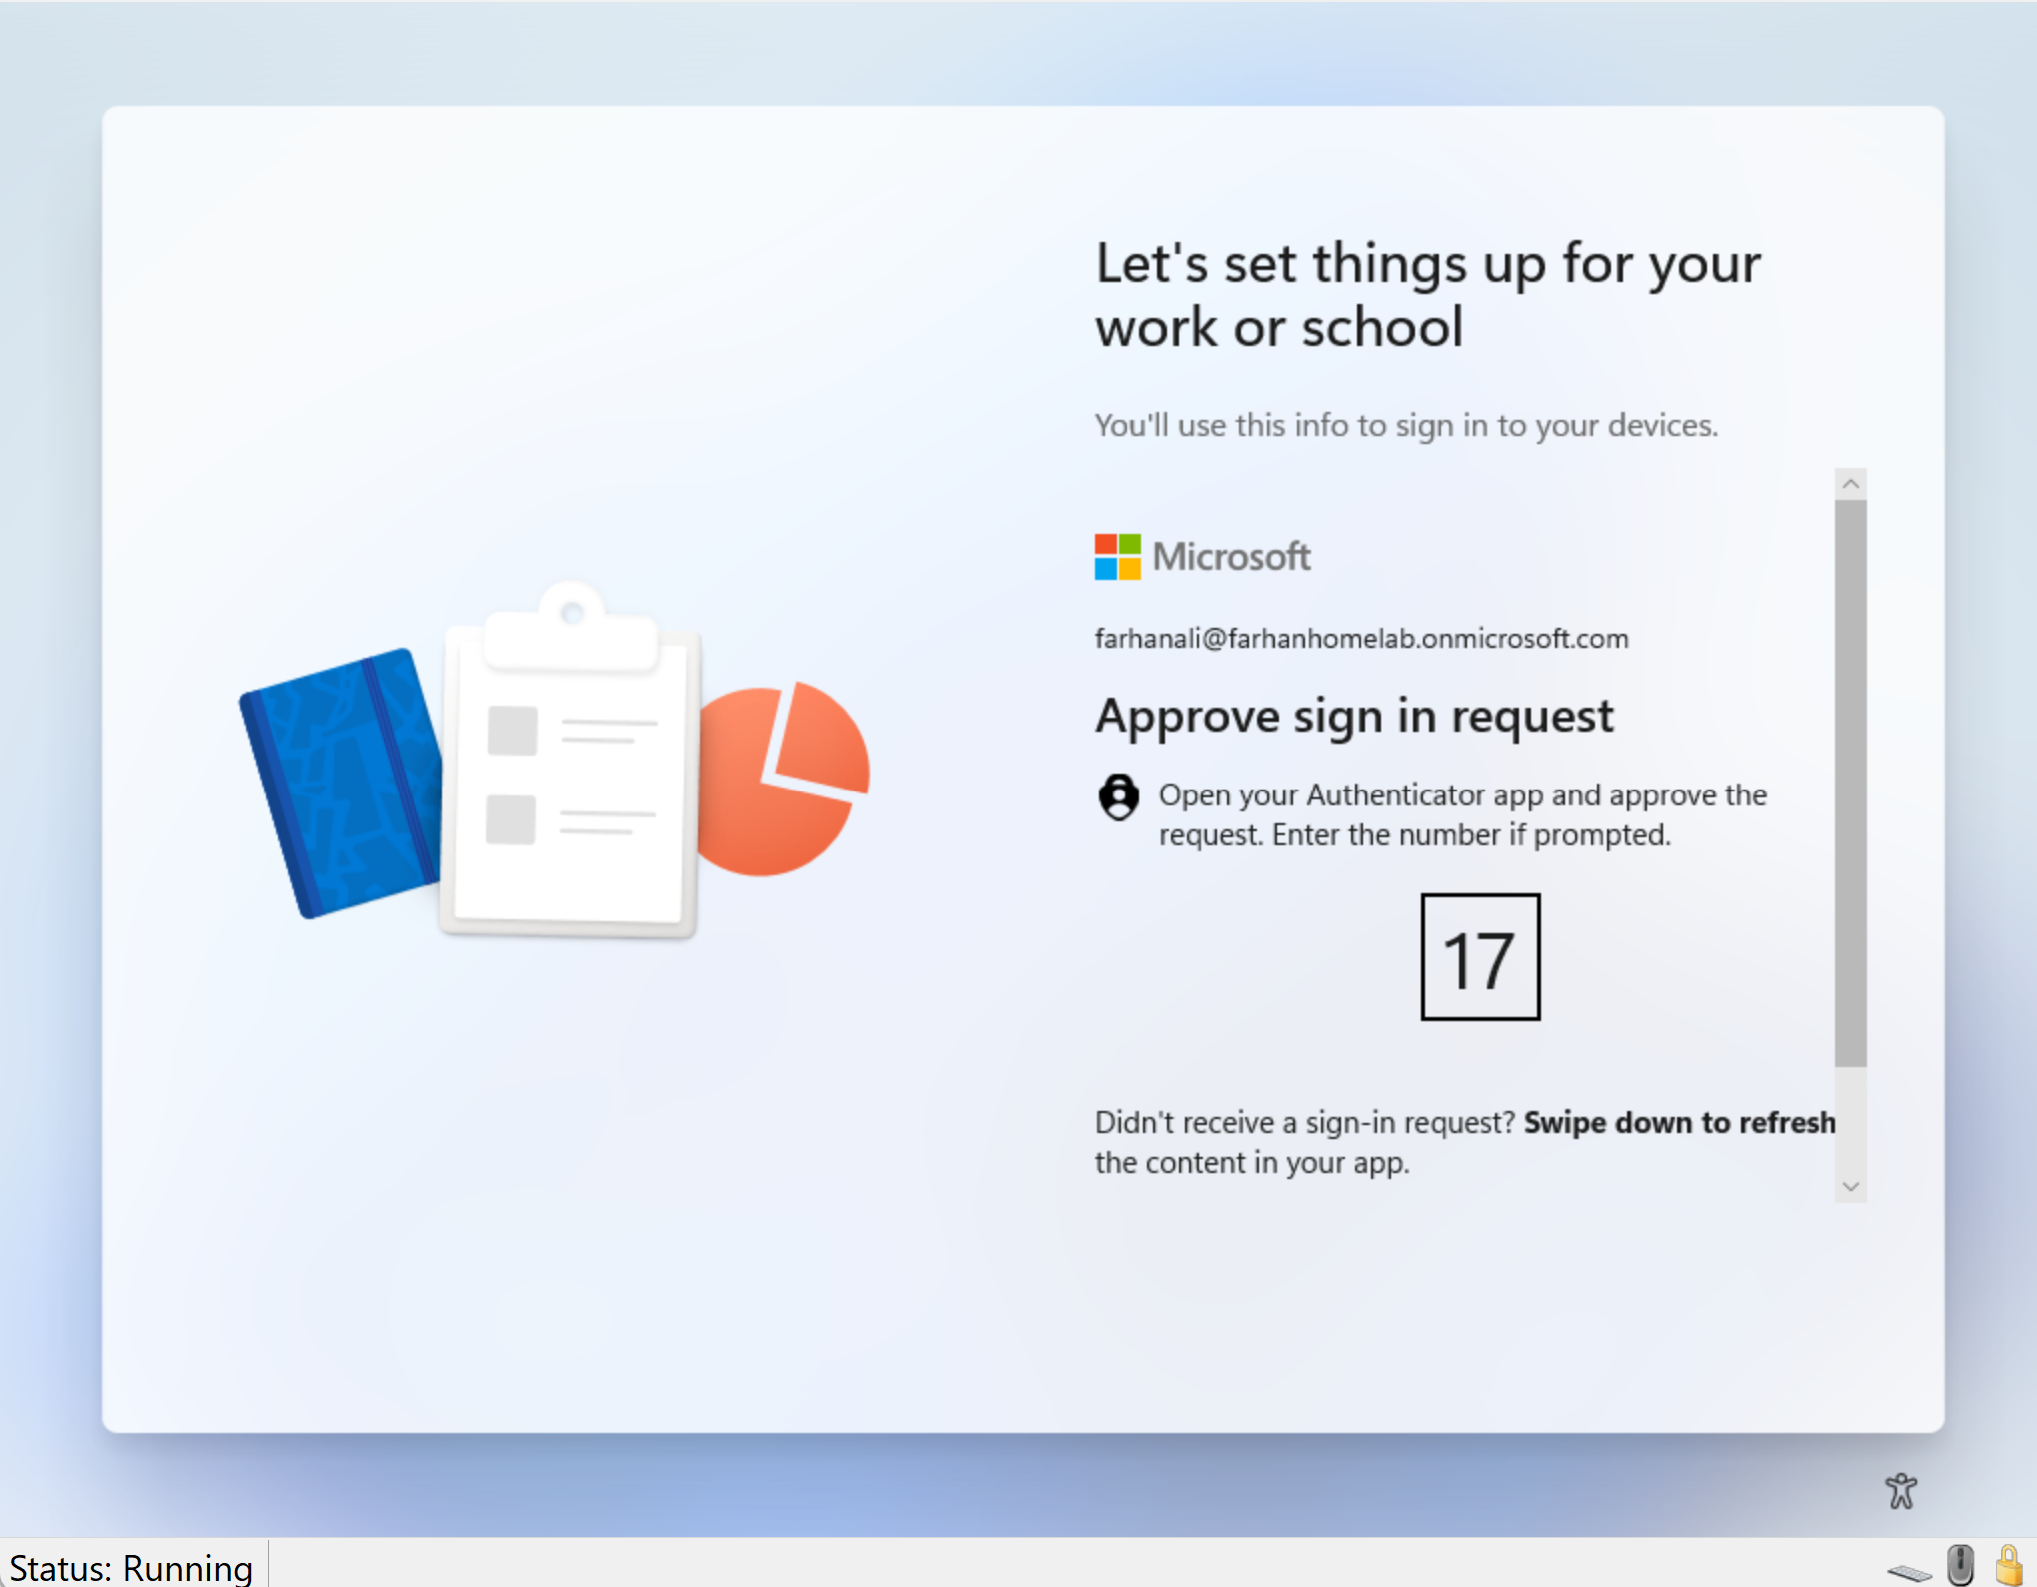
Approved MFA request from Microsoft Authenticator
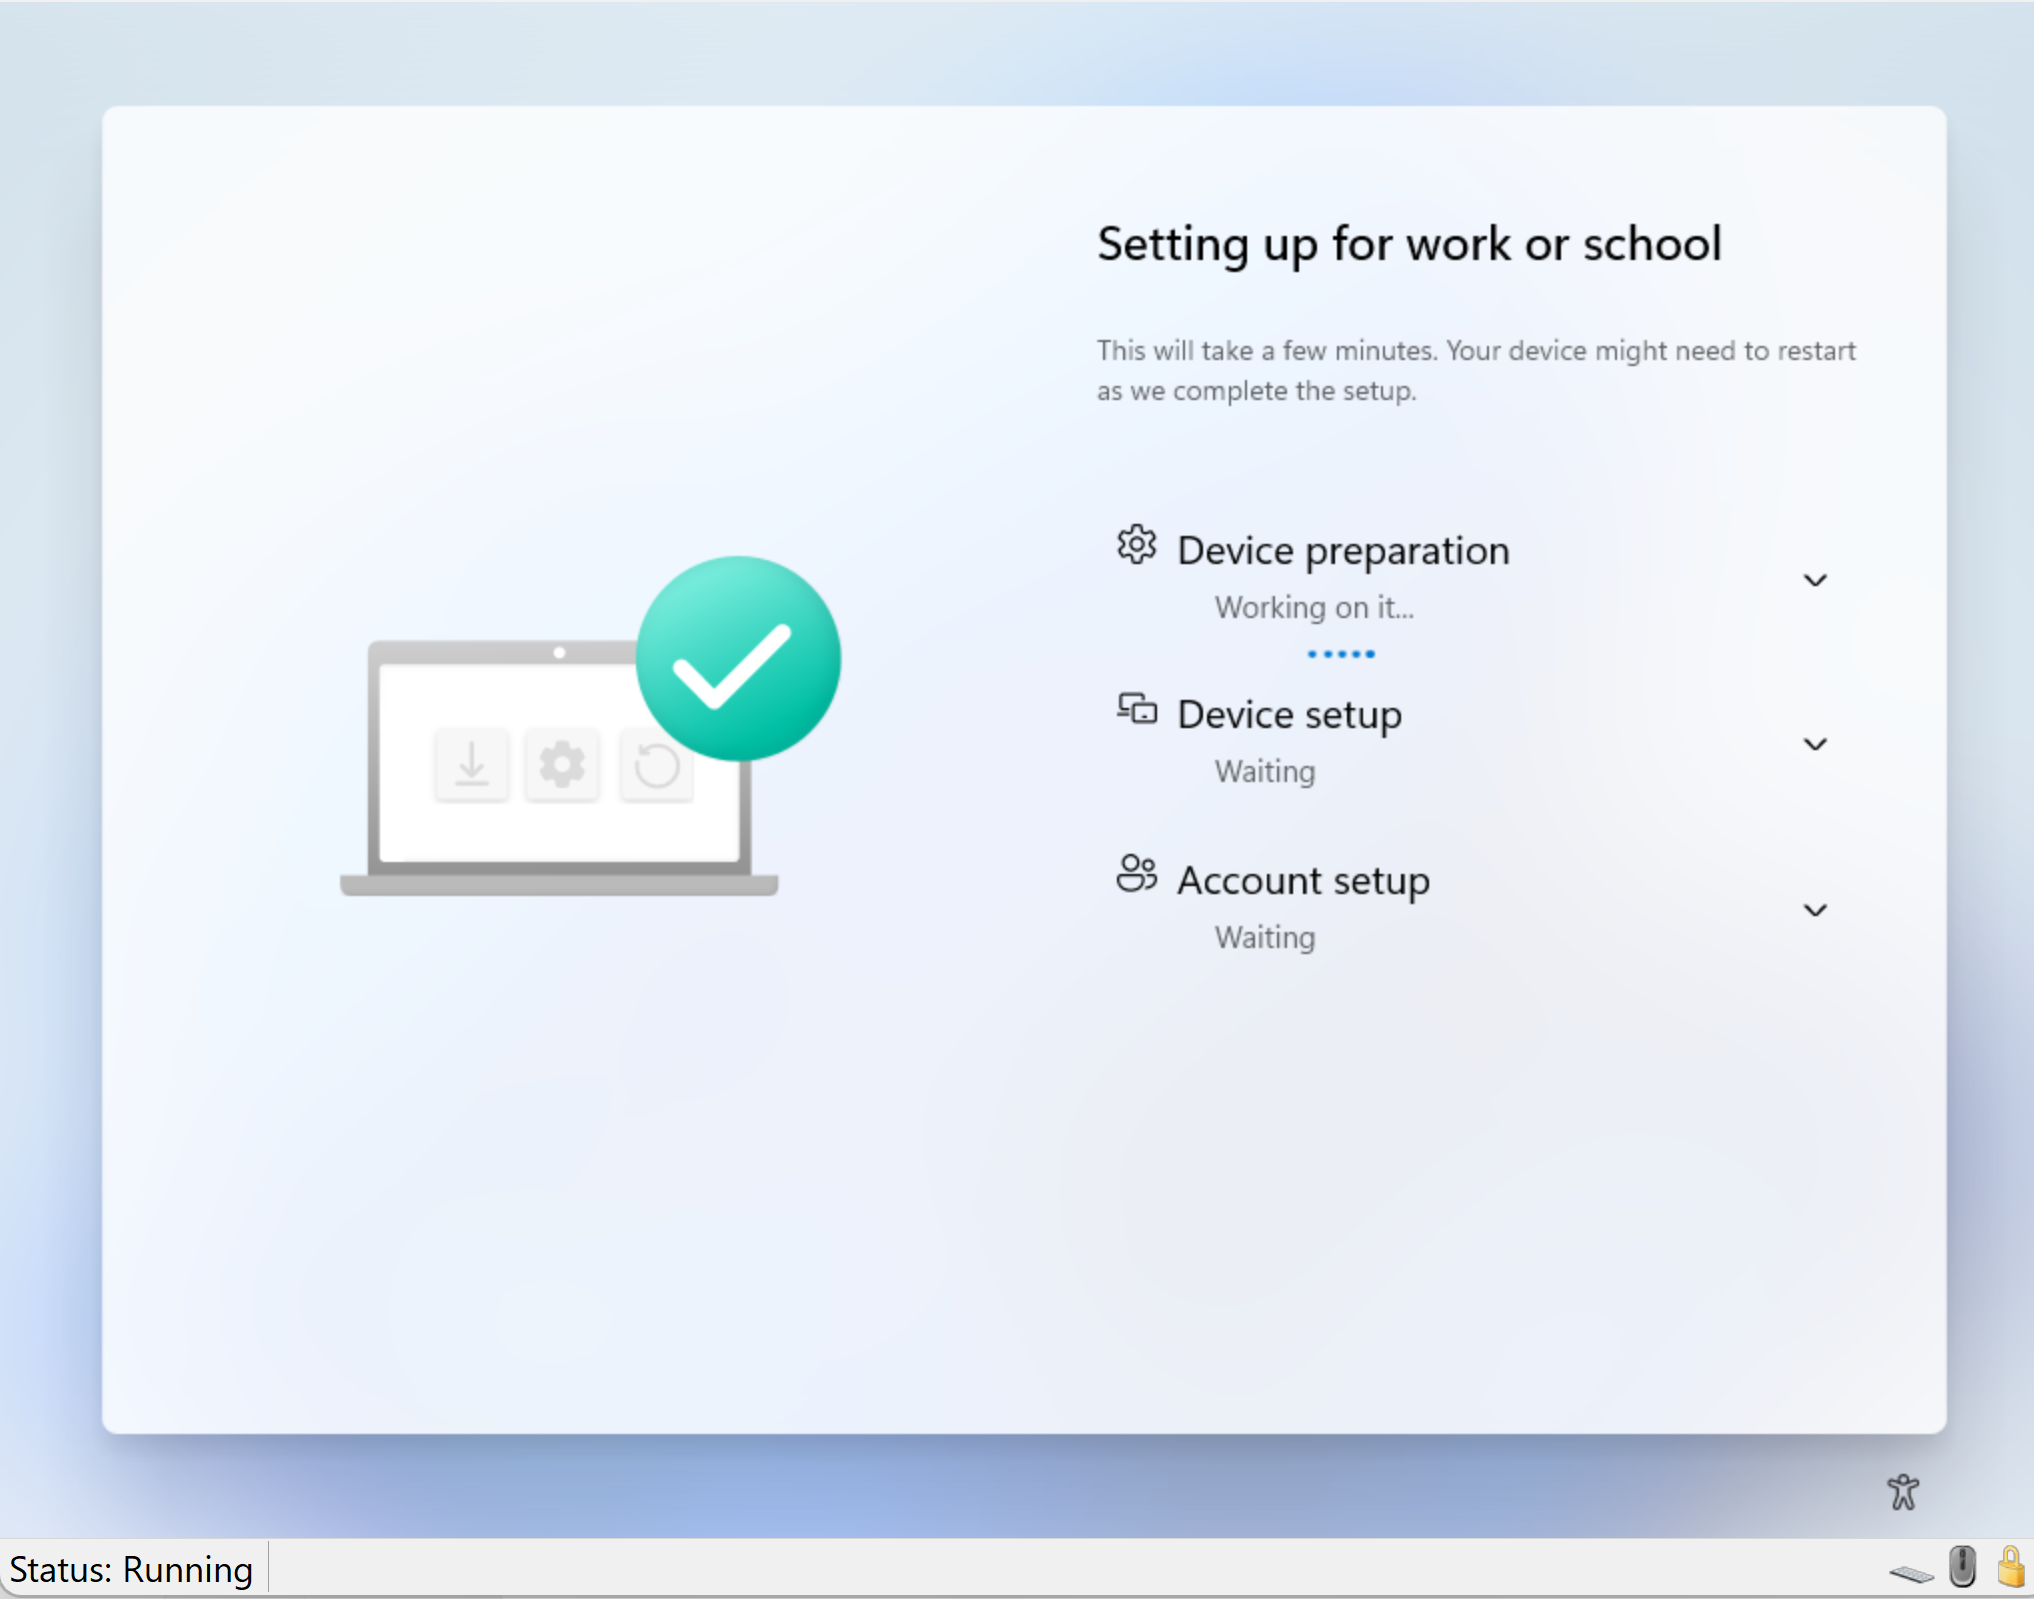
After sign-in, the Enrollment Status Page (ESP) showed up and began tracking the device provisioning process.
Confirm App/Policy Installation
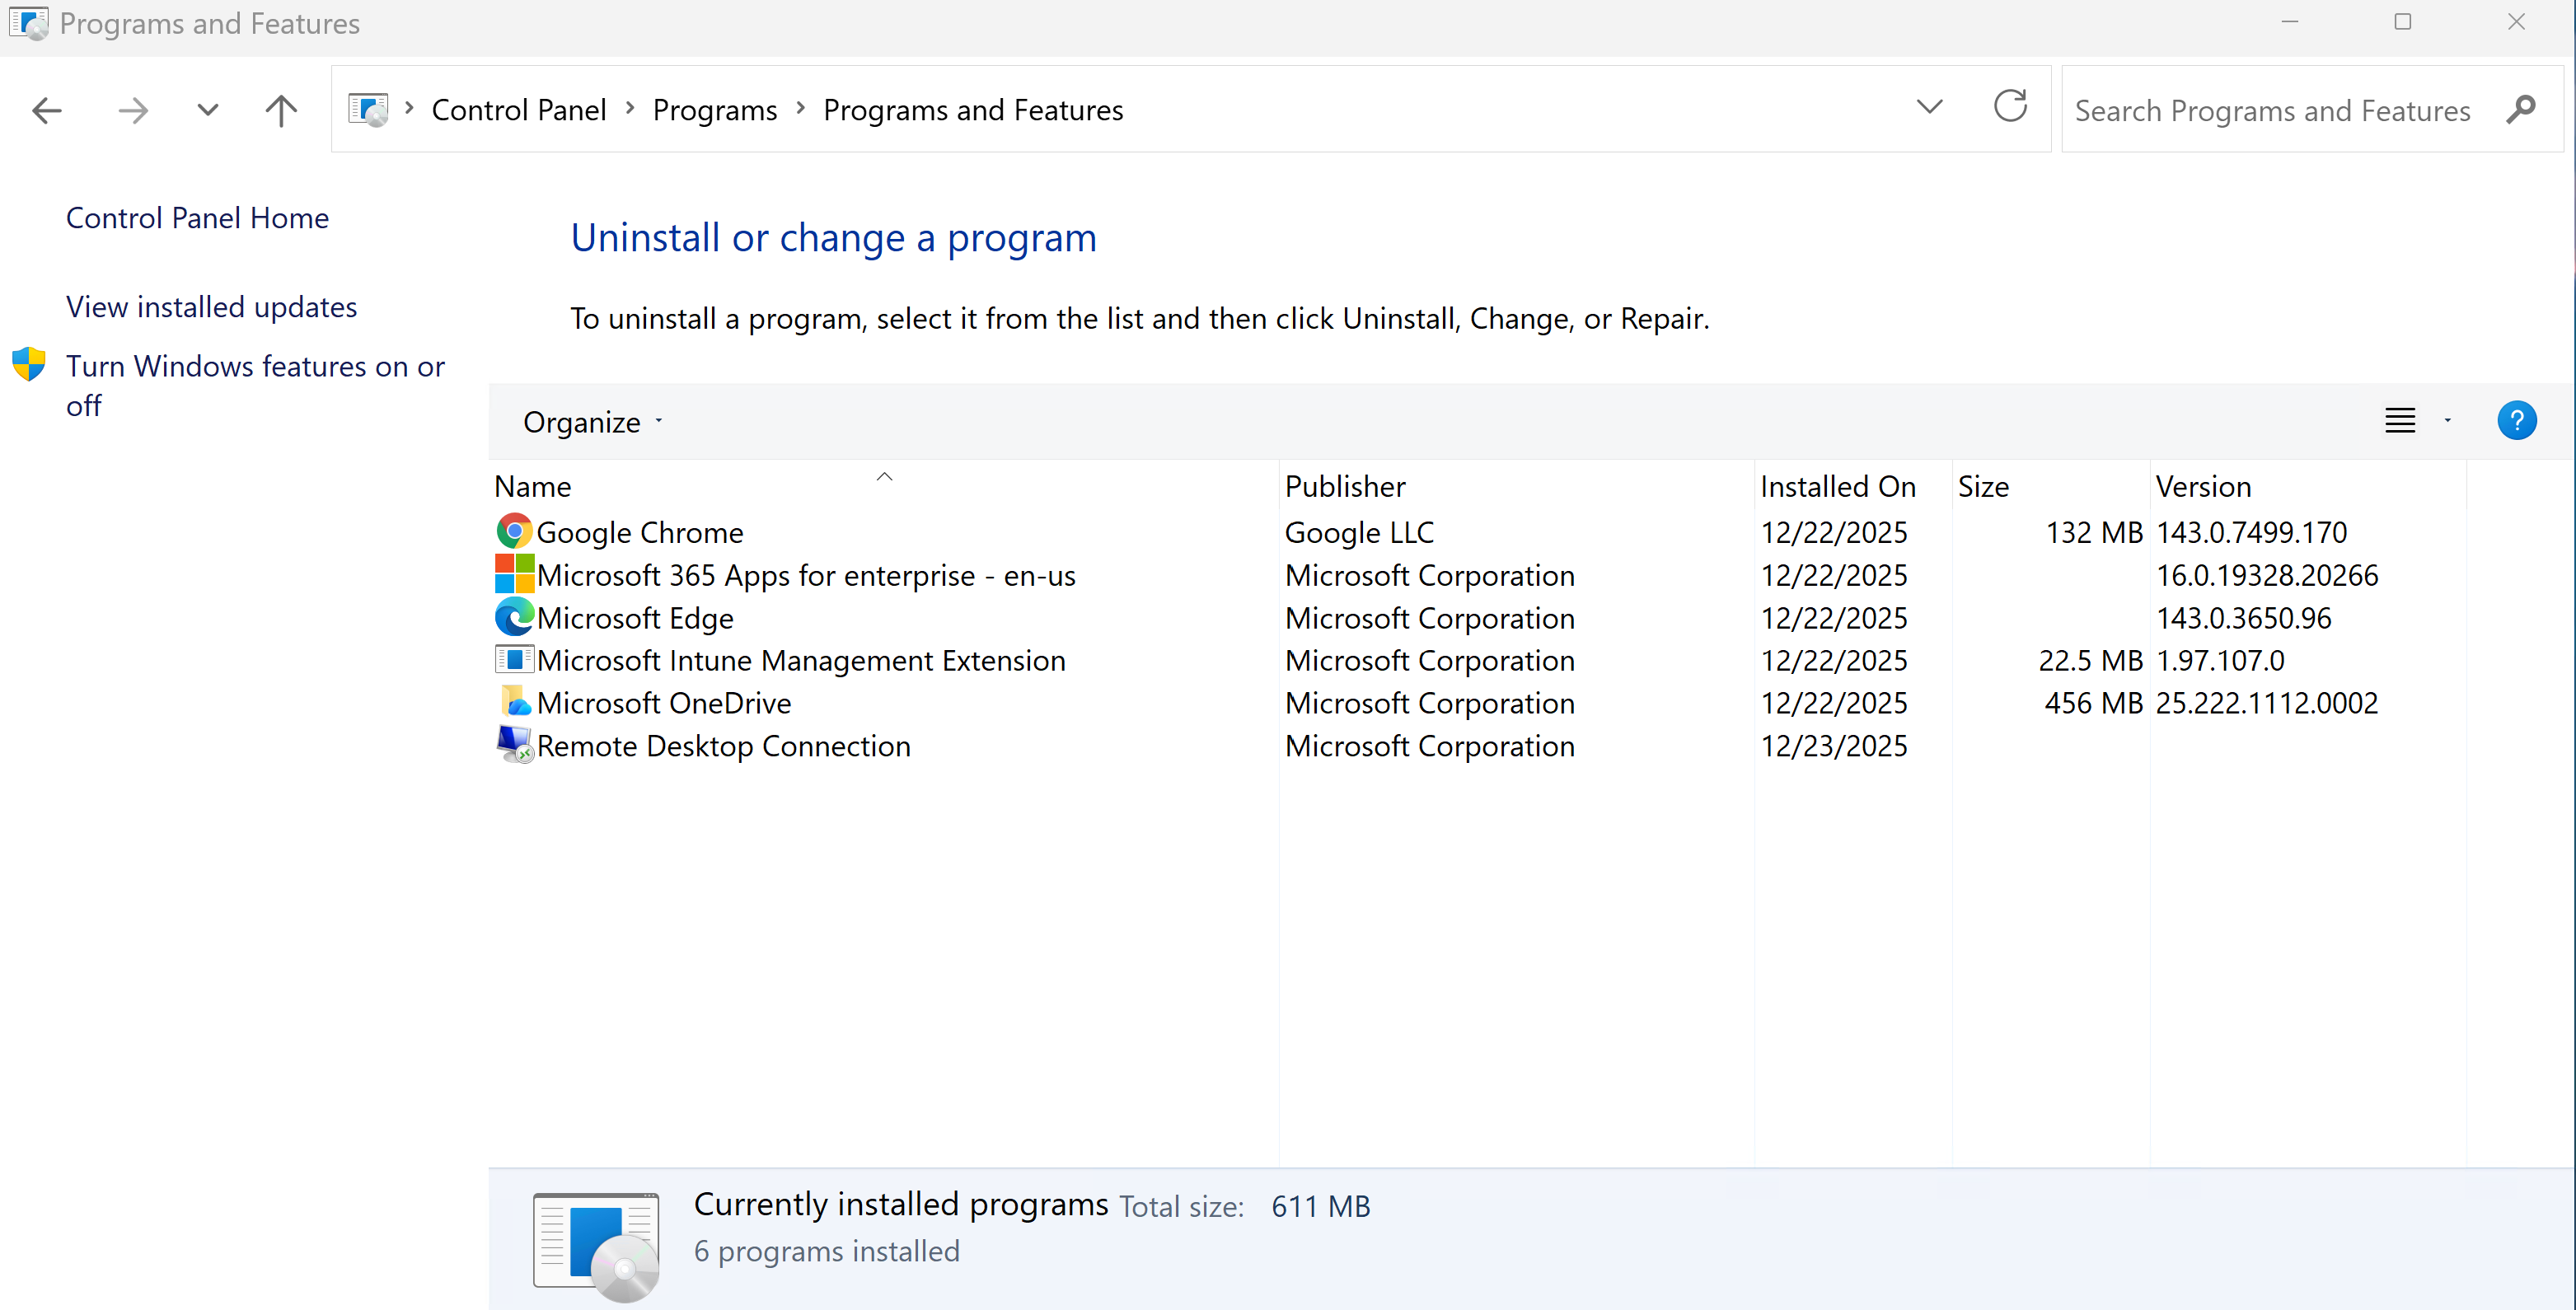
After the device provisioning was done, I signed into the device and confirmed that the configured policies are applied.
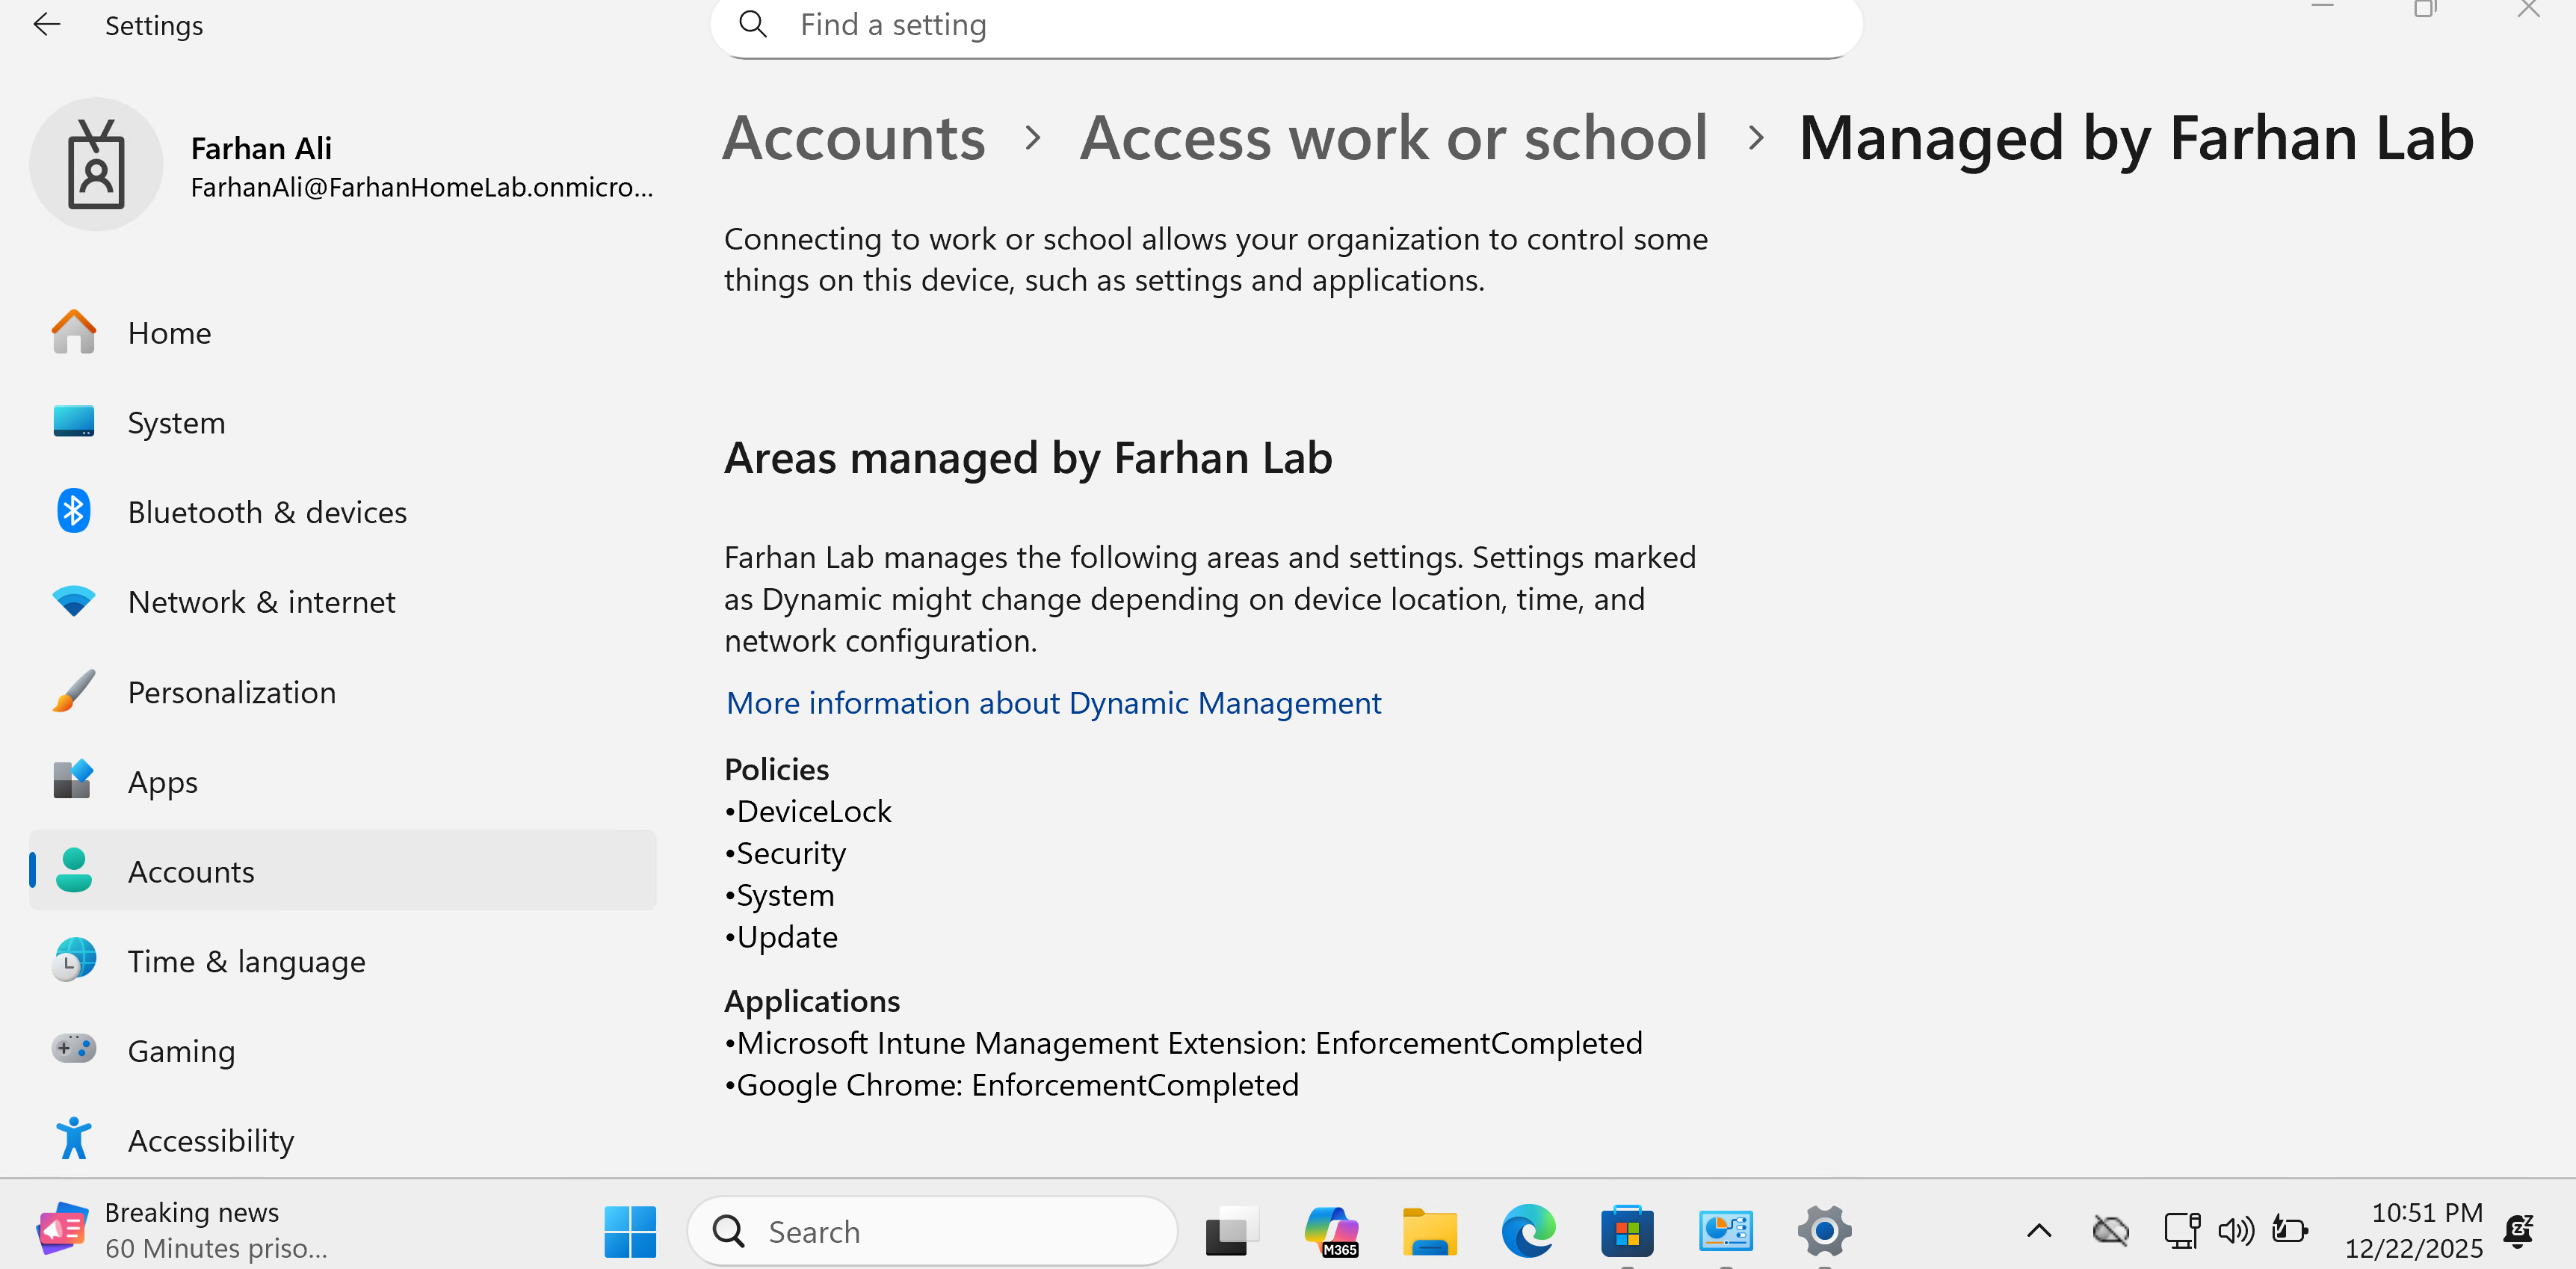
Additionally, I confirmed that all required apps are installed.
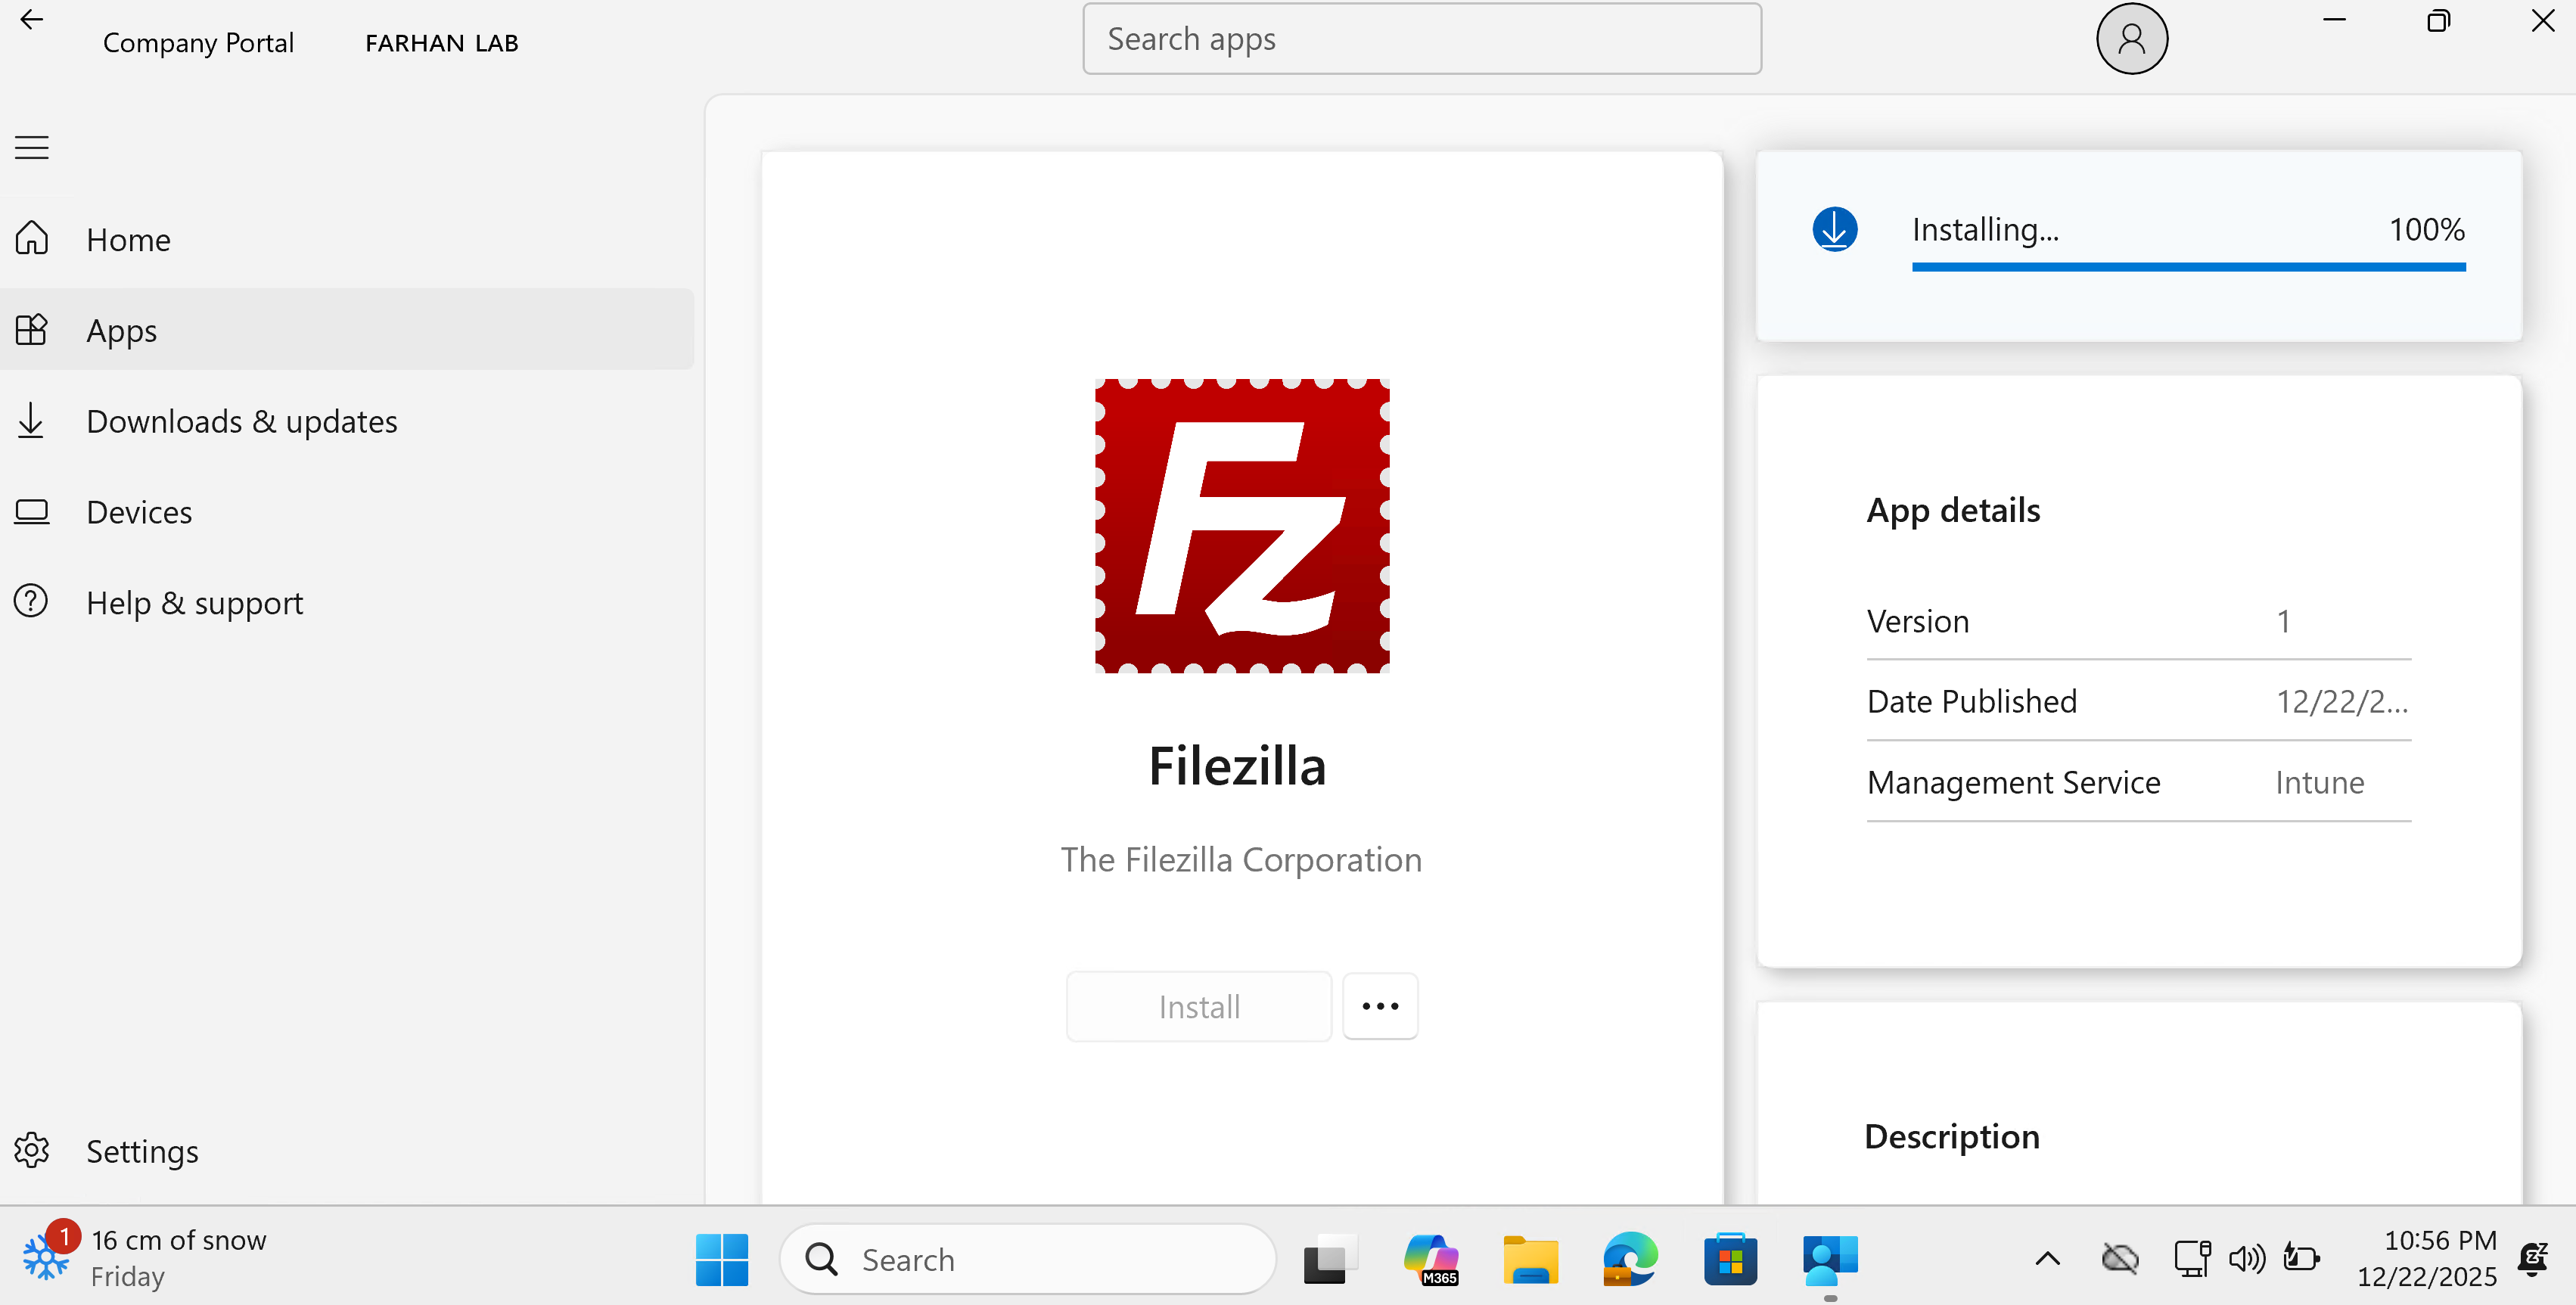
Filezilla was available in the company portal to be installed
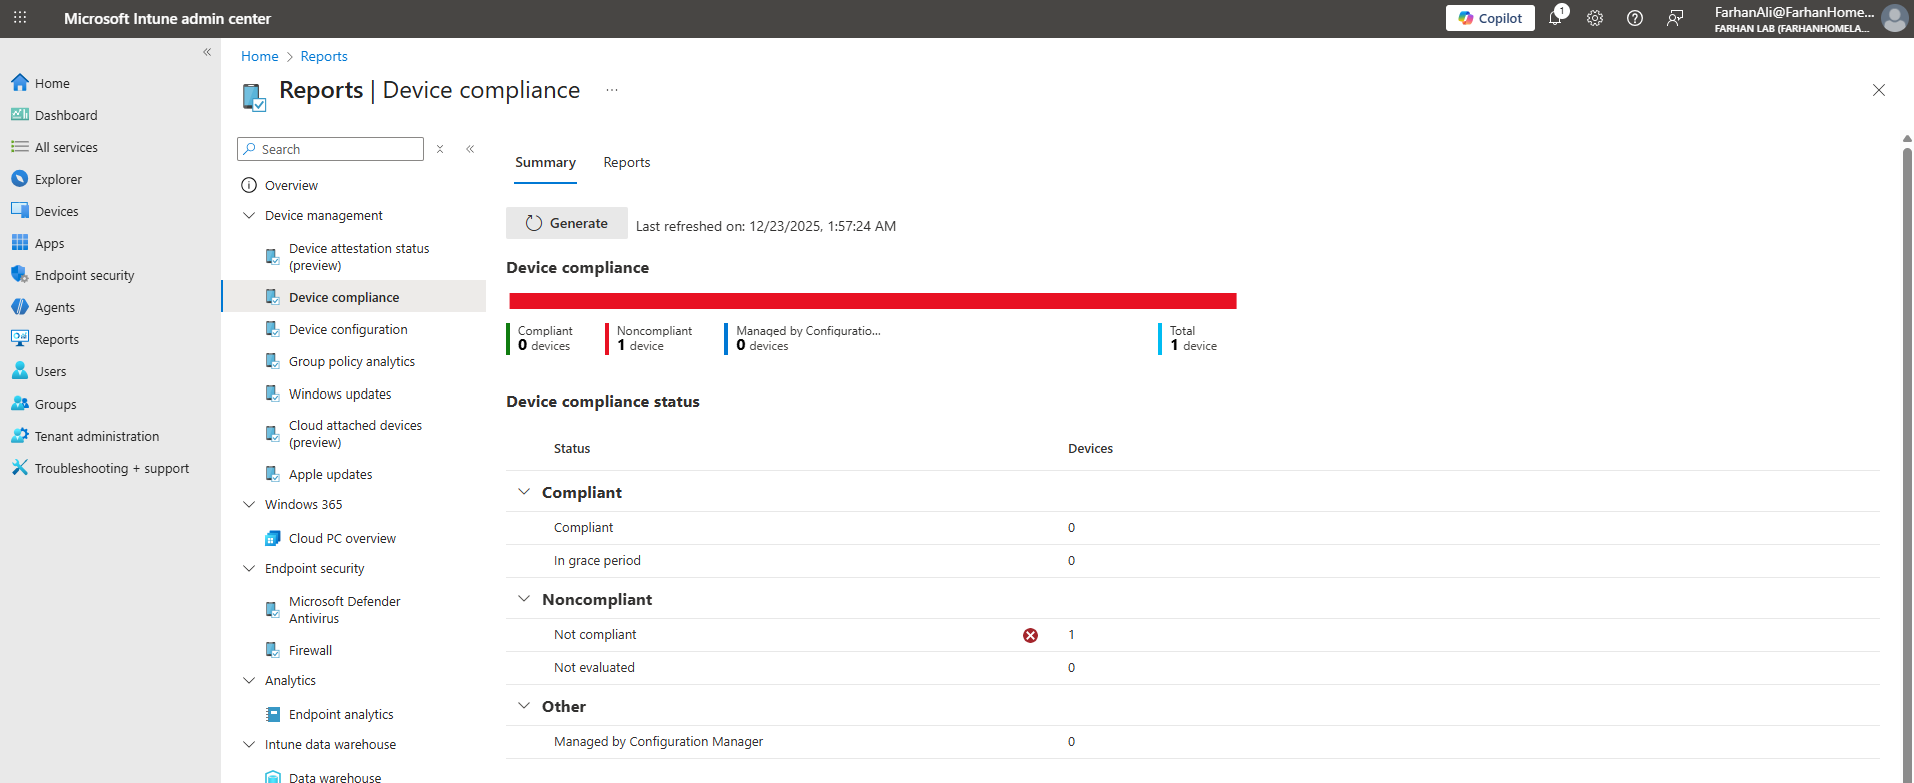
Generate Compliance Report
Navigate to Microsoft Intune admin center -> Reports -> Device Compliance
Click Generate to produce a compliance report and verify the device’s compliance status. I noticed that the device is marked as noncompliant.
To identify the cause of noncompliance, navigate to Device -> All Devices then select the enrolled device to review the device properties
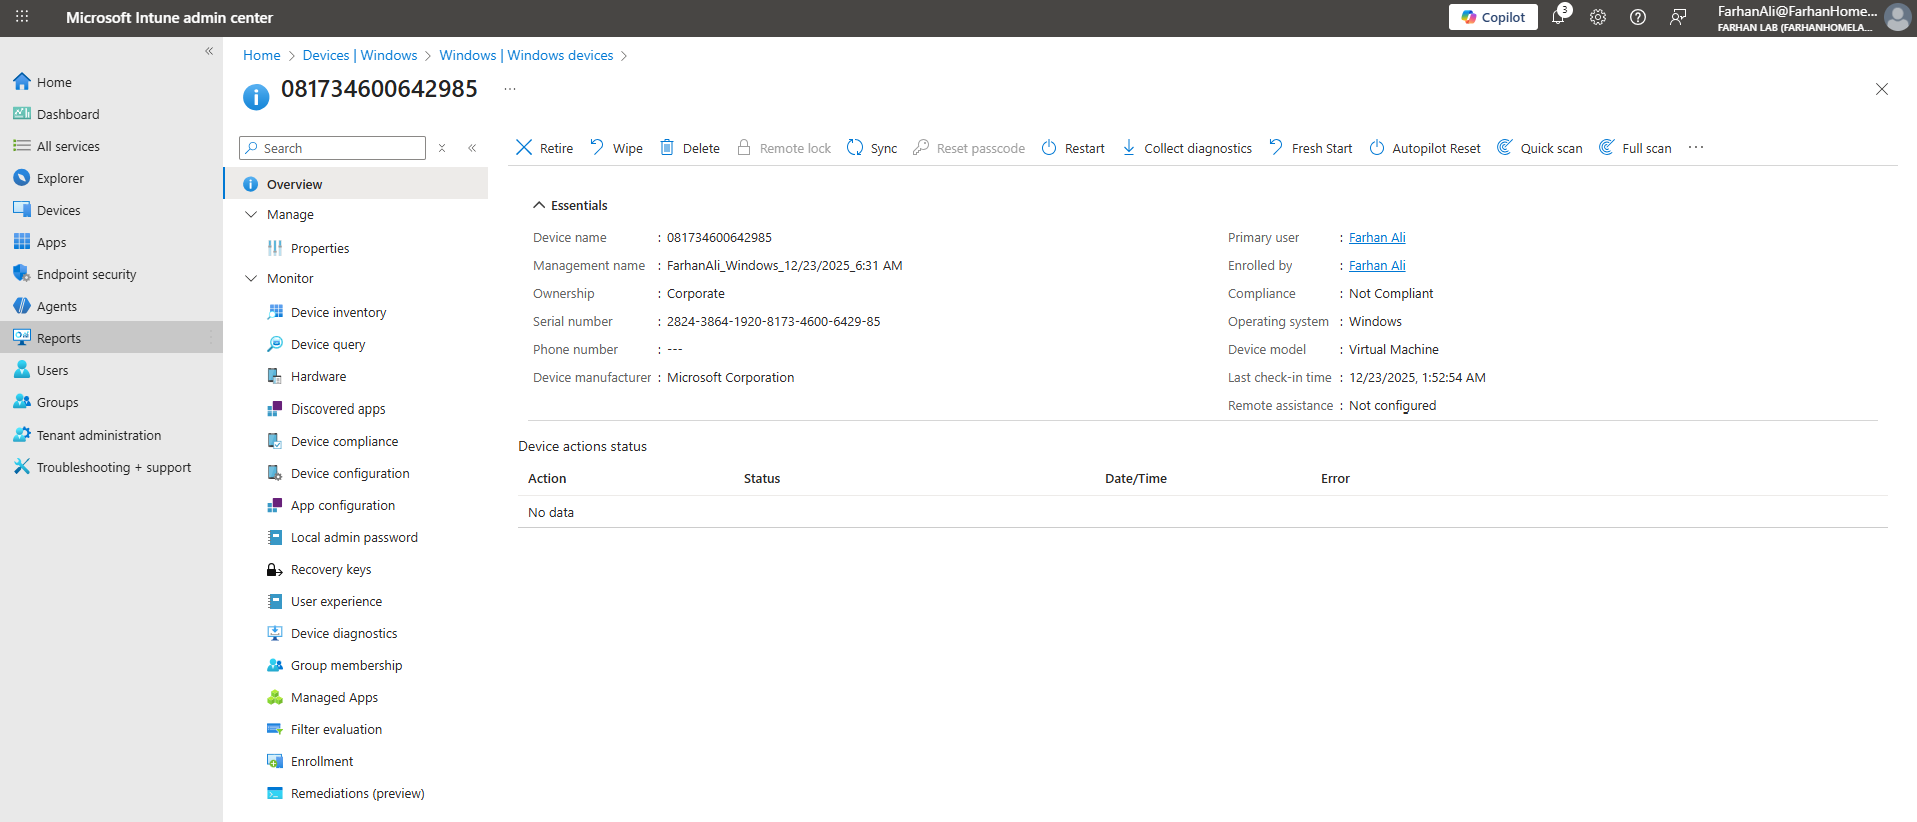
Open the Device compliance tab.
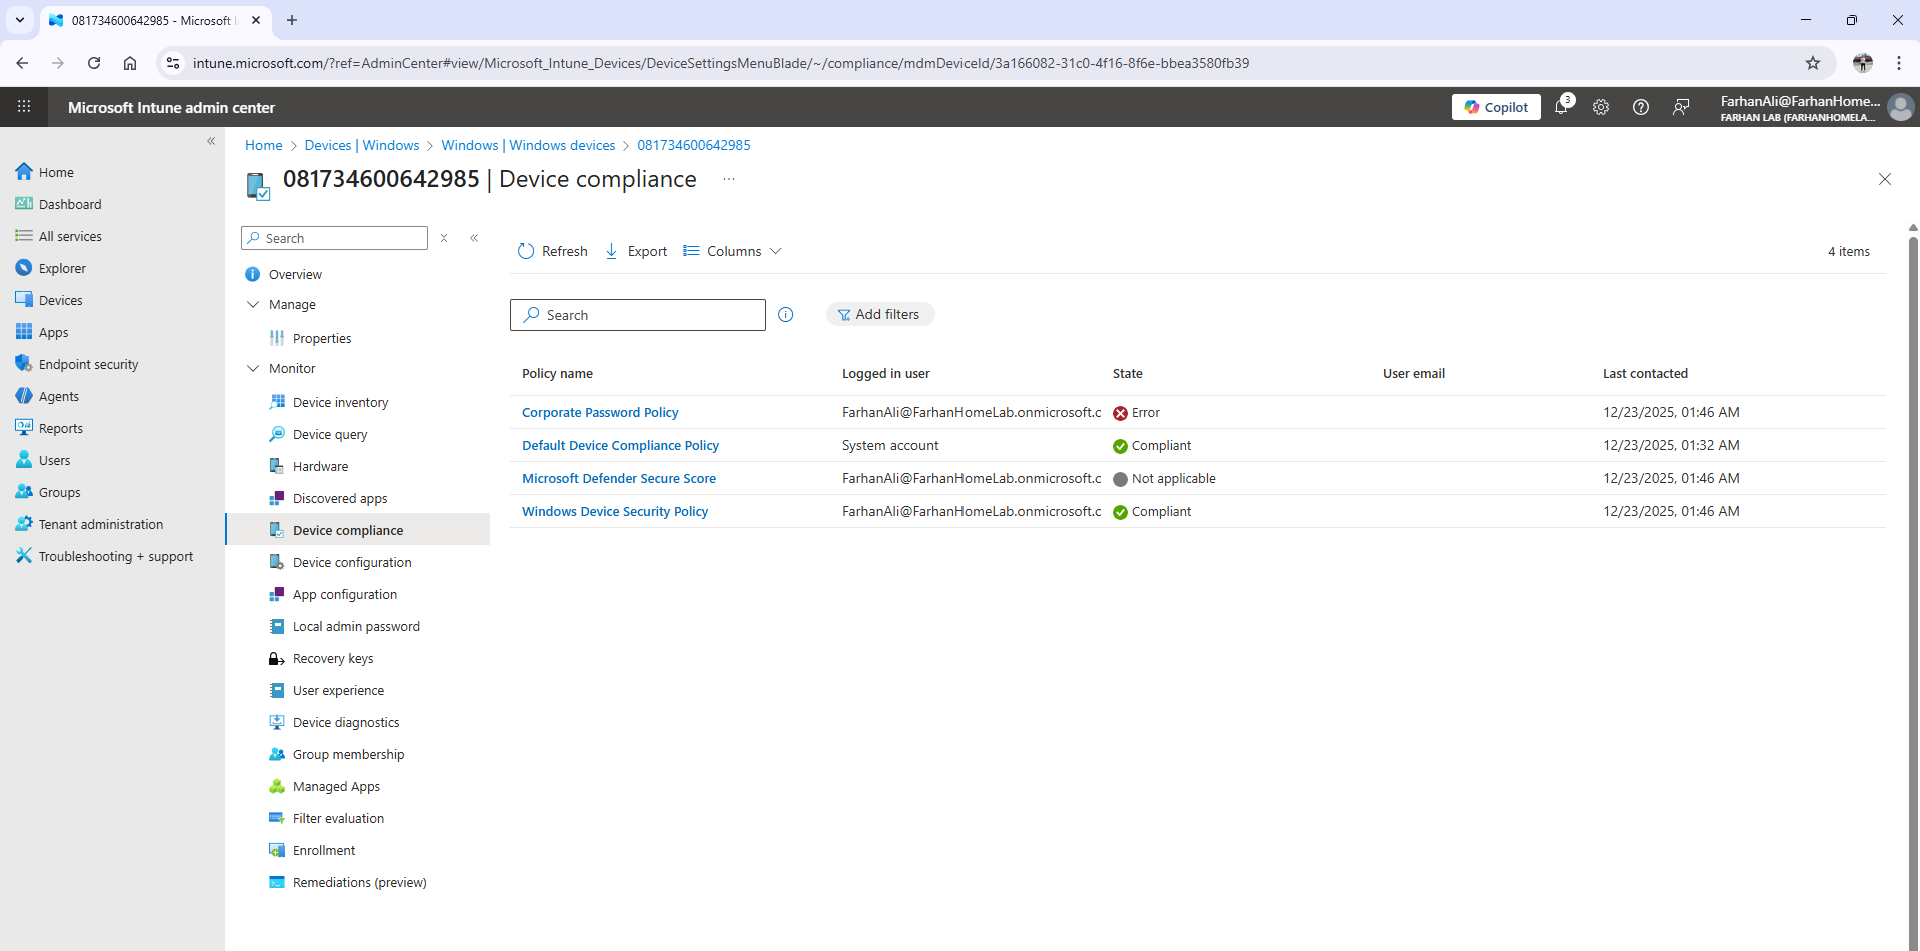
Upon reviewing the compliance details, I noticed that the Corporate Password Policy was flagged as Noncompliant because the password complexity requirements were not met.
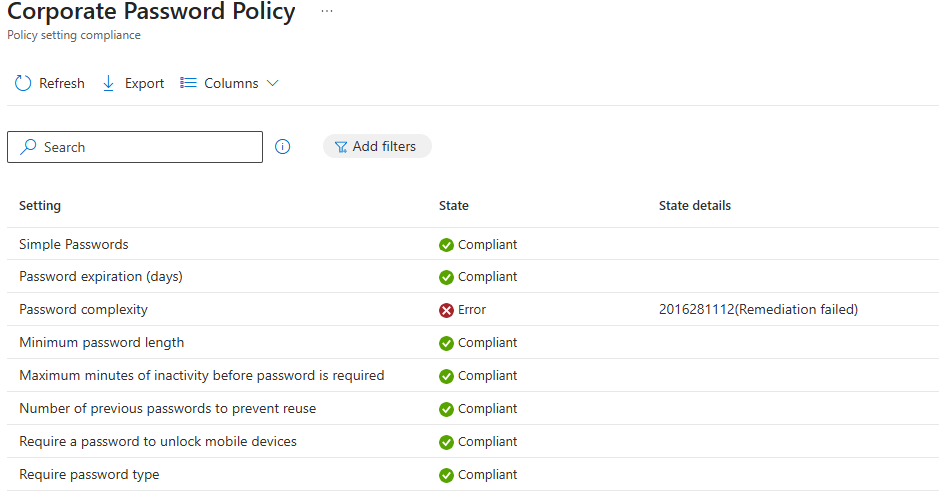
To remediate, I updated my password to meet the defined complexity requirements.
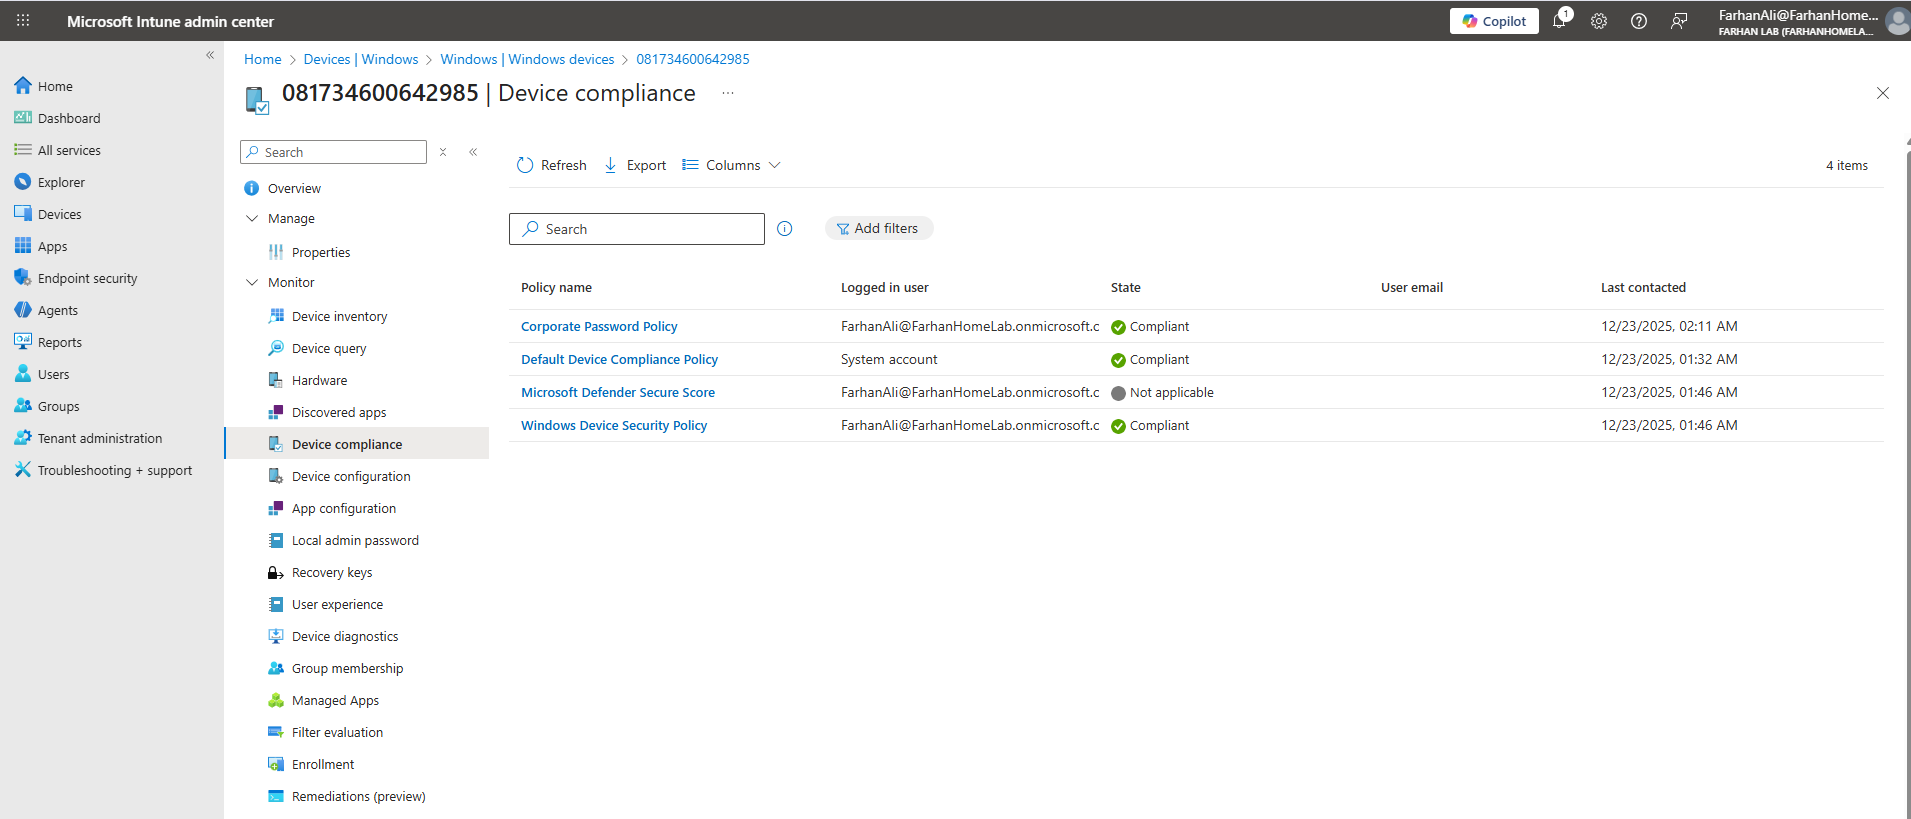
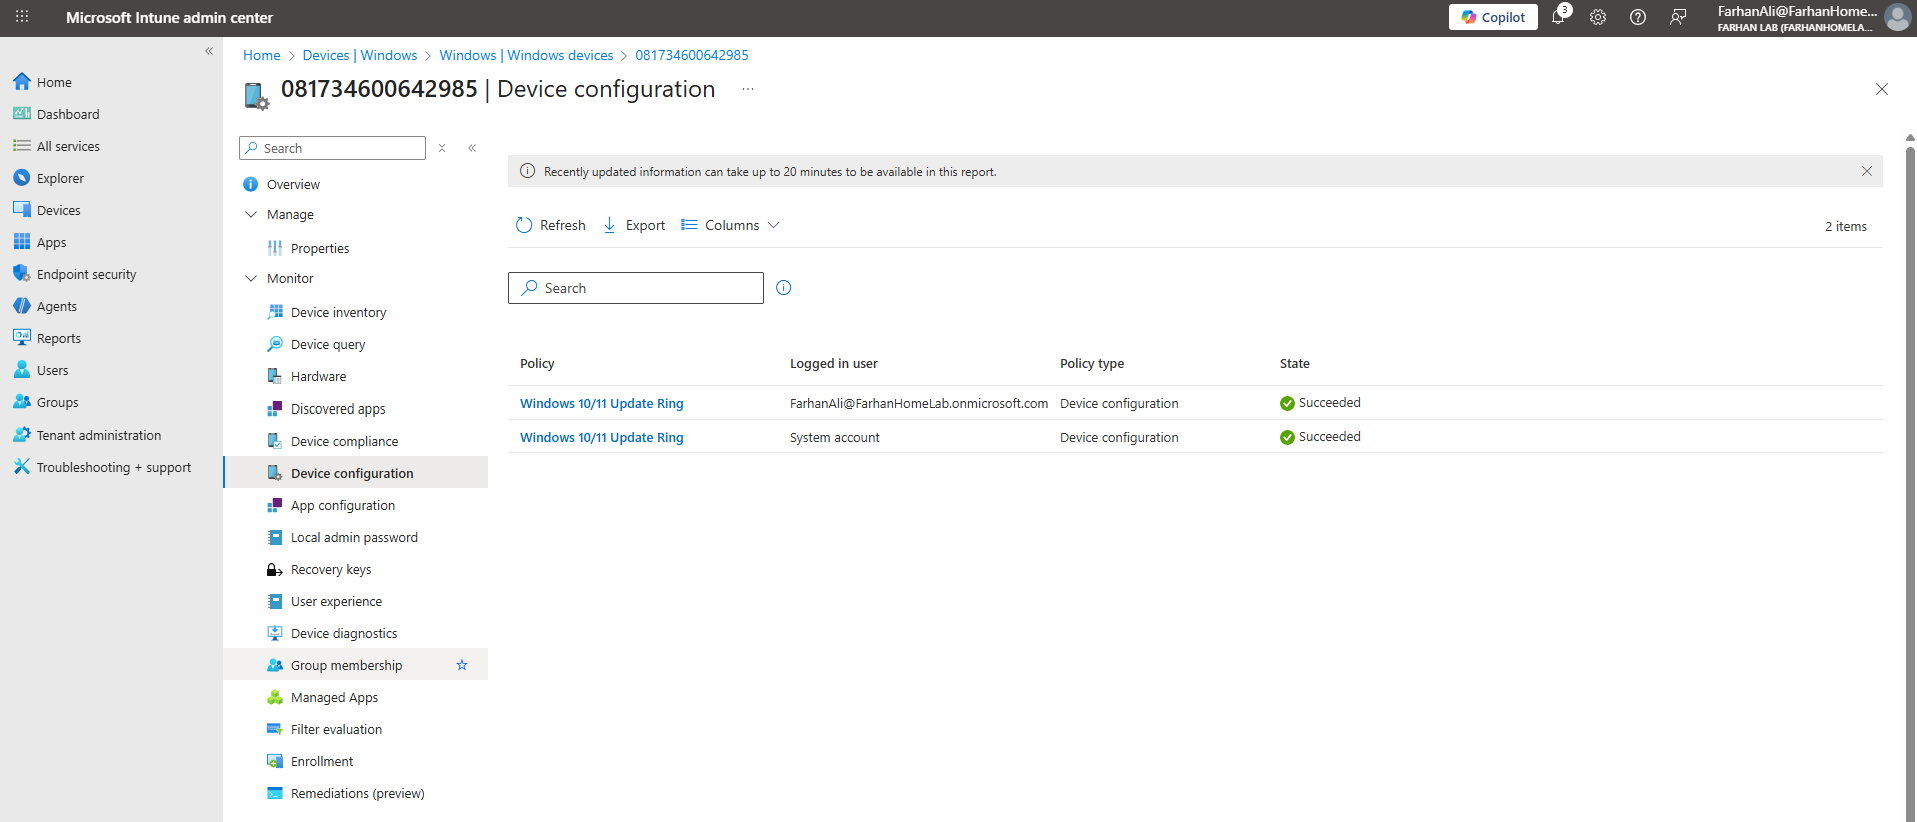
Lastly, I confirmed that the update rings were successfully applied.
Official References
| Topic | Official Link |
|---|---|
| Autopilot Overview & Requirements | Windows Autopilot documentation |
| Autopilot Device Requirements | Windows Autopilot requirements page |
| Manual Device Registration | Manually register devices with Autopilot |
| Deployment Profiles | Configure Windows Autopilot profiles |
| Enrollment Status Page (ESP) | Windows Autopilot Enrollment Status Page |
| Set up ESP in Intune | Set up the Enrollment Status Page in Intune |
| Managing Win32 Apps | Win32 app management in Microsoft Intune |